
The Hidden Cost of a Failing Electrical Wire Cutter Tool
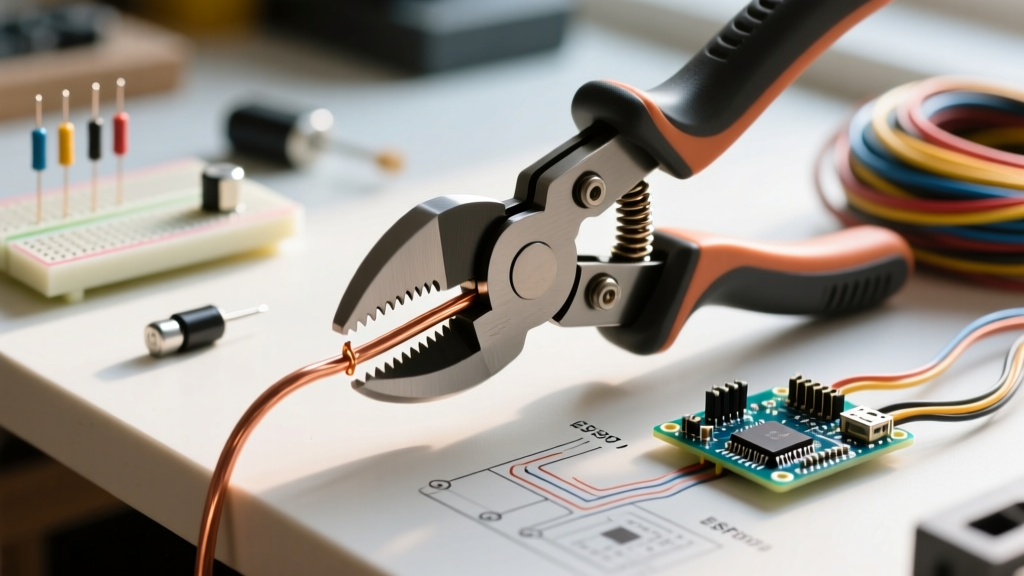
In professional electrical wiring, the condition of your hand tools directly impacts the safety and longevity of your installations. An electrical wire cutter tool that is misaligned, dull, or suffering from pivot friction doesn't just cause hand fatigue—it compromises the wire itself. According to the NFPA 70 National Electrical Code (NEC), specifically Section 110.14, electrical connections must be made using devices identified for the purpose, and conductors must not be damaged during termination. A dull cutter crushes stranded copper, increasing surface resistance and creating a thermal hot spot inside the panel.
As of 2026, professional-grade diagonal and lineman cutters from brands like Knipex, Klein Tools, and Channellock range from $45 to $95. Replacing them prematurely due to fixable mechanical issues is a waste of budget. This troubleshooting guide dives deep into the metallurgical and mechanical failure modes of wire cutters, providing actionable fixes to restore factory-level shearing performance.
Diagnostic Matrix: Symptoms and Mechanical Failures
Before attempting repairs, accurately diagnose the failure mode. Use the matrix below to identify the root cause of your tool's poor performance.
| Symptom | Probable Mechanical Cause | Immediate Field Fix |
|---|---|---|
| Tool requires two hands to close | Pivot bolt overtightened or oxidized debris in the joint | Back off pivot bolt 1/8 turn; flush with electrical contact cleaner |
| Stranded wire frays or 'mushrooms' | Blade gap exceeds 0.004 inches due to pivot wear | Adjust pivot tension; if worn, replace induction-hardened blades |
| Clean cuts on copper, chips on aluminum | Using standard electrical cutters on aluminum alloy (too abrasive) | Switch to a dedicated aluminum shear or ratcheting cutter |
| Return spring snaps repeatedly | Over-extension past the 45-degree maximum spread limit | Install heavy-duty torsion spring (e.g., Klein 53726) |
| Cutting edge rolls or dents on 10 AWG | Exceeding the HRC 64 hardness limit with hardened steel wire | Never cut steel/alloy with electrical cutters; use bolt cutters |
Deep Dive 1: Pivot Bolt Tension and Blade Alignment
The most common reason an electrical wire cutter tool feels 'jammed' or fails to shear cleanly is improper pivot tension. High-leverage cutters, such as the Channellock 436 or Knipex 11 01 200 TwinForce, rely on a precisely torqued pivot rivet or bolt. Over time, the lateral forces of cutting 10 AWG solid copper cause the joint to loosen, creating a micro-gap between the cutting edges.
How to Measure and Adjust Blade Gap
When the gap between the cutting edges exceeds 0.004 inches, the tool stops shearing the copper and starts crushing it. To troubleshoot this:
- Clean the Joint: Spray the pivot point with a non-residue cleaner like WD-40 Specialist Contact Cleaner. Avoid standard WD-40, as it leaves a sticky film that attracts copper dust and grit.
- Check the Clearance: Close the cutter and hold it up to a light source. You should see zero daylight between the cutting edges. If you see a hairline gap, the pivot is too loose.
- Adjust the Tension: For models with a hex-head pivot bolt, tighten the bolt until the handles lock, then back it off exactly 1/8th of a turn. For riveted models (like standard Lineman pliers), you must use a specialized rivet press or send them to the manufacturer for refurbishment, as field-hammering a rivet usually ruins the tool's geometry.
- Re-Lubricate: Apply a single drop of synthetic PTFE grease or Tri-Flow Superior Lubricant directly into the pivot seam. Wipe away excess to prevent dust adhesion.
Deep Dive 2: Metallurgical Edge Failures and Chipping
Professional electrical cutters feature induction-hardened cutting edges that typically sit at 60 to 64 on the Rockwell Hardness Scale (HRC). This extreme hardness allows them to cleanly shear solid copper up to 8 AWG without deforming. However, this hardness comes at the cost of brittleness.
Expert Warning: Never use a high-HRC electrical wire cutter tool to snip zip-ties, steel banding, or aluminum armor cable (MC/AC). The abrasive nature of steel and hardened plastics will cause microscopic chipping along the cutting edge. Once a chip forms, it creates a stress concentrator that will rapidly propagate a crack through the blade face.
Restoring a Damaged Cutting Edge
If your cutter has minor rolling or dulling from cutting stranded tinned copper (which is slightly more abrasive than bare copper), you can restore the edge using a fine-grit diamond hone. Do not use a standard file or grinding wheel. The heat from a grinding wheel will draw the temper out of the steel, dropping the hardness below HRC 50 and ruining the tool permanently.
- Use a 600-grit diamond sharpening stone.
- Match the factory bevel angle (usually between 25 and 35 degrees depending on the brand).
- Apply light machine oil and use single-direction strokes away from the cutting edge to prevent creating a wire-edge burr.
- Deburr the flat side of the blade with a single, flat pass.
Deep Dive 3: Spring Tension and Ergonomic Failures
Many modern electricians prefer snub-nose diagonal cutters with integrated return springs to reduce repetitive strain injuries during high-volume wire stripping and cutting. However, these springs are a frequent point of failure.
According to OSHA's Hand and Power Tools guidelines, maintaining hand tools in safe working order is critical to preventing workplace injuries. A broken spring forces the electrician to manually pry the handles open, disrupting workflow and increasing the risk of carpal tunnel syndrome.
Troubleshooting Spring Snaps
If your torsion or compression spring keeps snapping, the issue is rarely the spring itself—it is user error regarding the tool's maximum spread angle. Most integrated springs are engineered for a maximum handle spread of 35 to 45 degrees. Forcing the handles wider to accommodate a thick bundle of 12 AWG THHN wire will over-stress the spring steel, leading to immediate catastrophic failure at the anchor pin.
The Fix: If you frequently need to cut thick bundles, abandon spring-loaded snips and switch to a standard high-leverage diagonal cutter (like the Klein Tools D2000-9N). If you must use spring-loaded tools, ensure you are buying OEM replacement springs designed for your specific model's pivot geometry, rather than generic universal springs that alter the handle resting angle.
Preventative Maintenance Protocol for 2026
To maximize the lifespan of your electrical wire cutter tool and ensure NEC-compliant wire terminations, implement this weekly maintenance routine:
- Debris Purge: Use compressed air to blow out copper shards from the pivot joint and handle grooves. Copper dust is conductive and can cause short circuits if it migrates into the tool's internal cavities or your electrical panels.
- Solvent Wipe: Wipe the blades with an isopropyl alcohol pad to remove oxidation and skin oils, which can cause rust on high-carbon steel tools.
- Targeted Lubrication: Apply a micro-drop of synthetic oil to the pivot. Open and close the tool 10 times to work the oil into the friction surfaces.
- Edge Inspection: Visually inspect the cutting edges under a bright LED work light. Look for reflections on the edge, which indicate a flat spot (dullness) or rolling.
Frequently Asked Questions (FAQ)
Can I cut aluminum wire with my standard copper wire cutters?
While you physically can cut soft aluminum wire with standard cutters, aluminum oxidizes rapidly and acts as a mild abrasive. Over time, cutting large-gauge aluminum (like 2 AWG SER cable) will accelerate the dulling of your induction-hardened edges. For frequent aluminum work, invest in a dedicated ratcheting aluminum cable cutter.
Why does my new cutter leave a 'nipple' on the end of solid copper wire?
This is a design feature, not a defect, on many premium flush-cut and semi-flush diagonal cutters. The 'nipple' (a small protrusion of copper left on the center of the cut) prevents the cutting edges from meeting perfectly flat at the apex, which would cause the extremely thin tip of the blade to chip upon contact. If you need a perfectly flush cut for PCB work or tight terminal blocks, you must use a micro-shear flush cutter rated specifically for electronics, not general electrical wiring.