
Decoding Electric Range Wiring Requirements: The Material & Tool Guide
Wiring an electric range is one of the most demanding residential electrical projects. Unlike standard 15-amp lighting circuits, a modern electric range or induction cooktop requires a dedicated 240-volt, high-amperage circuit capable of handling massive instantaneous current draws. In 2026, with the widespread adoption of high-BTU induction ranges and smart dual-fuel ovens, understanding the precise electric range wiring requirements is critical for safety, performance, and National Electrical Code (NEC) compliance.
This guide bypasses generic advice and dives straight into the specific materials, exact tool requirements, and technical edge cases you need to execute a flawless range circuit installation. Whether you are a journeyman electrician verifying your bill of materials or an advanced DIYer tackling a kitchen remodel, this material and tool guide ensures your installation meets the rigorous standards of the NFPA 70 National Electrical Code.
The Anatomy of a 50-Amp Range Circuit
Before purchasing materials, you must define the circuit parameters. While older, basic coil-top ranges might operate on a 40-amp circuit, the modern standard for electric ranges is a 50-amp, 240-volt dedicated circuit. This requires specific wire gauges and breaker configurations to prevent voltage drop and thermal degradation.
Wire Gauge and Type Selection
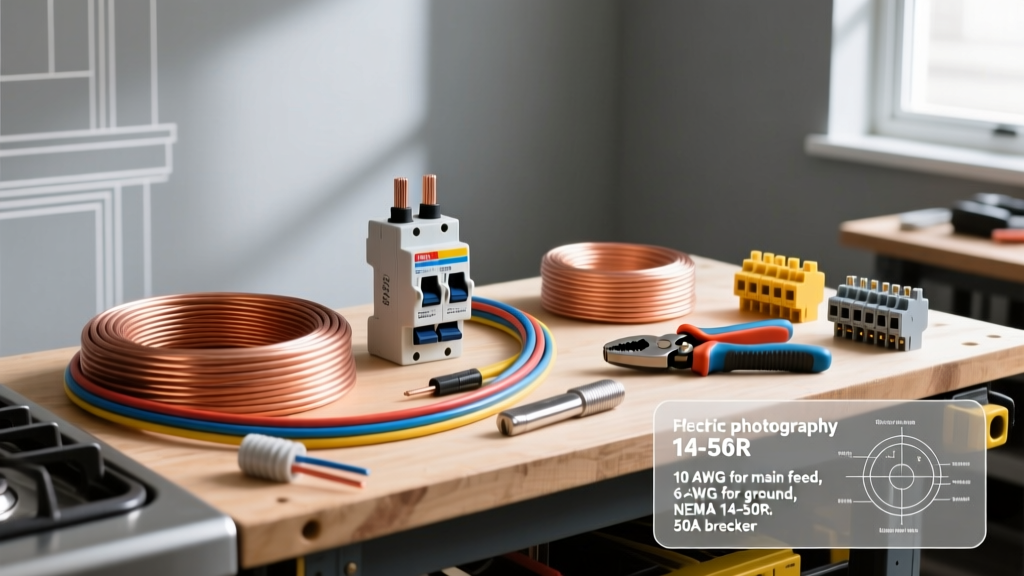
For a 50-amp circuit, the NEC mandates a minimum of 6 AWG copper wire. While 8 AWG copper is rated for 40 amps, running 6 AWG for a 50-amp breaker provides a necessary safety margin and accommodates the high inrush currents of modern induction elements.
- NM-B (Romex): For standard indoor, dry-location runs through wall cavities, 6/3 NM-B with a ground wire is the standard. The outer jacket is typically black. Expect to pay between $3.80 and $4.50 per foot in 2026 due to fluctuating copper markets.
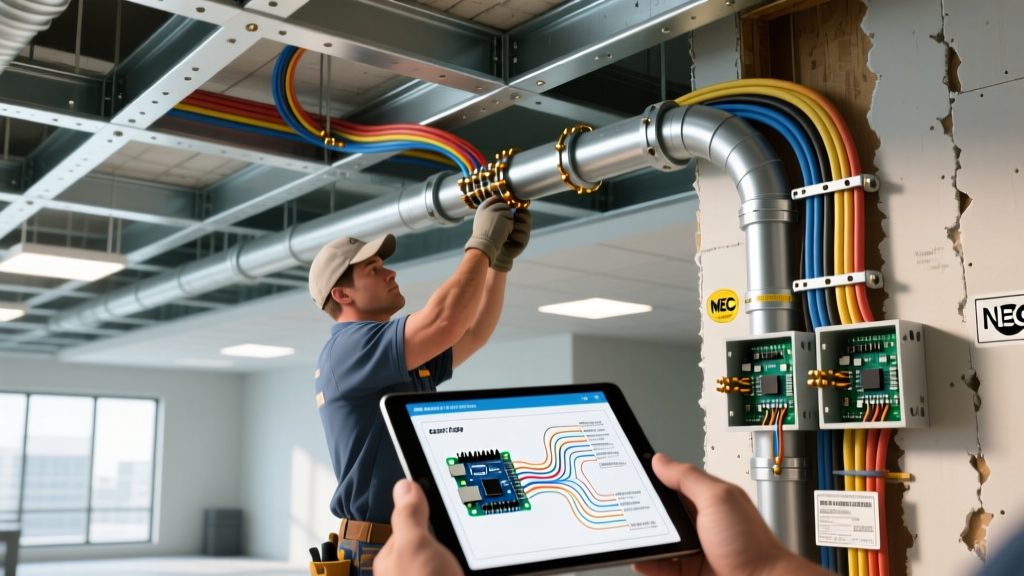
- THHN/THWN-2 in Conduit: If your run exceeds 50 feet, requires physical protection, or passes through masonry, pull four individual 6 AWG THHN conductors (Black, Red, White, Green) through 3/4-inch EMT conduit. This offers superior heat dissipation compared to bundled NM-B.
Bill of Materials: 2026 Range Circuit Essentials
The following table outlines the exact materials required for a standard 50-amp electric range installation, complete with industry-standard model examples and current estimated pricing.
| Component | Specification | Recommended Model Example | Est. Cost (2026) |
|---|---|---|---|
| Double-Pole Breaker | 50-Amp, 240V, 10kAIC | Square D QO250 (Visi-Trip) or HOM250CP | $12.00 - $18.00 |
| Branch Circuit Wire | 6/3 AWG Copper with Ground | Southwire SIMpull 6/3 NM-B (Black Jacket) | $4.00 / linear ft |
| Receptacle | NEMA 14-50R, 50A, 125/250V | Hubbell HBL9450A or Leviton 278-S00 | $15.00 - $28.00 |
| Wall Plate | Single Gang, NEMA 14-50 Cutout | Leviton 8086-W (Thermoset Resin) | $3.50 - $6.00 |
| Cable Clamp | 3/4" NM Cable Connector | Arlington Industries NM94 (Non-Metallic) | $1.50 each |
| Pigtail Wire (if needed) | 6 AWG Copper, Stranded | Polar Union 6 AWG Tinned Copper | $2.00 / ft |
Receptacle Configurations: The 4-Wire Mandate
One of the most critical electric range wiring requirements involves the receptacle configuration. Historically, ranges utilized a 3-prong NEMA 10-50 receptacle, which relied on the neutral wire to also serve as the equipment grounding conductor. This is a severe shock hazard and is strictly prohibited in new installations.
NEC Code Warning: Under NEC Article 250.140, new branch circuits for electric ranges must utilize a 4-wire configuration with a separate equipment grounding conductor. The 3-prong NEMA 10-50 is only permissible for existing, untouched installations in older homes. Always install a NEMA 14-50R for new construction or remodels.
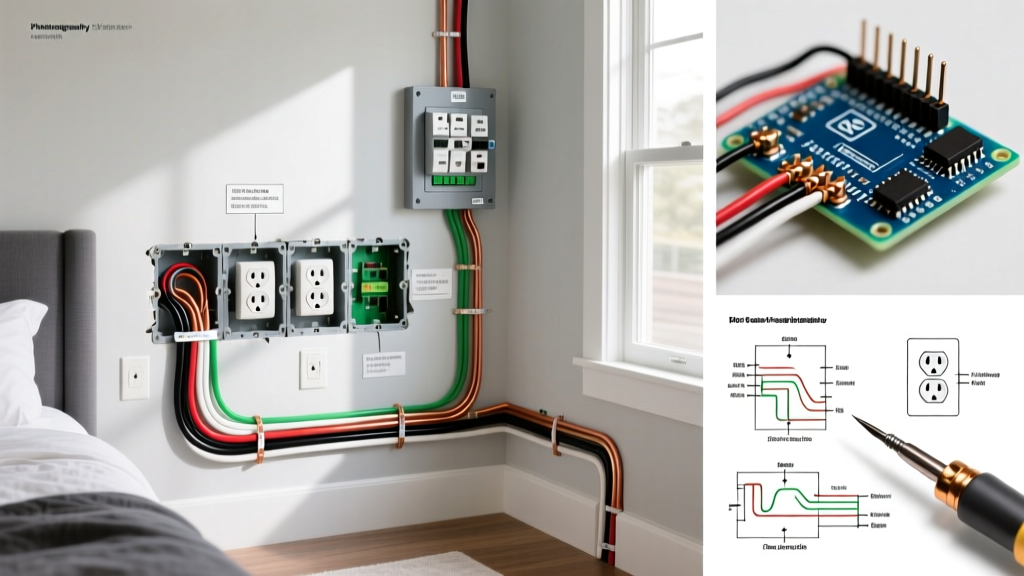
When wiring the NEMA 14-50R receptacle, pay strict attention to the terminal layout. The NEMA dimensional configurations dictate that the 'X' and 'Y' terminals are the 240V hot legs (Black and Red), the 'W' terminal is the Neutral (White), and the round pin is the Ground (Green/Bare). Never bond the neutral and ground at the receptacle; that bond must only exist at the main service panel.
The Professional Tool Kit for Range Installation
You cannot safely terminate 6 AWG wire and 50-amp breakers with standard household tools. The following tools are mandatory for a code-compliant installation.
1. Calibrated Torque Screwdriver
NEC Section 110.14(D) strictly requires that electrical connections be torqued to the manufacturer's specifications. While this code section explicitly mandates torque tools for terminals rated over 100 amps, local Authorities Having Jurisdiction (AHJs) in 2026 routinely enforce torque verification for 50-amp range breakers to prevent thermal failure. Most 50-amp Square D and Siemens breakers require a torque setting between 35 and 45 inch-pounds. Use a calibrated tool like the Wiha 64500 Insulated TorqueVario-S to ensure exact lug compression.
2. Heavy-Duty Wire Strippers
Stripping 6 AWG NM-B without nicking the copper conductor is difficult with standard pliers. A nicked conductor creates a localized hot spot that can melt insulation over time. Use a dedicated heavy-duty stripper like the Klein Tools 11055 (which handles up to 8 AWG solid, but requires care on 6 AWG) or step up to the Klein 11063W for clean 6 AWG cuts. Alternatively, use a high-quality utility knife to score the outer NM jacket, then use diagonal cutters to carefully peel the insulation back without touching the copper.
3. True-RMS Digital Multimeter
Before energizing the circuit, and immediately after, you must verify voltage and phase. A True-RMS multimeter like the Fluke 117 is essential. You should read 120V from Hot X to Neutral, 120V from Hot Y to Neutral, and exactly 240V from Hot X to Hot Y. If you read 0V across the hots, your breaker is not seated correctly on opposing bus bars.
4. Non-Contact Voltage Tester (NCVT)
Always verify the main panel bus bars or the specific breaker terminals are dead before working. Use a CAT IV rated NCVT, such as the Fluke 2AC-II, to ensure no back-fed voltage is present from shared neutrals or generator interlocks.
Critical Edge Cases and Failure Modes
Even with the right materials, improper technique leads to catastrophic failure. Be aware of these common edge cases:
- Aluminum Wire Oxidation: If your main feeder to a subpanel is aluminum, and you are pigtailing to copper for the range branch circuit, you must use approved Al/Cu wire connectors and apply an anti-oxidant compound like Noalox. Aluminum oxidizes rapidly when exposed to air, creating a high-resistance layer that generates immense heat and causes fires.
- Over-torquing Breaker Lugs: While under-torquing causes arcing, over-torquing a 50-amp breaker lug can strip the aluminum threads inside the breaker or snap the screw head, ruining a $15 breaker and delaying your inspection.
- Shared Neutral Violations: A 240V/120V range circuit utilizes the neutral to power the oven light, clock, and control board (120V loads). This neutral must be dedicated solely to this range circuit. Sharing it with a kitchen countertop receptacle circuit violates OSHA and NEC general wiring requirements regarding multi-wire branch circuits.
- Strand Splay in Terminals: When terminating stranded THHN wire into a breaker lug, ensure every single copper strand is captured inside the terminal box. A single stray strand touching the panel enclosure can cause a dead short and an arc flash.
Frequently Asked Questions
Can I install a GFCI breaker for my electric range?
Under current NEC guidelines, GFCI protection is generally not required for a dedicated 240V electric range receptacle unless it is located within 6 feet of a sink (which is a severe design flaw in most kitchens). Furthermore, the high inrush currents and electronic filtering in modern induction ranges frequently cause nuisance tripping on 50-amp GFCI breakers. Stick to a standard thermal-magnetic breaker unless your local AHJ explicitly mandates otherwise.
My range came with a 3-prong cord, but I installed a 4-prong outlet. What do I do?
Do not use a cheater adapter. Purchase a 4-prong, 50-amp range power cord (NEMA 14-50P). Remove the 3-prong cord from the range, and critically, remove the green bonding strap or wire inside the range's terminal block that connects the neutral terminal to the metal chassis. In a 4-wire setup, the chassis must only be connected to the dedicated green ground wire, never the white neutral.
Is it acceptable to run the 6/3 NM-B cable through the floor joists without a conduit?
Yes, NM-B cable is approved for installation through bored holes in wooden floor joists in dry, residential locations. However, if the cable is run perpendicular to the joists in an unfinished basement where it could be subject to physical damage, it must be protected by running board or conduit. Always maintain a minimum 1.25-inch setback from the edge of the joist to prevent drywall screws from piercing the cable.