
The Financial and Technical Reality of Edelbrock Choke Wiring
Upgrading to an Edelbrock Performer series carburetor—such as the legendary 1406 (600 CFM) or the 1906 (500 CFM) AVS2—is a staple of V8 engine optimization. However, the transition from a manual or divorced heat-tube choke to an electric choke cap introduces specific electrical demands that many hobbyists miscalculate. Properly wiring electric choke Edelbrock setups is not merely about finding a 12-volt source; it requires an understanding of voltage drop, thermal dynamics, and under-hood environmental standards.
From a cost estimation perspective for 2026, the financial gap between a botched DIY job (resulting in fouled spark plugs, rich running conditions, and ruined catalytic converters) and a properly engineered relay-based harness is substantial. This guide breaks down the exact material costs, labor estimates, and electrical engineering principles required to wire your Edelbrock electric choke correctly the first time.
2026 Cost Estimation Matrix: DIY vs. Professional Installation
Whether you are converting a manual choke using an Edelbrock #1929 Electric Choke Cap or wiring a factory-equipped electric model, the component list remains consistent. Below is a realistic cost breakdown based on current 2026 automotive electrical component pricing.
| Component | Specification / Part Number | Est. DIY Cost (2026) | Shop Markup / Labor |
|---|---|---|---|
| Electric Choke Cap | Edelbrock #1929 (Replacement Cap) | $55.00 | $75.00 |
| Power Wire | 14 AWG GXL (XLPE Insulation) | $8.50 (15ft spool) | $15.00 |
| Relay | 4-Pin 30A Bosch-Style Mini Relay | $9.00 | $18.00 |
| Connectors & Terminals | Metri-Pack 280 / Adhesive Heat Shrink | $12.00 | $25.00 |
| Inline Fuse Holder | 15A ATC Blade Fuse & Holder | $4.50 | $10.00 |
| Professional Labor | 1.5 Hours @ $135/hr (Avg. Shop Rate) | $0.00 | $202.50 |
| Total Estimated Cost | Complete Reliable Conversion | $89.00 | $345.50 |
As the matrix illustrates, the DIY route is highly cost-effective, provided you source the correct automotive-grade materials. The primary cost driver in professional installations is the labor associated with routing wires through the firewall, tapping into the ignition switch harness, and fabricating loom-protected circuits.
The Ignition Coil Voltage Trap (Why Amateurs Fail)
The most pervasive and destructive myth in classic car wiring is that the ignition coil's positive terminal is a suitable 12V switched source for an electric choke. This is categorically false for 90% of vintage V8 applications.
Older vehicles utilize a ballast resistor or a resistance wire integrated into the factory wiring harness. During the 'crank' position, the starter solenoid bypasses this resistor, sending a full 12V to the coil to ensure a hot spark while the battery voltage drops. However, once the key returns to the 'run' position, the resistance wire drops the voltage to the coil down to 7V–9V to prevent the ignition points or early electronic modules from burning out.
Expert Warning: The heating element inside the Edelbrock electric choke cap requires a continuous, stable 12V supply to reach the ~150°F threshold necessary to expand the internal bimetallic spring. If wired to a 7V coil source, the choke will only partially open, causing a perpetually rich air/fuel mixture, severe carbon buildup, and a 15-20% drop in fuel economy.
The Correct Relay-Based Wiring Blueprint
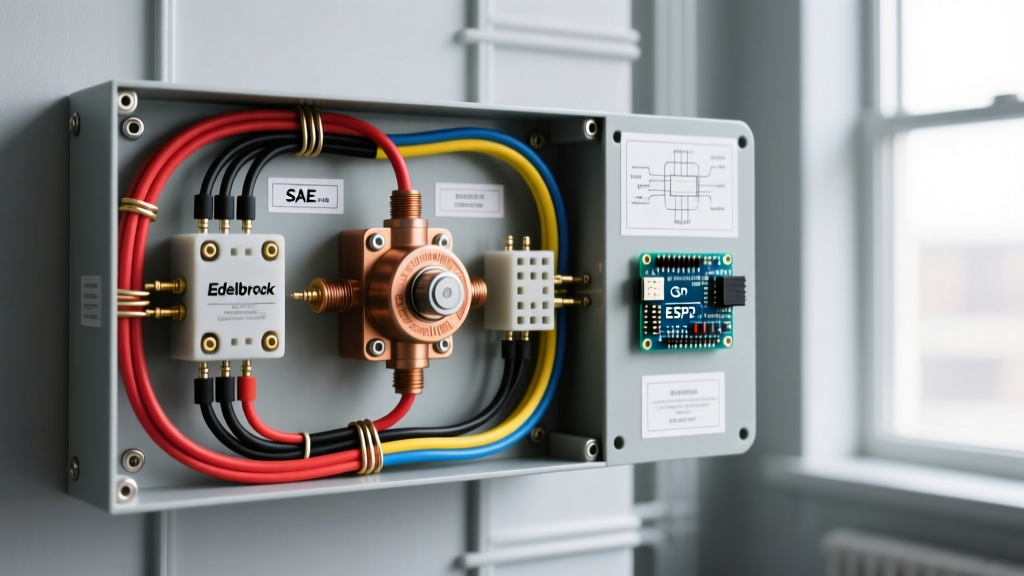
To guarantee a solid 12V supply without overloading your factory ignition switch, you must use a standard Bosch-style 4-pin relay. This setup uses a low-amperage switched signal to trigger a high-amperage direct battery feed.
Step-by-Step Relay Pinout Configuration
- Pin 30 (Power In): Run 14 AWG wire directly from the positive battery terminal. Crucial: Install a 15A ATC inline fuse within 6 inches of the battery connection to protect against short circuits.
- Pin 87 (Power Out): Run 14 AWG wire from this terminal to the positive (+) spade terminal on the Edelbrock choke cap.
- Pin 86 (Trigger In): Connect a 16 AWG wire to a true 12V ignition-switched 'Run' source. Ideal locations include the wiper motor fuse, the radio fuse, or a dedicated accessory fuse block. Verify with a multimeter that this source reads >11.5V with the engine running.
- Pin 85 (Ground): Secure to a clean, bare-metal chassis ground using a ring terminal and a star washer to bite through paint and corrosion.
The negative (-) side of the Edelbrock choke cap grounds internally through the carburetor's main body, down through the mounting studs, and into the intake manifold. Ensure your carburetor base gasket does not feature any conductive-blocking sealants that might isolate the ground path, though standard Edelbrock installations rarely face this issue.
Wire Gauge and Insulation Standards (SAE J1128)
When sourcing wire for under-hood applications, avoid standard PVC-insulated wire found in big-box hardware stores. PVC becomes brittle and melts at sustained temperatures above 105°C (221°F). According to the SAE J1128 Low Tension Primary Cable Standard, automotive engine bay wiring should utilize Cross-Linked Polyethylene (XLPE) insulation, commonly designated as GXL or TXL wire.
GXL wire withstands continuous temperatures up to 125°C (257°F), resists abrasion from engine vibration, and repels under-hood chemicals like oil and coolant. While the choke's heating element only draws approximately 1 amp (based on an internal resistance of ~12 ohms), utilizing 14 AWG wire for the main power feed is recommended over 18 AWG. The thicker copper stranding provides superior mechanical resilience against the high-frequency vibration of a V8 engine, preventing internal copper fatigue and subsequent open-circuit failures.
Thermal Calibration and Adjustment Costs
Once the electrical circuit is verified, the choke cap must be calibrated. The Edelbrock Performer Series Carburetors feature a black plastic cap with an index mark that aligns with a divot on the aluminum housing.
- Baseline Setting: Align the mark directly with the divot. This is the factory neutral setting.
- High Altitude / Cold Climates: Rotate the cap one or two notches 'Rich' (clockwise) to keep the choke closed longer, aiding cold starts in thin air.
- Sea Level / Hot Climates: Rotate the cap one or two notches 'Lean' (counter-clockwise) to allow the choke to open faster, preventing flooding.
Performance Metric: At an ambient temperature of 70°F, a properly wired and calibrated Edelbrock electric choke should take exactly 3 to 5 minutes to fully open the choke flap to the vertical position. If it opens in under 2 minutes, the circuit is likely receiving excess voltage or the cap is set too lean. If it takes longer than 6 minutes, verify your voltage at the cap with a digital multimeter.
Diagnostic Troubleshooting & Edge Cases
Even with a meticulous installation, edge cases occur. Here is a rapid-diagnostic framework for common failure modes:
- Choke Never Opens: Disconnect the wire at the cap. Turn the key to 'Run'. Measure voltage between the disconnected wire and the carburetor body. If it reads less than 11.5V, your relay trigger source is faulty, or the relay contacts are pitted. If it reads 12V, the internal heating element in the choke cap has failed (open circuit) and the cap must be replaced.
- Choke Opens Too Fast (Cold Stalling): Verify the cap is not rotated too far into the 'Lean' position. Additionally, check the ground path. A poor ground at the relay (Pin 85) can cause the relay to chatter, delivering intermittent voltage to the choke.
- Battery Drain Overnight: This occurs if Pin 30 and Pin 87 on the relay are swapped, or if the trigger source (Pin 86) is wired to a constant 12V source instead of a switched ignition source, keeping the relay engaged and the choke heating element active while the car is parked.
By investing the $89 in high-quality GXL wire, a proper Bosch-style relay, and adhesive-lined heat shrink connectors, you eliminate the variables that cause 95% of all electric choke failures. Wiring your Edelbrock correctly ensures crisp cold starts, optimal fuel atomization, and the legendary throttle response the Performer series is known for.