
The Reality of Aging Electrical Infrastructure
If your home was built before 1985, the electrical system hiding behind your drywall is likely struggling to keep pace with modern power demands. An electric wiring upgrade is no longer just a luxury for smart-home enthusiasts; it is a critical safety intervention. According to the National Fire Protection Association (NFPA), electrical failures or malfunctions are consistently among the leading causes of home structure fires. Upgrading from degraded cloth-sheathed wiring, undersized 60-amp services, or ungrounded knob-and-tube systems to modern, code-compliant copper infrastructure protects your property and unlocks the capacity needed for EV chargers, heat pumps, and high-draw appliances.
This comprehensive guide breaks down the exact costs, material specifications, and execution steps required to plan and complete a whole-home electric wiring upgrade in 2026.
Diagnostic Signs Your Home Needs an Electric Wiring Upgrade
Before ripping open walls, you need to confirm the scope of the degradation. Look for these critical failure indicators that mandate a full or partial rewire:
- Frequent Breaker Trips: If your 15A or 20A breakers trip under normal loads (e.g., running a microwave and a toaster simultaneously), your circuits are severely overloaded.
- Warm or Discolored Outlets: Brown scorch marks or faceplates that are warm to the touch indicate high-resistance connections, often caused by degraded wire insulation or failing backstab terminations.
- Two-Prong Ungrounded Receptacles: Homes with ungrounded systems lack a safe path for fault currents, rendering modern surge protectors useless and posing a severe shock hazard.
- Presence of Aluminum Branch Wiring: Homes wired between 1965 and 1973 often used AA-1350 aluminum alloy for branch circuits. The Consumer Product Safety Commission (CPSC) warns that unmodified aluminum wiring is 55 times more likely to reach fire hazard conditions at connections than copper.
- Obsolete Panel Brands: Federal Pacific Electric (FPE) Stab-Lok, Zinsco, and Challenger panels have documented failure rates where breakers fail to trip during short circuits. These must be replaced immediately during any wiring upgrade.
2026 Cost Breakdown for Whole-Home Rewiring
Pricing for an electric wiring upgrade varies heavily based on home size, wall accessibility (open studs vs. finished drywall), and local labor rates. As of 2026, licensed journeyman electricians charge between $95 and $145 per hour. Below is a realistic cost matrix for a full rewire, including a 200-amp panel upgrade.
| Home Size (Sq Ft) | Estimated Linear Feet of Wire | Average Cost Range (2026) | Timeline |
|---|---|---|---|
| 1,000 - 1,200 | 2,500 - 3,200 | $5,500 - $9,000 | 5 - 7 Days |
| 1,500 - 1,800 | 4,000 - 5,500 | $9,500 - $15,000 | 7 - 10 Days |
| 2,200 - 2,500 | 6,000 - 8,000 | $14,000 - $21,000 | 10 - 14 Days |
| 3,000+ | 9,000+ | $20,000 - $32,000+ | 14 - 21 Days |
Note: If your home requires extensive drywall cutting and patching, add 20% to 35% to the total project cost for finishing work.
Navigating Modern NEC Code Requirements
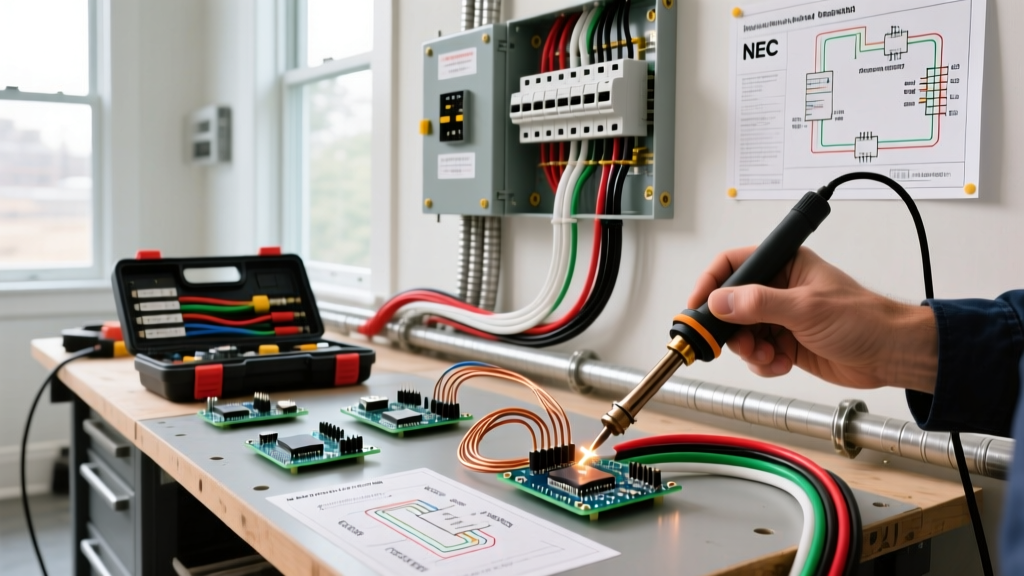
A proper electric wiring upgrade must comply with the latest National Electrical Code (NEC) adopted by your municipality. Most jurisdictions in 2026 are enforcing the 2023 NEC cycle, which introduced stricter safety mandates:
AFCI and GFCI Expansion
Arc-Fault Circuit Interrupters (AFCI) are now required in virtually all living spaces, including bedrooms, living rooms, and hallways (NEC 210.12). Ground-Fault Circuit Interrupters (GFCI) are mandatory in kitchens, bathrooms, garages, crawlspaces, and outdoor receptacles (NEC 210.8). When upgrading, you must install dual-function (AFCI/GFCI) breakers or combination receptacles to meet these overlapping requirements.
Tamper-Resistant (TR) Receptacles
All 15A and 20A, 125V and 250V non-locking receptacles must be tamper-resistant. These feature internal shutters that prevent children from inserting foreign objects into the slots.
Grounding and Bonding
Upgrading to a 200-amp service requires a robust grounding electrode system. This typically involves bonding to two 8-foot copper ground rods driven 6 feet apart, supplemented by a connection to the metal municipal water main (if present) and a ground wire sized to 4 AWG copper (NEC 250.66).
Step-by-Step Execution: From Panel to Receptacle
Executing a whole-home rewire requires meticulous planning to minimize drywall damage. Here is the professional workflow:
- Load Calculation (NEC Article 220): Calculate the general lighting load (3 VA per sq ft), small appliance circuits (two 20A circuits minimum for kitchens), and dedicated loads (HVAC, EV charger, electric range). This dictates your panel size—usually 200A for modern homes.
- Panel Installation: Mount a high-quality load center. The Square D QO200TRCP (200A, 40-space) or Siemens EQ 200A are industry standards known for reliable bus bar designs and robust breaker seating.
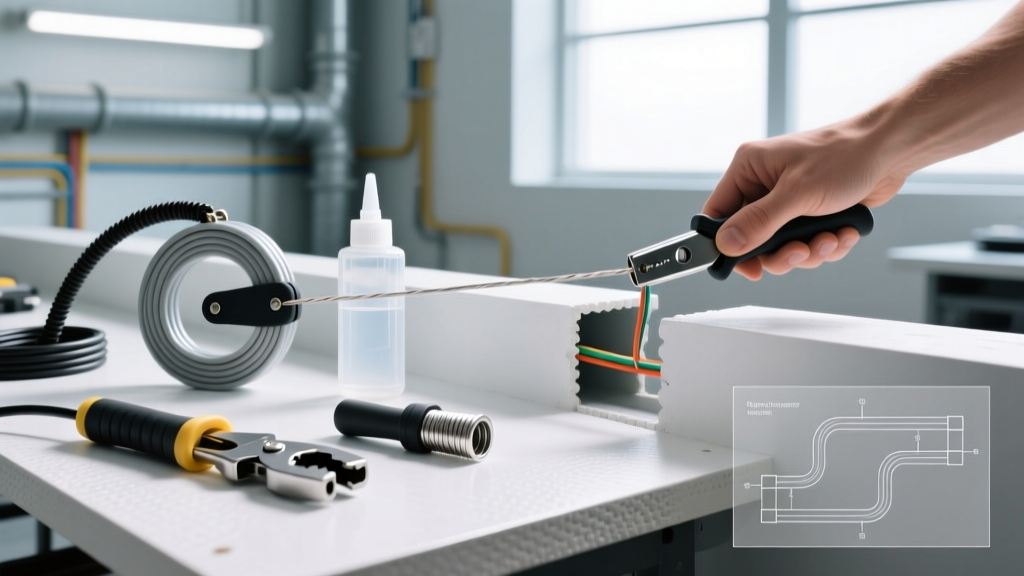
- Rough-In and Fishing: Use a Greenlee 7/8-inch flexible drill bit to bore through top and bottom plates from the attic and basement. For finished walls, use a fiberglass fish tape and a Milwaukee M18 cable ripper to pull Southwire 12/2 NM-B (Romex) without tearing the paper jacket.
- Box Installation: Replace shallow 1960s metal boxes with deep 22-cubic-inch plastic or metal old-work boxes to accommodate the volume of modern AFCI/GFCI devices and smart switches.
- Termination and Torque: NEC 110.14(D) mandates the use of calibrated torque tools. When terminating 12 AWG copper on standard 20A receptacles, apply exactly 14 to 16 inch-pounds of torque. Under-torquing leads to thermal expansion/contraction cycles that loosen connections over time, causing arcing.
Material Selection: Wire Gauge and Jacket Types
Choosing the right conductor is vital. While Non-Metallic Sheathed Cable (NM-B) is standard for interior dry locations, specific areas require different approaches.
| Wire Type | Gauge / Ampacity | Best Application | 2026 Cost per 250ft Roll |
|---|---|---|---|
| NM-B (Romex) | 14 AWG (15A) | General lighting circuits, bedrooms | $75 - $90 |
| NM-B (Romex) | 12 AWG (20A) | Kitchen small appliance, bathroom, garage | $105 - $130 |
| NM-B (Romex) | 10 AWG (30A) | Electric dryers, water heaters (120/240V) | $160 - $195 |
| THHN/THWN-2 | 8 AWG to 4/0 | Subpanels, EV chargers, main feeders in EMT conduit | Varies by foot |
Pro Tip: Many master electricians exclusively use 12 AWG wire for all 15A and 20A receptacle circuits, even though 14 AWG is code-compliant for 15A. The thicker 12 AWG copper reduces voltage drop on long runs and provides a thermal buffer for future load increases.
Common Failure Modes and Edge Cases
The Backstabbing Trap: One of the most common failure modes in older homes is the use of 'backstab' (push-in) connections on receptacles. These rely on a small spring-metal tang that grips the wire. Over years of thermal cycling, the spring loses tension, increasing resistance and generating extreme heat. During your electric wiring upgrade, always strip the wire and use the side-screw terminals or a properly torqued pigtail connection.
Another edge case involves multi-wire branch circuits (MWBC). If your older home shares a neutral wire between two hot legs, upgrading the panel requires installing handle-tied or 2-pole AFCI breakers. Failing to do so can result in an overloaded neutral wire if the two hot legs are accidentally placed on the same phase, creating a severe fire hazard.
Frequently Asked Questions
Can I do a partial electric wiring upgrade instead of a whole-home rewire?
Yes, but it is often less cost-effective in the long run. If you only rewire the kitchen and bathrooms, the electrician still has to mobilize, pull permits, and set up staging. If the rest of the home relies on 60-year-old cloth-sheathed wire, the insurance company may still flag the property. A phased approach is acceptable if you prioritize the panel upgrade and high-risk areas (kitchen, bathrooms, laundry) in phase one.
Will my homeowner's insurance cover the cost of rewiring?
Standard homeowner's insurance policies do not cover preventative maintenance or upgrades like replacing aging wiring. However, if an electrical fire occurs due to faulty wiring, the resulting structural damage is covered. Furthermore, completing a certified electric wiring upgrade can often qualify you for a 10% to 15% premium discount, as it drastically reduces the insurer's risk profile.
How do I prepare my home for the electricians?
Clear a 3-foot perimeter around the main electrical panel. Move furniture away from walls where outlets will be replaced or added. If the crew needs attic or crawlspace access, ensure those entry points are unobstructed. Finally, plan for temporary power outages; the utility company will need to disconnect the meter while the new 200A service mast and panel are swapped, which usually takes 4 to 6 hours.