
The Foundation of Residential Electrical Work
Tackling home electrical projects can save you between $75 and $150 per hour in professional electrician fees, but it demands a rigorous understanding of safety protocols and National Electrical Code (NEC) standards. Whether you are adding a new receptacle in a garage or mapping out a full basement remodel, understanding the basics of electrical wiring in homes is your first line of defense against arc faults, overloads, and fire hazards. According to the Electrical Safety Foundation International (ESFI), electrical malfunctions cause over 40,000 home fires annually. This guide strips away the jargon and provides actionable, code-compliant frameworks for your 2026 residential wiring projects.
Safety Override: Never work on a live panel. Always use a non-contact voltage tester (like the Klein Tools NCVT-4IR) at the termination point before touching any conductor. If you are unsure about your main service panel's condition, hire a licensed professional.
Anatomy of a Modern Home Electrical System
Before pulling any wire, you must understand how power flows from the utility grid to your devices. A standard modern home operates on a split-phase 120/240V system.
- Service Drop & Meter: Power arrives via overhead lines or underground conduit, passing through the utility meter which tracks consumption.
- Main Service Panel: The central distribution hub. In 2026, new construction and major remodels standardly require a 200-amp to 400-amp main panel to accommodate EV chargers and heat pumps.
- Branch Circuits: These are the individual pathways (protected by breakers) that deliver power to specific rooms or appliances.
Wire Gauges, Ampacity, and 2026 Pricing
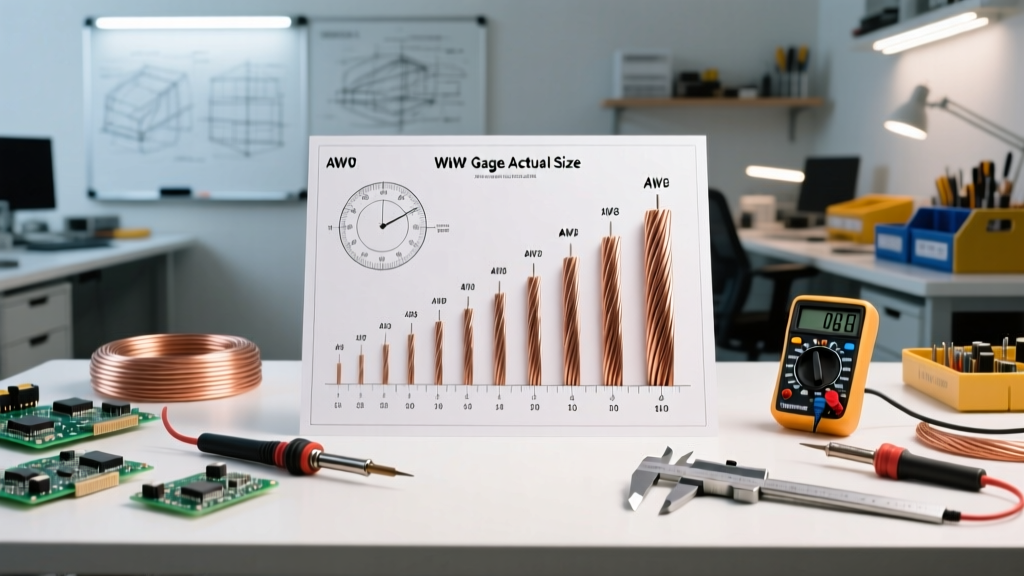
Using the wrong wire gauge for a breaker size is a leading cause of residential electrical fires. The NEC strictly dictates ampacity limits based on the American Wire Gauge (AWG) system. Below is the standard reference for copper Non-Metallic (NM-B) sheathed cable used in residential branch circuits.
| Wire Gauge (AWG) | Max Ampacity | Standard Breaker Size | Common Residential Use Case | Avg. Cost per 250ft Spool (2026) |
|---|---|---|---|---|
| 14 AWG | 15 Amps | 15A | General lighting, smoke detectors | $95 - $115 |
| 12 AWG | 20 Amps | 20A | Kitchen/bath receptacles, garage outlets | $130 - $160 |
| 10 AWG | 30 Amps | 30A | Electric dryers, window AC units | $210 - $250 |
| 8 AWG | 40 Amps | 40A | Electric ranges, large EV chargers | $350 - $420 |
| 6 AWG | 55 Amps | 50A/60A | Subpanels, tankless electric water heaters | $550 - $650 |
Pro-Tip: The 80% Continuous Load Rule
If a device runs for three hours or more continuously (like a space heater or EV charger), the NEC requires the circuit to be derated by 80%. Therefore, a 20-amp circuit should only carry a maximum continuous load of 16 amps.
Decoding Cable Types and Color Standards
Choosing the correct cable jacket is just as critical as the copper gauge inside. Here are the three primary cables you will encounter in home wiring projects:
- NM-B (Non-Metallic Sheathed): Commonly known by the brand name Romex. Used for dry, interior locations. It contains hot, neutral, and bare ground wires wrapped in a PVC jacket.
- UF-B (Underground Feeder): Features a solid, moisture-resistant plastic jacket encasing the individual wires. Mandatory for direct burial or damp locations like outdoor post lights.
- THHN/THWN-2: Individual conductors pulled through EMT (Electrical Metallic Tubing) or PVC conduit. Required for exposed runs in garages, basements, and outdoor enclosures.
Insulation Color Coding
Standardization prevents fatal cross-wiring. Always adhere to these color rules:
- Black / Red: Ungrounded (Hot) conductors carrying live voltage.
- White / Gray: Grounded (Neutral) conductors completing the circuit back to the panel.
- Bare Copper / Green: Equipment Grounding Conductors (EGC) providing a safe path for fault currents.
Edge Case Warning: In 3-way switch loops, a white wire is often used as a traveling hot wire. The NEC mandates that this white wire must be re-identified with black electrical tape or paint at both termination points to warn future DIYers.
NEC Code Updates: AFCI and GFCI Requirements
The National Fire Protection Association (NFPA) updates the NEC every three years, and by 2026, the widespread adoption of the 2023/2026 codes has drastically expanded protection requirements.
GFCI (Ground-Fault Circuit Interrupter)
GFCIs protect humans from lethal shocks by detecting micro-imbalances in current (as low as 4-6 milliamps). They are strictly required in any area where water and electricity intersect: kitchens, bathrooms, garages, crawlspaces, unfinished basements, and all outdoor receptacles.
AFCI (Arc-Fault Circuit Interrupter)
AFCIs protect the home from fires caused by arcing (sparking) due to damaged wires or loose connections. Modern combination-type AFCI breakers are now required on almost all 15A and 20A, 120V branch circuits supplying living rooms, bedrooms, hallways, and closets.
Step-by-Step: Adding a 20A Receptacle Circuit
Let us apply the basics of electrical wiring in homes to a practical scenario: running a new 20-amp dedicated circuit to a home workshop.
Step 1: Panel Box Fill and Breaker Selection
Verify your panel has physical space for a new single-pole breaker. For a Square D Homeline panel, purchase a 20A Combination AFCI breaker (Model: HOM120CAFI, approx. $55). Ensure the main breaker is switched OFF before removing the panel dead-front cover.
Step 2: Calculate Box Fill (NEC Article 314.16)
Do not stuff wires into an undersized junction box. For 12 AWG wire, the NEC requires 2.25 cubic inches of volume per conductor. A standard single-gang deep plastic box (22.5 cubic inches) can comfortably hold up to 10 conductors, which is sufficient for passing power through to a second outlet.
Step 3: Routing and Stripping the NM-B Cable
Run 12/2 NM-B cable from the panel to the first receptacle box. Secure the cable with plastic staples within 8 inches of the box and every 4.5 feet thereafter. Strip the outer PVC jacket exactly 1/4 inch past the box clamp. Strip the individual copper conductors using a precision tool like the Klein Tools 11063W, removing exactly 3/4 inch of insulation for receptacle hookups.
Step 4: Termination and Torque
Loop the bare ground wire around the green grounding screw. Connect the white neutral to the silver terminal and the black hot to the brass terminal. Critical Step: Use a calibrated torque screwdriver. Over-tightening strips the screw head; under-tightening causes resistance, heat, and eventual arcing. Most standard 20A receptacles require 12 to 14 inch-pounds of torque.
Material Cost Breakdown for a Standard 20A Circuit
Budgeting accurately prevents mid-project trips to the hardware store. Here is an estimated material cost for adding a 50-foot run with two 20A tamper-resistant receptacles in 2026.
| Component | Specification | Estimated Cost |
|---|---|---|
| Cable | 12/2 NM-B (50 ft cut) | $28.00 |
| Breaker | 20A Single-Pole AFCI | $55.00 |
| Receptacles | 20A Tamper-Resistant (Qty 2) | $8.00 |
| Boxes & Covers | Single-Gang Deep Boxes + Plates | $6.50 |
| Connectors & Staples | NM Cable Clamps & 1/2" Staples | $4.50 |
| Total Material Cost | $102.00 |
Final Safety Inspections and Best Practices
Completing the physical wiring is only half the job. The Occupational Safety and Health Administration (OSHA) emphasizes that verification is the final pillar of electrical safety. Before restoring power to the main panel:
- Perform a visual sweep to ensure no bare ground wires are touching hot brass terminals.
- Verify all wire nuts (use Ideal 35-090 for 12 AWG pigtails) are twisted tight with no exposed copper visible below the skirt.
- Ensure the panel dead-front cover is replaced before flipping the main breaker back to the ON position.
Finally, if your local municipality requires a permit for new branch circuits, schedule your rough-in and final inspections. Mastering the basics of electrical wiring in homes is not just about making the power turn on; it is about engineering a resilient, code-compliant system that protects your property and family for decades.