
Strategic Planning for Electrical Tape in Home Renovations
When mapping out a whole-house renovation or a major commercial remodel, electrical tape for wiring is rarely the first item on the procurement list. Most contractors and DIYers focus on copper pricing, panel upgrades, and smart home infrastructure. However, treating electrical tape as a generic, interchangeable commodity is a critical planning error that leads to failed inspections, degraded splices, and expensive rework. In 2026, with the widespread adoption of the latest NFPA 70: National Electrical Code (NEC) standards, conductor identification and environmental sealing requirements are stricter than ever.
Proper renovation planning requires matching the exact tape chemistry to the specific application environment—whether you are phasing large-gauge feeder wires in a new subpanel, sealing underground landscape lighting splices, or safely encapsulating brittle cloth wiring in a 1920s bungalow. This guide breaks down the technical specifications, code requirements, and budgeting realities of selecting the right electrical tape for your renovation project.
The Renovation Tape Arsenal: Beyond Basic Black Vinyl
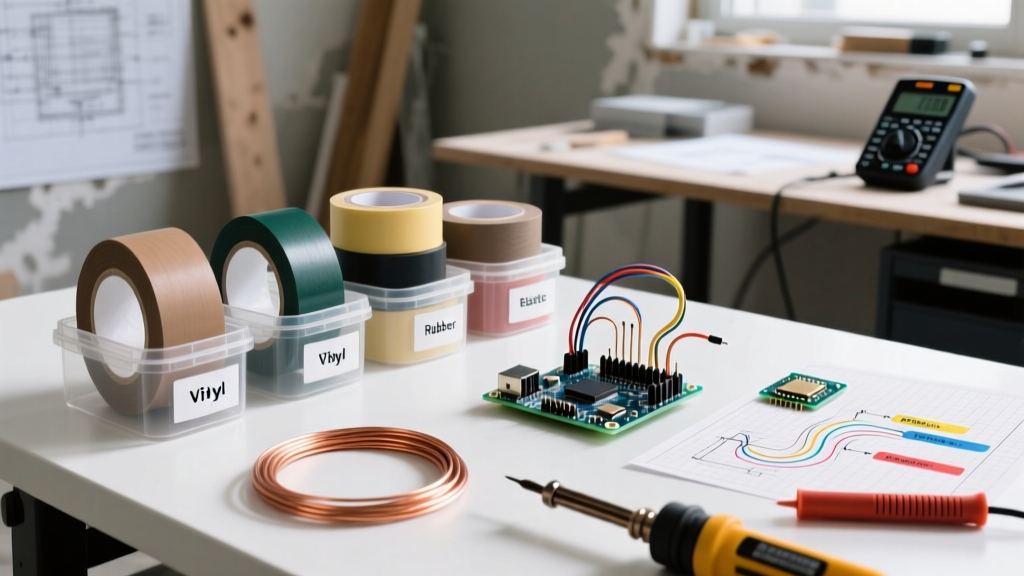
A well-planned renovation requires a diversified tape inventory. Relying solely on standard black vinyl will result in adhesion failures in high-heat panels and moisture ingress in exterior applications. Here are the four essential categories you need to spec out for your project:
1. Premium Vinyl (PVC) Tape
Premium vinyl tape is the workhorse for general-purpose insulation and phasing. For a 2026 remodel, the industry standard remains the 3M Super 33+. It features an 8.5-mil thickness, a continuous temperature rating of 176°F (80°C), and an intermittent rating of 221°F (105°C). Its aggressive acrylic adhesive is designed to withstand the heat generated inside crowded junction boxes and load centers. Avoid economy 7-mil tapes (like the Temflex 1700) for panel work; they lack the dielectric strength and stretch-memory required for tight, secure wraps on irregular surfaces.
2. Rubber Splicing Tape (Self-Fusing)
When renovating outdoor circuits, HVAC disconnects, or well pumps, vinyl tape is insufficient. Rubber splicing tape, such as 3M Scotch 23, contains no adhesive. Instead, it is an Ethylene Propylene Rubber (EPR) tape that fuses to itself when stretched. It can stretch up to 1,000% of its original length, creating a solid, moisture-proof rubber block that is rated for splicing up to 69kV. It must always be over-wrapped with vinyl tape to protect it from UV degradation and physical abrasion.
3. Mastic Sealing Tape
For underground conduit sweeps, direct-burial splices, and exterior wall penetrations, mastic tape is non-negotiable. 3M 2228 is a butyl rubber mastic tape that is highly conformable and provides a permanent moisture seal. Unlike vinyl, mastic does not rely on surface adhesion; it molds into the crevices of the wire insulation, completely blocking water migration.
4. Friction Tape
Friction tape is a cotton-cloth tape impregnated with rubber adhesive. While largely obsolete in new construction, it is vital for historical renovations. If you are tying into existing knob-and-tube or early BX cable where the original cloth insulation is brittle, modern vinyl tape adhesives can sometimes react with or fail to grip the old cloth. Friction tape provides a safe, code-compliant mechanical wrap for these legacy splices before applying a final layer of modern vinyl.
NEC Code Compliance and Conductor Phasing
One of the most common renovation inspection failures involves improper conductor identification. According to NEC Article 310.110(C), conductors must be identified by phase and neutral. While you can purchase colored THHN wire, it is highly cost-prohibitive for large feeder wires (4 AWG and larger), which are typically only manufactured in black, white, and red. The NEC permits the use of colored electrical tape for wiring at termination points to identify phases.
Below is the standard 2026 phasing color matrix for common residential and light commercial systems:
| System Voltage | Phase A | Phase B | Phase C | Neutral | Ground |
|---|---|---|---|---|---|
| 120/240V (Single Phase) | Black | Red | N/A | White / Gray | Green / Bare |
| 120/208V (3-Phase Y) | Black | Red | Blue | White / Gray | Green / Bare |
| 277/480V (3-Phase Y) | Brown | Orange | Yellow | White / Gray | Green / Bare |
Pro-Tip for Remodels: When using tape for phasing large feeder wires, NEC requires the tape to be applied at every point where the conductor is accessible (e.g., both ends of a conduit run and inside every pull box). Do not just tape the lugs; wrap the wire at least two inches back from the termination to ensure the color is visible when the panel cover is removed.
Budgeting Your Tape Needs for a Whole-House Remodel
Underestimating tape consumption leads to mid-project supply runs that waste labor hours. For a standard 2,500-square-foot gut renovation involving a 200A service upgrade, two subpanels, and exterior lighting, here is a realistic 2026 procurement budget and quantity estimate:
- Premium Vinyl (3/4 inch): 12 rolls (Black) + 2 rolls each (Red, Blue, White, Green). Est. Cost: $5.50/roll = $110 total.
- Economy Vinyl (3/4 inch): 6 rolls for temporary bundling, pulling grips, and marking non-electrical lines. Est. Cost: $2.00/roll = $12 total.
- Rubber Splicing Tape (1.5 inch): 4 rolls for exterior HVAC, well pump, and landscape lighting splices. Est. Cost: $9.50/roll = $38 total.
- Mastic Tape (1.5 inch): 3 rolls for underground conduit sweeps and exterior penetrations. Est. Cost: $14.00/roll = $42 total.
- Total Tape Budget: Approximately $202. (A negligible fraction of a $30,000+ electrical rough-in budget, but critical for passing inspection).
Step-by-Step: The 'Half-Lap' Taping Technique
Even the most expensive 3M Electrical Tape will fail if applied incorrectly. The industry-standard method for insulating a wire nut or split-bolt splice is the half-lap wrap. Follow these steps to ensure a void-free, dielectric seal:
- Prepare the Surface: Ensure the wire insulation is clean and free of drywall dust, oil, or moisture. Wipe with a clean rag if necessary.
- Anchor the Tape: Start wrapping on the wire insulation about one inch behind the end of the splice. Do not stretch the tape on this first anchor wrap.
- Apply Tension: As you move over the splice, pull the tape firmly so it stretches slightly (about 75% of its breaking strength). This stretch activates the adhesive and creates a tight, conformal seal.
- Half-Lap Overlap: Each subsequent wrap should overlap the previous wrap by exactly 50% (half the width of the tape). This ensures a double layer of tape over every square millimeter of the splice.
- Cap the End: When you reach the end of the splice, extend the tape one inch past the end of the wire nut or splice. Fold this empty 'flag' of tape back over itself onto the splice, then continue wrapping back down the wire. This prevents the sharp edges of the wire nut from puncturing the tape end and unraveling the wrap.
Common Renovation Tape Failures and Edge Cases
Renovation environments present unique hazards that can compromise electrical tape. Understanding these edge cases will save you from costly callbacks and OSHA electrical safety violations.
Cold Weather Application Failures
Standard vinyl tape adhesive becomes brittle and loses its tack at temperatures below 50°F (10°C). If you are doing a winter remodel or working in an unheated garage, standard tape will 'flag' (peel back at the ends) within hours. Solution: Keep your tape rolls in your pockets or a heated tool bag to maintain core temperature, or switch to a cold-weather rated tape like 3M 88, which utilizes a specialized adhesive formulated for freezing temperatures.
Telescoping and Edge Oozing
If you notice the tape sliding off the roll in a cone shape (telescoping) or oozing adhesive at the edges while sitting in your tool belt, the tape has been exposed to extreme heat or UV light during storage. This destroys the adhesive's shear strength. Always store your tape inventory in a climate-controlled environment, ideally below 77°F (25°C), and out of direct sunlight.
Heat Shrink vs. Tape in Tight Boxes
While heat shrink tubing provides a superior, permanent seal for in-line splices, it is often impractical in crowded remodel junction boxes where wires are already stapled and routed. In deep boxes with multiple 12/3 and 14/3 Romex cables, trying to slide heat shrink over a pigtail splice is nearly impossible without damaging adjacent wire insulation. High-quality vinyl tape remains the most practical, code-compliant solution for box-splices, provided the half-lap technique is executed with proper tension.
Final Thoughts for the Renovator
Electrical tape for wiring is a highly engineered chemical product, not just a sticky roll of plastic. By planning your tape inventory around the specific environmental and code requirements of your renovation—utilizing premium vinyl for panels, self-fusing rubber for exterior splices, and mastic for moisture barriers—you ensure the longevity and safety of your electrical infrastructure. Budgeting an extra $150 for top-tier tape products is one of the highest-ROI decisions you can make in your electrical rough-in phase.