
The True Cost of 12V Electric Choke Wiring in 2026
Upgrading a classic carburetor from a manual cable or unreliable heat-stove setup to a 12V electric choke is one of the most effective drivability modifications you can make on a vintage vehicle or marine engine. However, improper electric choke wiring doesn't just cause cold-start stumbles; it can lead to flooded cylinders, washed piston rings, and melted factory harnesses.
Whether you are wiring a Holley 4160, an Edelbrock 1406, or a Rochester Quadrajet, understanding the exact costs of doing the job right the first time is essential. This 2026 cost estimation guide breaks down the real-world pricing for premium components, professional labor rates, and the hidden costs of common wiring mistakes.
2026 Quick Cost Summary:
• DIY Parts Cost: $55 – $95 (Using high-grade SAE wire and relays)
• Professional Installation: $225 – $450 (1.5 to 2.5 hours of shop labor)
• Hidden Cost of Failure: $500+ in engine wear and fuel dilution if wired incorrectly to the ignition coil.
Component Breakdown: What You Actually Need
To wire an electric choke safely and reliably, you need more than just a spool of wire and a crimp connector. The heating element inside the choke cap typically draws between 4 to 7 amps during initial cold startup, tapering off as the bimetallic thermostatic spring heats up. Below is the 2026 pricing matrix for a professional-grade installation.
| Component | Specification / Model | Est. 2026 Cost | Necessity |
|---|---|---|---|
| Electric Choke Kit | Holley 45-226 or Edelbrock 1932 | $45.00 - $65.00 | Mandatory |
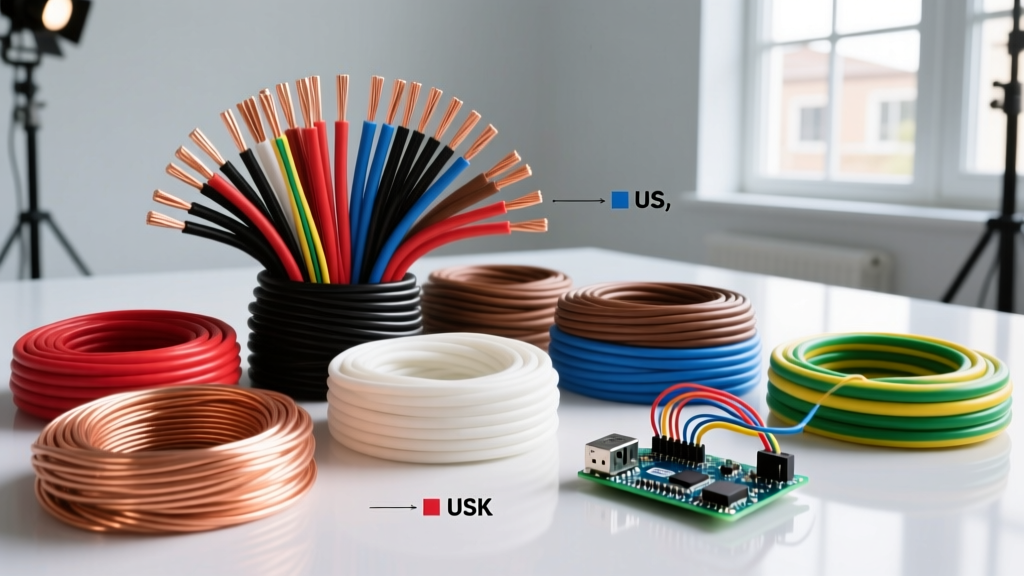
| Primary Wire | 14 AWG SAE J1128 Copper (10 ft) | $12.00 - $18.00 | Mandatory |
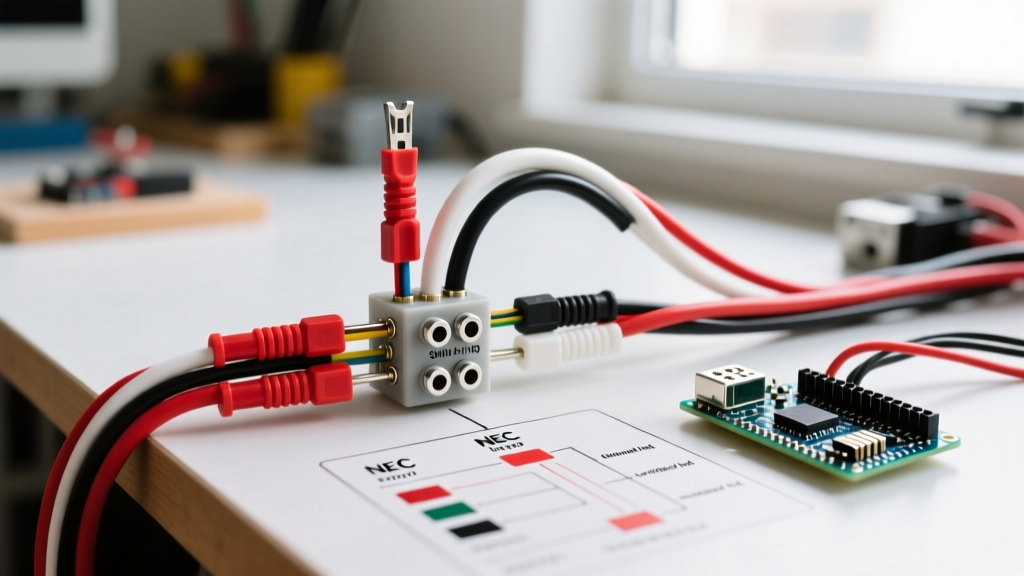
| SPDT Relay | Bosch-Style 30A (Hella 4RA 003 510) | $10.00 - $15.00 | Highly Recommended |
| Inline Fuse Holder | 10A ATC Blade Fuse & Weatherpack | $6.00 - $9.00 | Mandatory |
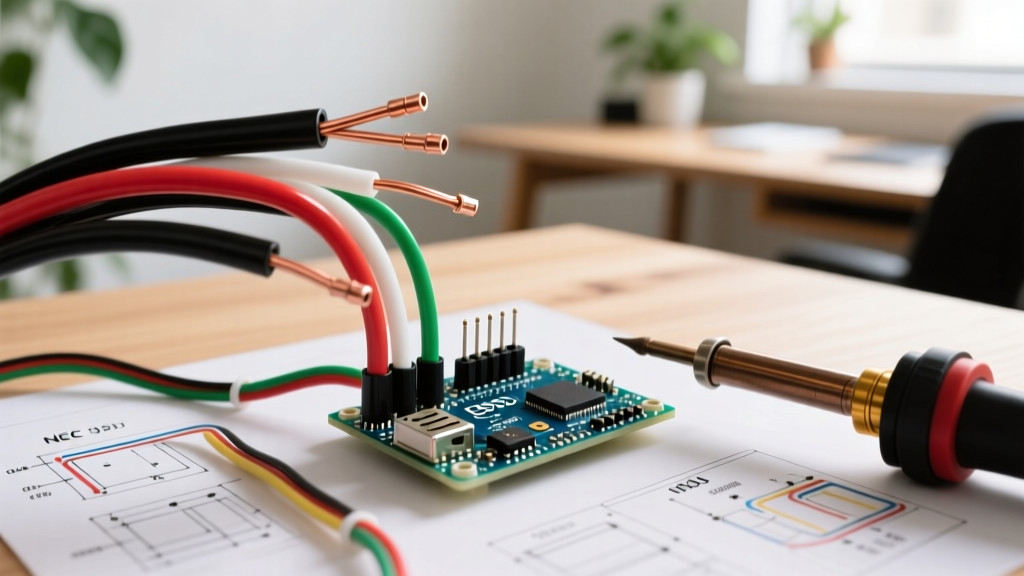
| Terminations | Adhesive-Lined Heat Shrink Ring Terminals | $8.00 - $12.00 | Mandatory |
Professional Labor vs. DIY Installation Costs
If you lack the tools to properly crimp weather-sealed terminals or route wires safely away from exhaust manifolds, professional installation is a wise investment. In 2026, the national average for specialty classic car restoration shops and performance tuning garages ranges from $125 to $175 per hour.
When to Hire a Professional
- Harness Degradation: If your vehicle's factory bulkhead connector is already showing signs of heat melt or corrosion, a professional will need to bypass the firewall using a dedicated grommet and sealed pass-through.
- EFI-to-Carb Conversions: If you are swapping a modern EFI system back to a carburetor, the factory ECU-controlled choke wires must be properly terminated and capped to prevent CAN-bus or sensor ghosting issues.
- Calibration: Tuning the choke cap tension requires a specific cold-ambient procedure. Shops typically include 30 minutes of cold-start tuning in their standard 2-hour wiring labor block.
Critical Wiring Mistakes That Cost You More
The most expensive part of electric choke wiring isn't the copper; it's the cost of fixing the damage caused by taking shortcuts. According to extensive technical documentation from Mad Electrical, miswiring the choke is a leading cause of poor cold drivability in restored GM and Ford vehicles.
1. The 'Ignition Coil' Trap (Cost of Failure: $500+)
Many DIYers connect the choke's positive wire directly to the positive terminal of the ignition coil because it is a convenient 12V source. This is a catastrophic mistake. Most vintage ignition systems use a ballast resistor wire (often a pink or cloth-covered wire) that drops the voltage to roughly 7V–9V to protect the points and coil. An electric choke requires a full 12V–14V to generate enough heat to open the choke plate in a timely manner. At 7V, the choke stays partially closed, flooding the engine with raw fuel, washing the oil off the cylinder walls, and causing premature piston ring wear.
2. Skipping the Relay (Cost of Failure: Melted Harness)
Why spend $15 on a relay? Older factory wiring harnesses, particularly 1970s GM A-Bodies and F-Bodies, suffer from degraded bulkhead connectors. Adding a continuous 6A draw to an already marginal ignition switch circuit can overheat the firewall connector. By using a Bosch-style SPDT relay, you pull the heavy current directly from the battery via a fused link, using the ignition switch only as a low-amp trigger signal. For comprehensive wiring standards, always refer to the SAE International J1128 Standard for low-tension primary cable specifications.
Step-by-Step Cost-Effective Wiring Flow
To ensure your investment yields perfect cold starts and smooth idle transitions, follow this optimized wiring sequence:
- Locate a True 12V Switched Source: Find an 'IGN' or 'RUN' terminal on your aftermarket fuse block (such as those from Painless Performance) that only has power when the key is in the 'Run' position, not during 'Crank' or 'Accessory'.
- Install the Inline Fuse: Crimp a 10A ATC fuse holder within 6 inches of the power source. This protects the wire run in the event of a short against the chassis.
- Trigger the Relay: Run an 18 AWG trigger wire from your 12V source to terminal 86 on the relay. Ground terminal 85 to the chassis.
- Run the High-Current Feed: Run 14 AWG wire from the battery (with a 20A main fuse) to terminal 30 on the relay. Run another 14 AWG wire from terminal 87 to the positive bayonet connector on the electric choke cap.
- Establish a Dedicated Ground: Do not rely on the carburetor base gasket for grounding. Run a dedicated 14 AWG ground wire from the negative bayonet on the choke cap directly to a clean, bare-metal stud on the intake manifold or engine block.
Frequently Asked Questions (FAQ)
Does an electric choke need a relay?
While an electric choke only draws about 6 amps, which is technically within the capacity of most ignition switches, using a relay is a best practice for 2026 restorations. It prevents voltage drop across long wire runs and protects aging factory ignition switches from thermal fatigue.
What gauge wire is required for electric choke wiring?
You must use a minimum of 14 AWG primary wire. Using 16 or 18 AWG wire will introduce resistance, causing a voltage drop. If the choke cap receives less than 11.5V under running conditions, the thermostatic spring will not expand fully, leaving the choke plate slightly closed and causing a rich, stumbling idle.
Can I wire the choke to the alternator exciter wire?
No. The alternator exciter wire (often the 'L' terminal on GM alternators) is designed to carry less than 1 amp to trigger the voltage regulator. Backfeeding 6 amps through this circuit will instantly burn out the alternator's internal diode trio or voltage regulator.
Final Thoughts on Budgeting
Proper electric choke wiring is an exercise in precision, not just connectivity. By budgeting roughly $85 for high-quality, SAE-compliant materials and a relay kit, you ensure that your carburetor receives the exact voltage it needs to meter fuel correctly. Skimping on wire gauge or bypassing a relay to save $20 will inevitably cost you hundreds in wasted fuel, fouled spark plugs, and engine wear. Invest in the correct components, follow the relay logic, and your classic vehicle will start and drive with modern reliability.