
Upgrading to USB Receptacles: Beyond the Standard Outlet
As smart home ecosystems and high-draw mobile devices evolve, the demand for integrated charging solutions has skyrocketed. Modern 2026 USB-C Power Delivery (PD) receptacles, such as the Leviton T5633 or Eaton TR7745W, offer up to 30W of fast-charging capability directly from the wall. However, because these devices contain internal switch-mode power supplies (SMPS) to step down 120V AC to 5V/9V DC, understanding the correct wiring diagram for USB plug installations is critical. A standard duplex receptacle simply passes current through; a USB receptacle actively consumes and transforms it.
This step-by-step guide breaks down the exact wiring configurations, torque specifications, and National Electrical Code (NEC) requirements for installing 15A and 20A USB-A and USB-C wall outlets safely.
Safety Warning: Always shut off power at the main circuit breaker panel and verify zero voltage using a non-contact voltage tester (like the Klein Tools NCVT-3) and a digital multimeter before opening any junction box. Working on live 120V circuits poses a severe risk of arc flash and electrocution.
Anatomy of a USB Wall Receptacle
Before interpreting a wiring diagram for USB plug setups, you must understand the terminal layout. Unlike standard outlets, USB receptacles have specific physical constraints due to the internal electronics housing.
- Line (Hot) Terminal: Typically the brass-colored screw. This connects to the incoming power from the breaker panel.
- Neutral Terminal: The silver-colored screw. Completes the 120V circuit and powers the internal SMPS for the USB ports.
- Ground Terminal: The green screw. Essential for fault protection and mitigating electromagnetic interference (EMI) from the internal transformer.
- Load Terminals (Optional): Used only if you are daisy-chaining downstream outlets. Many modern USB receptacles utilize internal back-wiring clamps to accommodate both Line and Load wires securely.
The Standard Wiring Diagram for USB Plug Configurations
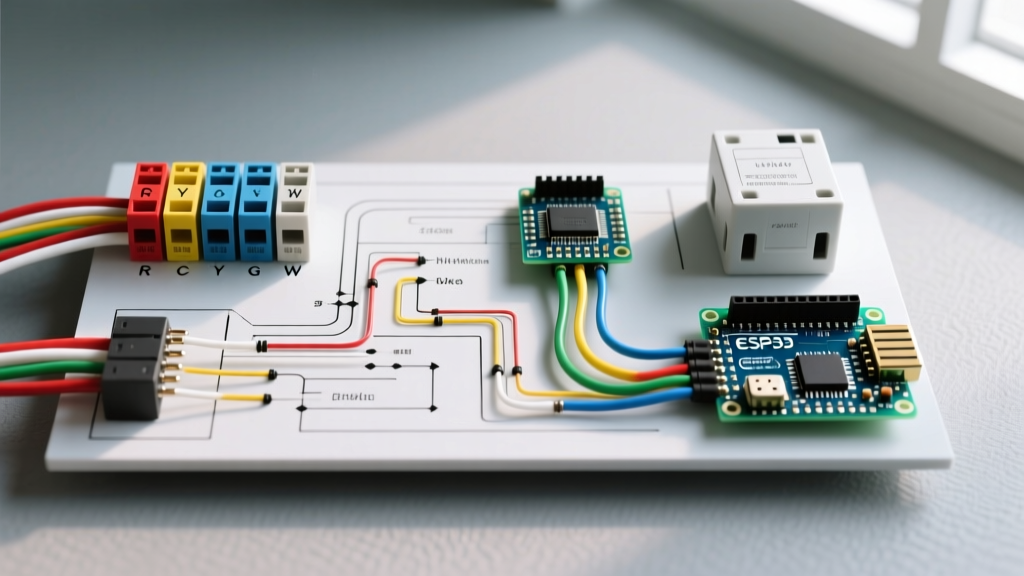
There are two primary scenarios you will encounter when mapping out your wiring diagram for USB plug receptacles: End-of-Run and Middle-of-Run. Below is a comparison matrix to help you identify your scenario before stripping any wires.
| Configuration Type | Wire Count in Box | Terminal Connections Required | Best Use Case |
|---|---|---|---|
| End-of-Run | 1 Hot, 1 Neutral, 1 Ground | Line (Hot), Neutral, Ground | Last outlet on a bedroom or living room circuit. |
| Middle-of-Run | 2 Hot, 2 Neutral, 1 Ground | Line (Hot 1), Load (Hot 2), Neutral 1, Neutral 2, Ground | Kitchen backsplashes or office desks powering downstream devices. |
Step-by-Step Installation Guide
Follow this precise sequence to ensure a secure, code-compliant installation. For this guide, we are using a standard 15A Tamper-Resistant (TR) USB-C receptacle on a 14 AWG copper branch circuit.
Step 1: Box Preparation and Depth Verification
USB receptacles are significantly deeper than standard duplex outlets due to the internal heat sinks and transformers. The Leviton T5632 USB Receptacle Specifications require a minimum box depth of 1.25 inches, but a 2.25-inch deep gang box is highly recommended for heat dissipation and wire bending radius compliance. If your existing box is shallow, install a 1-gang box extender ring before proceeding.
Step 2: Wire Stripping and Conditioning
Use the strip gauge printed on the back of the receptacle. For most 15A models, this is exactly 5/8 inch (16mm). Stripping too little causes the clamp to bite into the insulation (creating a high-resistance connection and potential fire hazard). Stripping too much leaves exposed copper outside the terminal, creating a short-circuit risk.
Step 3: Making the Connections (Back-Wire vs. Side-Wire)
For middle-of-run configurations, back-wiring (screw-and-clamp mechanism) is vastly superior to side-wiring (wrapping around the screw). Back-wiring allows you to insert the Line wire into the top hole and the Load wire into the bottom hole of the same terminal assembly. Tighten the screw to clamp both wires simultaneously. If your receptacle only supports side-wiring, you must use wire nuts to create pigtails for the hot and neutral wires, connecting the pigtails to the single terminal screws.
Step 4: Torque Specification
NEC 110.14(D) mandates that terminals be tightened to the manufacturer's specified torque. For most 15A and 20A USB receptacles, this is 14 in-lbs (1.58 Nm). Use a calibrated torque screwdriver (e.g., Klein Tools 70900). Under-torquing leads to arcing; over-torquing strips the brass threads or cracks the internal SMPS housing.
Step 5: Grounding and Box Bonding
Connect the bare copper ground wire to the green grounding screw. If you are using a metal junction box, you must also run a grounding pigtail from the box to the receptacle's ground terminal to ensure continuous fault-current paths, as required by the NFPA 70 (National Electrical Code).
Troubleshooting Common USB Receptacle Failures
Even with a perfect wiring diagram for USB plug setups, issues can arise. Here is how to diagnose the most common field failures:
- AC Works, USB Ports are Dead: This indicates a failure of the internal SMPS. This is usually caused by voltage spikes or chronic overheating due to a stuffed, shallow gang box. The receptacle must be replaced; the USB module is not field-serviceable.
- USB Charging is Intermittent or Slow: Often caused by a shared neutral on a Multi-Wire Branch Circuit (MWBC) where the phases are not correctly balanced, introducing harmonic distortion that confuses the USB-C PD handshake protocol. Ensure MWBCs have a common-trip breaker (NEC 210.4).
- Receptacle is Hot to the Touch: A warm faceplate is normal (the SMPS operates at roughly 80% efficiency, dissipating 20% of energy as heat). However, if the faceplate exceeds 40°C (104°F), immediately check for loose neutral connections or undersized 16 AWG wires improperly used on a 15A circuit.
- AFCI Nuisance Tripping: Older AFCI breakers may misinterpret the high-frequency switching noise generated by the USB receptacle's internal transformer as an arc fault. Upgrading to a modern 2026-era combination AFCI breaker usually resolves this incompatibility.
NEC Code Compliance & Safety Standards
When installing any new receptacle, adherence to the latest NEC guidelines is non-negotiable. The Electrical Safety Foundation International (ESFI) highlights that all 15A and 20A receptacles installed in dwelling units must be Tamper-Resistant (TR). Fortunately, virtually all premium USB receptacles manufactured today feature integrated TR shutters, preventing foreign objects from being inserted into the AC slots.
Furthermore, if you are installing a USB receptacle in a bathroom, garage, or kitchen countertop space, the circuit must be protected by a Class A Ground Fault Circuit Interrupter (GFCI). You can achieve this by either wiring the USB receptacle on the LOAD side of an upstream GFCI outlet or by installing a GFCI breaker in the main panel.
Frequently Asked Questions
Can I install a 20A USB receptacle on a 15A breaker?
NEC Table 210.21(B)(3) allows 20A receptacles on a 15A circuit only if it is a single receptacle on an individual branch circuit. However, if there are multiple receptacles on the 15A circuit, you must use 15A rated receptacles. Always match the receptacle rating to the breaker when in doubt.
Do USB wall outlets draw power when nothing is plugged in?
Modern models feature zero-load standby circuitry that draws less than 0.05 watts when idle. Older or cheaper models might draw 0.2W to 0.5W continuously to keep the SMPS logic awake. This is negligible on a standard electrical bill but worth noting for off-grid solar setups where phantom loads matter.
Does the orientation of the ground pin matter?
The NEC does not mandate a specific orientation (ground pin up or down) for standard residential installations. However, many commercial electricians install receptacles with the ground pin up to prevent short circuits if a metal object falls onto a partially plugged-in cord. Choose one orientation and maintain consistency throughout the room.