
Designing a Wiring Diagram for a Room with Heavy Inductive Loads
When most DIYers and junior electricians draft a standard wiring diagram for a room, they focus almost exclusively on 15-amp lighting loops and 20-amp general-purpose receptacles. However, if that room houses heavy inductive loads—such as a home workshop with a 3HP table saw, a sunroom with a high-static HVAC blower, or a commercial grow room with massive exhaust fans—a standard layout will fail. Designing a wiring diagram for a room with dedicated motor circuits requires a fundamental shift in how you calculate branch circuits, size conductors, and route isolated grounds.
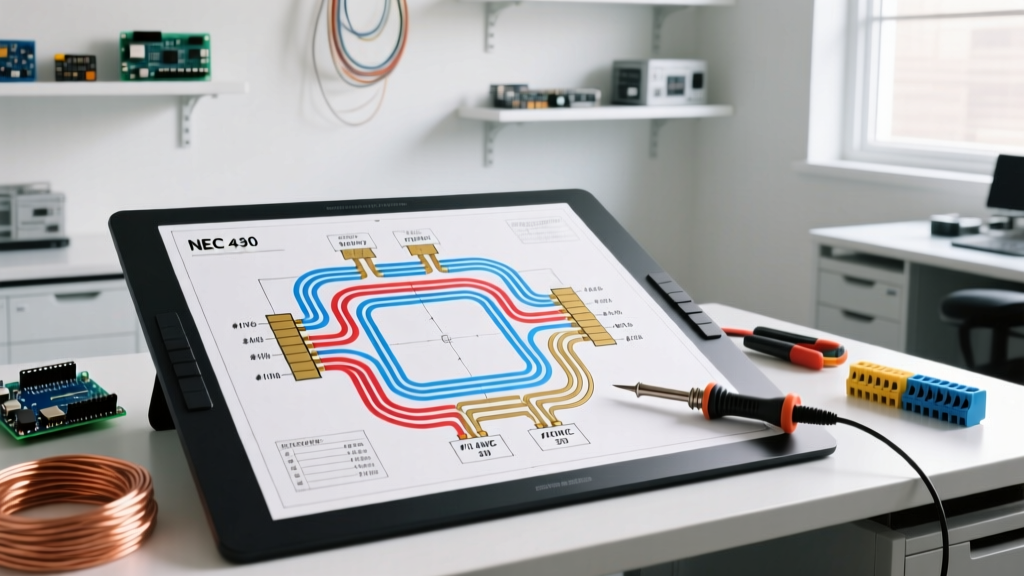
In this motor wiring tutorial, we will break down exactly how to integrate heavy motor loads into a residential or light-commercial room blueprint while strictly adhering to the NFPA 70 National Electrical Code (NEC), specifically Article 430.
The Physics of Room Motor Circuits: FLA vs. LRA
Unlike resistive loads (like baseboard heaters or incandescent lights), AC induction motors draw a massive spike of inrush current—known as Locked Rotor Amps (LRA)—during startup. According to the Fluke Motor Current Calculation Guide, a standard 240V motor can pull 500% to 700% of its Full Load Amps (FLA) for the first few seconds of operation.
Expert Insight: If your room wiring diagram places a 2HP dust collector on the same circuit as your overhead LED lighting, that LRA spike will cause severe voltage sag. This results in flickering lights, contactor chattering, and premature failure of sensitive electronic LED drivers. Always isolate motor feeds.
Motor Branch Circuit Sizing Matrix (240V Single-Phase)
When drafting your blueprint, use this reference table to determine the minimum THHN/THWN-2 copper wire gauge and the maximum standard inverse-time circuit breaker size. These calculations are based on NEC 430.22 (Conductor Sizing at 125% of FLA) and NEC 430.52 (Branch Circuit Protection at 250% of FLA for inverse-time breakers).
| Motor HP | Voltage | FLA (Amps) | Min Wire Gauge (Cu) | Max Inverse-Time Breaker | Disconnect Switch Rating |
|---|---|---|---|---|---|
| 1 HP | 240V | 8A | 14 AWG (12 AWG rec.) | 25A | 30A |
| 1.5 HP | 240V | 10A | 12 AWG | 30A | 30A |
| 2 HP | 240V | 12A | 10 AWG | 35A | 30A |
| 3 HP | 240V | 17A | 8 AWG | 45A | 60A |
| 5 HP | 240V | 28A | 6 AWG | 70A | 60A |
Step-by-Step Guide to Drafting the Room Blueprint
Step 1: Map the General Purpose Base Layer
Begin your wiring diagram for a room by laying out the standard 120V circuits. Dedicate one 15-amp circuit strictly for overhead lighting. Map out your 20-amp small-appliance or tool-receptacle circuits along the perimeter walls. Keep these entirely separate from the motor loads to prevent voltage sag from affecting sensitive electronics or causing nuisance trips on standard AFCI/GFCI breakers.
Step 2: Plot the Dedicated Motor Feeders
Draw dedicated 240V home runs from your main subpanel directly to the motor locations. For a workshop room, this means a dedicated line for the air compressor, a dedicated line for the table saw, and a dedicated line for the dust collector. Label each line on your diagram with the specific wire gauge and breaker size identified in the matrix above.
Step 3: Position the Local Disconnects
Under OSHA Electrical Safety Standards and NEC 430.102, you must install a disconnecting means within sight of the motor controller. On your diagram, place a fused disconnect switch or a lockable manual motor starter (like the Schneider Electric TeSys series) within 50 feet and in the direct line of sight of the motor. Do not rely solely on the breaker in the adjacent room's subpanel as the primary disconnect.
Step 4: Calculate Voltage Drop for Long Room Runs
If you are wiring a long, detached garage or an expansive warehouse room, voltage drop becomes a critical failure point for motors. A motor operating on low voltage will draw higher amps to compensate for the missing wattage, leading to overheating and insulation breakdown. Use this formula to verify your wire gauge on the diagram:
- VD = (2 x K x I x D) / CM
- K = 12.9 (for Copper)
- I = Motor FLA
- D = One-way distance in feet
- CM = Circular mils of the chosen wire (e.g., 10 AWG = 10,380 CM)
Aim for a voltage drop of less than 3% on motor branch circuits. If your calculation exceeds 3%, bump the wire gauge up one size on your diagram.
Real-World Scenario: The 2026 Home Workshop Room
Let us apply this to a real-world 20x24 foot detached garage workshop. The owner wants to run a 3HP cabinet saw and a 2HP cyclone dust collector simultaneously.
- Load Calculation: The 3HP saw draws 17A FLA; the 2HP collector draws 12A FLA. Because they operate simultaneously, we do not use diversity factors. We run two separate 240V dedicated circuits.
- Material Costs (2026 Estimates): For the 3HP saw, we use 8 AWG THHN wire (currently averaging $1.15 per foot) pulled through 1/2-inch EMT conduit. We install a Square D QO245 (45A double-pole) breaker in the subpanel, costing roughly $38. The local lockable disconnect switch adds another $45.
- Diagram Routing: The wiring diagram routes the 8 AWG feeder up the wall, across the ceiling joists in EMT, and drops down to the saw's local disconnect. A flexible liquid-tight metallic conduit (LFMC) bridges the final 3 feet from the disconnect to the saw's junction box to absorb vibration.
Common Failure Modes in Room Motor Wiring
When reviewing a wiring diagram for a room with motors, watch out for these frequent design flaws:
- Shared Neutrals on Multi-Wire Branch Circuits (MWBC): Never share a neutral between a 120V lighting circuit and a 120V motor control circuit. The harmonic distortion and inrush currents from the motor will overheat the shared neutral, creating a severe fire hazard.
- Undersized Breakers Tripping on Startup: If a DIYer sizes the breaker strictly to the FLA (e.g., putting a 15A breaker on a 12A motor), the breaker will trip instantly when the motor experiences LRA inrush. Always use the 250% multiplier from NEC 430.52 to size the short-circuit protection.
- Missing Equipment Grounding Conductors (EGC): Motors vibrate. Over time, vibration can loosen conduit fittings, breaking the ground path if you rely solely on the metal conduit. Always pull a dedicated copper EGC (green wire) inside the conduit and bond it directly to the motor frame.
Frequently Asked Questions
Can I plug a 2HP motor into a standard 20A room receptacle?
Technically, a 2HP 240V motor draws about 12A, which fits within a 20A breaker's continuous load limits. However, NEC 430.42 generally requires motors over 1HP to be on dedicated circuits with specific motor-rated overcurrent protection. Plugging it into a shared room receptacle risks tripping the breaker when another tool is turned on simultaneously.
Do I need a GFCI breaker for a motor in a damp room?
If the room is classified as a damp or wet location (like an unfinished basement or a wash bay), NEC 2023 and 2026 updates require GFCI protection for 15A and 20A receptacles. However, large motors can cause nuisance GFCI trips due to capacitive leakage during startup. In these cases, use a GFCI breaker specifically rated for motor loads, or hardwire the motor with a ground-fault protection equipment (GFPE) system designed for high-inrush inductive loads.