
Understanding Breaker-Point Ignitions in Vintage Machinery
While modern vehicles rely on computerized coil-on-plug systems, the wiring diagram for points distributor setups remains highly relevant in 2026 for vintage stationary engines, antique welding generators, classic marine applications, and industrial appliance motors. Whether you are restoring a 1960s Onan generator, a vintage Ford tractor, or a stationary water pump engine, understanding the breaker-point ignition circuit is critical for reliable operation. Unlike modern solid-state systems, a points-based distributor relies on mechanical switching to collapse a magnetic field, inducing the high voltage needed for spark generation.
This guide provides a comprehensive, expert-level tutorial on wiring, calibrating, and troubleshooting points distributor systems, ensuring your vintage appliance engines fire reliably on the first pull.
Core Components of the Points Ignition Circuit
Before tracing the wires, you must understand the four primary components that make up the primary and secondary ignition circuits:
- Ignition Coil: Steps up 12V battery power to 20,000+ volts. Coils are generally categorized as 1.5-ohm (requires a ballast resistor) or 3.0-ohm (internally resisted, no external ballast needed).
- Breaker Points (Tungsten Contacts): The mechanical switch that grounds the primary circuit. Standard Motor Products (SMP) part numbers like DR-42 or DS-80 are common replacements.
- Condenser (Capacitor): Wired in parallel with the points. It absorbs the inductive kickback when the points open, preventing arcing across the tungsten contacts and ensuring a rapid magnetic collapse in the coil. Target capacitance is typically 0.15 µF to 0.35 µF.
- Ballast Resistor / Resistance Wire: Drops voltage from 12V to roughly 8V-9V during normal operation to prevent coil overheating, bypassed only during engine cranking.
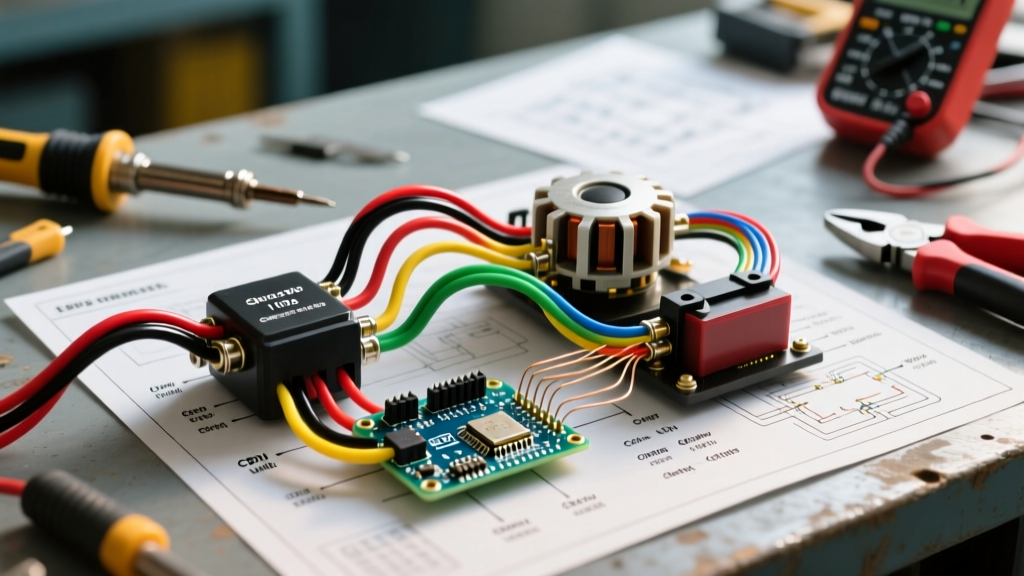
The Standard Wiring Diagram for Points Distributor
Follow this exact routing sequence to wire a standard 12-volt, negative-ground points ignition system commonly found in American and European stationary engines.
1. Primary Power Feed
Run a 14 AWG primary wire from the positive terminal of the battery (or the 12V appliance fuse panel) to the 'IGN' or 'BATT' terminal on your ignition switch or heavy-duty toggle relay.
2. Ignition Switch to Ballast Resistor
From the 'IGN' output terminal of the switch, run a wire to the input side of the ceramic ballast resistor (if using a 1.5-ohm coil). If your system uses a factory resistance wire, connect the switch output directly to the resistance wire harness.
3. Ballast Resistor to Coil Positive (+)
Connect the output side of the ballast resistor to the positive (+) terminal on the ignition coil. Expert Note: Bypassing the ballast resistor on a 1.5-ohm coil will cause the coil to overheat and fail within 20 to 30 minutes of continuous runtime.
4. Coil Negative (-) to Distributor Points
Run a flexible, stranded 14 AWG wire from the negative (-) terminal on the ignition coil to the primary terminal stud on the side of the distributor housing. Inside the distributor, this stud connects directly to the spring-loaded arm of the breaker points.
5. Condenser Wiring
The condenser must be wired in parallel with the points. Connect the condenser's pigtail wire to the distributor's primary terminal stud (the same stud that receives the wire from the coil's negative terminal). The metal body of the condenser is grounded via its mounting clamp to the distributor baseplate.
6. Distributor Grounding
The breaker points ground through the distributor baseplate to the engine block. Ensure the distributor hold-down clamp is free of paint, rust, or heavy grease to guarantee a solid ground path back to the battery negative.
Step-by-Step Calibration: Gap and Dwell
Wiring the circuit correctly is only half the battle. The physical geometry of the points dictates ignition timing and spark intensity.
- Set the Point Gap: Rotate the engine until the distributor cam lobe pushes the points rubbing block to its maximum open position. Insert a feeler gauge between the tungsten contacts. Adjust the stationary point until you feel a slight drag on a 0.017-inch (0.43 mm) gauge. Tighten the locking screw and re-check, as points tend to shift slightly when tightened.
- Measure Dwell Angle: While a feeler gauge is acceptable for stationary appliance engines that see low RPMs, a dwell meter is vastly superior. Connect the dwell meter's positive lead to the coil's negative terminal and the negative lead to engine ground. Crank the engine. For a 6-cylinder engine, adjust the gap until the meter reads 30 to 34 degrees. For an 8-cylinder, target 28 to 32 degrees.
- Set Static Timing: Connect a 12V test light between the coil's negative terminal and ground. Turn the ignition on. Slowly rotate the distributor body counter-clockwise until the test light illuminates. This is the exact moment the points open. Lock the distributor clamp.
Troubleshooting Matrix: Common Points Ignition Failures
When your stationary engine or vintage appliance motor fails to start, use this diagnostic matrix with a digital multimeter (such as a Fluke automotive multimeter) to isolate the fault.
| Symptom | Electrical Test | Root Cause | Solution |
|---|---|---|---|
| No spark; Coil is cold to the touch | Check voltage at Coil (+) with ignition ON. Reading 0V. | Open circuit in primary feed, blown fuse, or failed ignition switch. | Trace 12V feed from battery; replace fuse or toggle switch. |
| No spark; Coil is extremely hot | Check voltage at Coil (+) while cranking. Reading 12V+ continuously. | Ballast resistor bypassed or shorted; points are stuck closed or grounded. | Install correct ceramic ballast resistor; clean point contacts. |
| Weak, yellow spark | Check coil secondary resistance. Reading below 6,000 ohms or above 15,000 ohms. | Internal coil short/open, or condenser has failed (shorted to ground). | Replace ignition coil and condenser as a matched set. |
| Points burn and pit rapidly | Disconnect condenser; check for continuity to its casing (should be infinite). | Dead or missing condenser causing severe arcing across the tungsten contacts. | Install a high-quality 0.22 µF condenser (avoid cheap offshore replicas). |
The 2026 Condenser Crisis: Quality Matters
Expert Warning: As of 2026, the aftermarket is saturated with out-of-spec, poorly manufactured condensers that fail within hours of use, leading to rapid point destruction and weak sparks. When sourcing a condenser for a critical appliance generator, stick to New Old Stock (NOS) USA-made units, or verified premium brands like Standard Motor Products (SMP) or Echlin. Always test a new condenser with a multimeter's capacitance setting before installation to verify it reads between 0.15 µF and 0.35 µF.
Upgrading to Electronic Ignition: Is It Worth It?
For stationary engines that must start reliably during power outages, many technicians are retrofitting points distributors with electronic ignition modules. Systems like the PerTronix Ignitor replace the mechanical points and condenser with a magnetic Hall-effect sensor and a solid-state switching module that fits entirely inside the distributor cap.
Points vs. Electronic Ignition Comparison
- Cost: A premium points and condenser kit costs $25–$45. A PerTronix Ignitor III kit costs $120–$160.
- Maintenance: Points require annual gap adjustments and eventual replacement due to mechanical wear. Electronic modules are maintenance-free and immune to tungsten pitting.
- Spark Energy: Points systems are limited by the current-carrying capacity of the tungsten contacts (typically 3-4 amps). Electronic modules can safely drive high-performance coils at 6+ amps, yielding a significantly hotter spark that can ignite lean fuel mixtures often found in ethanol-blended fuels.
- Verdict: For museum pieces or occasional-use antique appliances, stick to the original wiring diagram for points distributor setups for authenticity. For backup generators, marine engines, or daily-use vintage machinery, the electronic upgrade is highly recommended for guaranteed reliability.
Final Wiring Safety Checks
Before applying full power to your newly wired ignition circuit, perform a continuity check. Disconnect the wire from the coil's negative terminal and attach it to your multimeter. With the points closed, you should read near 0 ohms to the engine block. With the points open, you should read infinite resistance (OL). Finally, ensure all primary wiring is routed away from the exhaust manifold and moving cooling fans, using high-temperature silicone loom where necessary. Proper execution of these steps guarantees your vintage machinery will run smoothly for decades to come.