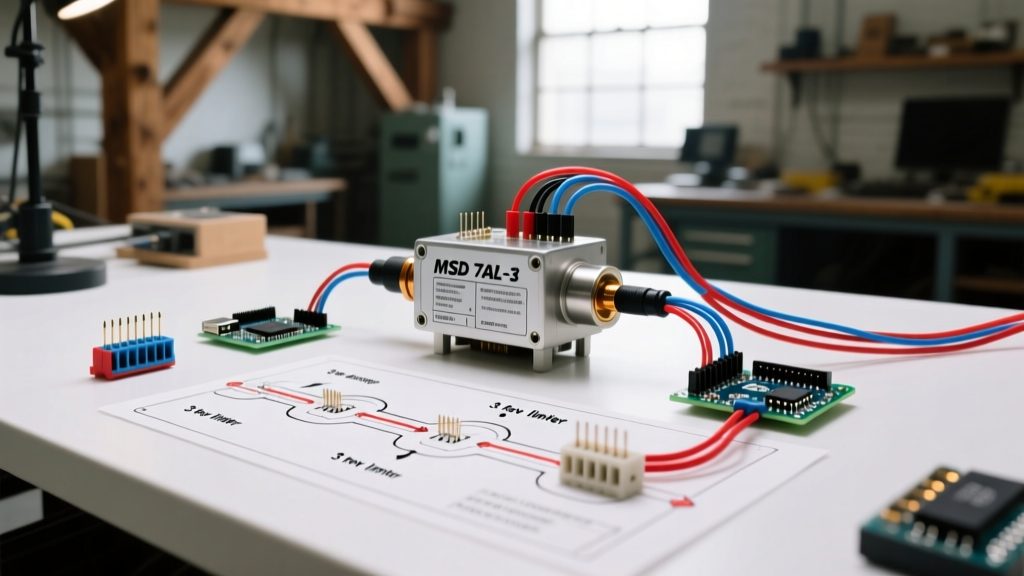

Introduction to the MSD 7AL-3 (PN 7530) in Racing Applications
When building a high-compression, high-RPM drag racing engine, the ignition system is the heartbeat of your combination. The MSD 7AL-3 (Part Number 7530) remains a benchmark capacitive discharge (CD) ignition control unit in Super Comp, Super Gas, and bracket racing. Understanding the exact wiring diagram for MSD 7AL-3 configurations is critical; a single misrouted trigger wire or undersized power cable can result in misfires at the top end of the track or catastrophic engine failure due to a broken rev limiter.
Unlike standard street ignition boxes, the 7AL-3 is designed for severe-duty racing environments. It operates on a 12-to-18-volt system, drawing up to 22 amps at 10,000 RPM, and features a built-in three-step rev limiter module, individual cylinder timing (ICT) compatibility, and a start retard function. In this vehicle-specific guide, we will break down the precise wiring requirements for integrating the 7AL-3 into a Small Block Chevy (SBC) drag racing chassis, complete with a transbrake and flying magnet crank trigger setup.
Core Pinout and Connector Breakdown
The MSD 7AL-3 utilizes two primary harness connections: a heavy-duty 4-pin Weather-Pack connector for main power and tach output, and a Mini-Fit connector for trigger inputs, rev limiters, and accessory wiring. Below is the definitive pinout reference for the 2026 racing season.
| Wire Color | Function | Target Connection | Wire Gauge / Spec |
|---|---|---|---|
| Heavy Red | Main Battery Power | Direct to Battery Positive (+) or Front Power Cell | 8 AWG or 4 AWG |
| Heavy Black | Main Ground | Engine Block or Cylinder Head (Not Chassis) | 8 AWG or 4 AWG |
| Heavy Orange | Switched 12V Ignition | Ignition Switch / Master Shutoff Relay | 14 AWG |
| Heavy Violet | Tachometer Output | Racing Tachometer (Requires Pull-up Resistor) | 18 AWG |
| Green / Violet | Magnetic Pickup Trigger | Crank Trigger or Pro-Billet Distributor | 18 AWG (Shielded) |
| White | Points / Amplifier Input | Breakerless Distributor or Timing Control | 18 AWG |
| Blue / White / Yellow | 3-Step Rev Limiter Inputs | Transbrake Button, Timer, or Finish Line Switch | 18 AWG |
Vehicle-Specific Integration: SBC Drag Racing Setup
For this guide, we are focusing on a 400ci Small Block Chevy equipped with a Flying Magnet crank trigger (MSD PN 8610) and a transbrake-equipped Powerglide transmission. This is one of the most common bracket racing and Super Street combinations in the world. Proper routing and termination are just as important as the wiring diagram itself.
Step 1: Power and Ground Routing
The most common failure mode in CD ignition systems is voltage drop under load. At 8,500 RPM, the 7AL-3 demands massive instantaneous current to fire the coils.
- Power Wire: Run a dedicated 4 AWG copper wire from the ignition box directly to the positive terminal of the racing battery or a dedicated front-mounted power distribution block. Do not share this power wire with the fuel pump or water pump.
- Ground Wire: Ground the heavy black wire directly to the engine block or aluminum cylinder head using a dedicated, clean mounting bolt. Sand away any powder coating or paint at the grounding point. Grounding to the tubular chassis creates a ground loop, which introduces EMI (Electromagnetic Interference) into the trigger signals.
Step 2: Crank Trigger Integration
When wiring the Green and Violet magnetic pickup wires to the crank trigger, physical routing is paramount. According to ignition system fundamentals outlined by On All Cylinders, high-tension spark plug wires emit severe electromagnetic fields. Route the magnetic pickup wires at least two inches away from any spark plug wires, exhaust headers, or alternator wiring. If the trigger wires must cross a spark plug wire, they must do so at a strict 90-degree angle to prevent cross-talk and false trigger signals.
Expert Air Gap Tip: While not strictly a wiring issue, the electrical signal generated by the crank trigger relies on a precise air gap. Set the flying magnet to pickup sensor air gap between 0.040' and 0.060'. An excessive gap will result in a weak voltage signal that the 7AL-3 may fail to read at high RPMs.
Wiring the 3-Step Rev Limiter and Transbrake
The true advantage of the wiring diagram for MSD 7AL-3 systems lies in the integrated 3-step rev limiter module. This allows you to manage engine RPM during the burnout, the launch, and top-end overrev protection without needing external RPM chips scattered across the cockpit.
- Step 1 (Burnout - Blue Wire): Wire the Blue wire to a momentary push-button mounted on the steering wheel. When pressed, this grounds the circuit and activates the lowest RPM chip (e.g., 4,500 RPM) for the water box burnout.
- Step 2 (Launch - White Wire): Wire the White wire into the transbrake release circuit. When the driver releases the transbrake button, the White wire loses its ground path, instantly shifting the ignition to the launch RPM chip (e.g., 5,800 RPM).
- Step 3 (Overrev - Yellow Wire): The Yellow wire is typically left ungrounded (active by default) or wired to a finish-line timer switch. This holds the maximum engine protection limit (e.g., 8,200 RPM) to prevent valve float or catastrophic mechanical failure if the driver misses the shift light.
Troubleshooting Matrix: Common Edge Cases
Even with a perfect wiring diagram, racing environments introduce variables that can disrupt the ignition system. Use this troubleshooting matrix to diagnose track-side issues.
| Symptom | Probable Cause | Diagnostic Solution |
|---|---|---|
| Engine backfires through carb at high RPM | Trigger wire EMI or failing crank trigger sensor | Check magnetic pickup routing; test sensor resistance (should be 400-800 ohms). |
| Tachometer drops to zero at 6,000+ RPM | Tach signal saturation or incompatible tachometer | Install MSD Tach Adapter (PN 8910) or pull-up resistor on the Violet wire. |
| Rev limiter engages randomly during a pass | Loose ground on 3-step module or chafed Blue/White wire | Inspect wiring harness near the transmission tunnel and firewall grommets. |
| Box gets excessively hot and shuts down | Mounting near exhaust or inadequate 12V supply | Relocate box away from headers; verify 4 AWG power wire is not crimped. |
2026 Sourcing, Pricing, and Safety Compliance
As of 2026, the MSD 7AL-3 (PN 7530) typically retails between $825 and $895 through authorized performance dealers. When sourcing your unit, always verify the holographic authenticity sticker, as counterfeit ignition boxes lacking proper internal potting compound frequently fail under the extreme G-forces of drag racing. You can verify authorized distributors and download the latest firmware or wiring schematics directly from Holley's official MSD division.
Furthermore, ensure your ignition wiring complies with NHRA safety regulations. The NHRA mandates that all racing vehicles equipped with high-energy ignition systems must have a clearly marked, easily accessible external master electrical shutoff switch. The Heavy Orange (switched 12V) wire on the 7AL-3 must be routed through this master kill switch relay to ensure safety workers can completely de-energize the vehicle in the event of a crash.
Frequently Asked Questions
Can I use the MSD 7AL-3 with an OEM-style HEI distributor?
Yes, but you must bypass the internal HEI ignition module. You will use the White wire from the 7AL-3 to connect to the HEI's magnetic pickup stator directly. Do not connect the 7AL-3 to the HEI's internal amplifier output, as the voltage signals are incompatible.
Do I need to use the MSD Blaster 2 coil (PN 8202)?
While the 7AL-3 can fire various coils, it is optimized for low-resistance, high-turn-ratio racing coils like the Blaster 2 or the MSD Pro Power coils. Using a standard OEM canister coil will result in weak spark output and potential coil overheating due to the CD system's rapid charge/discharge cycling.