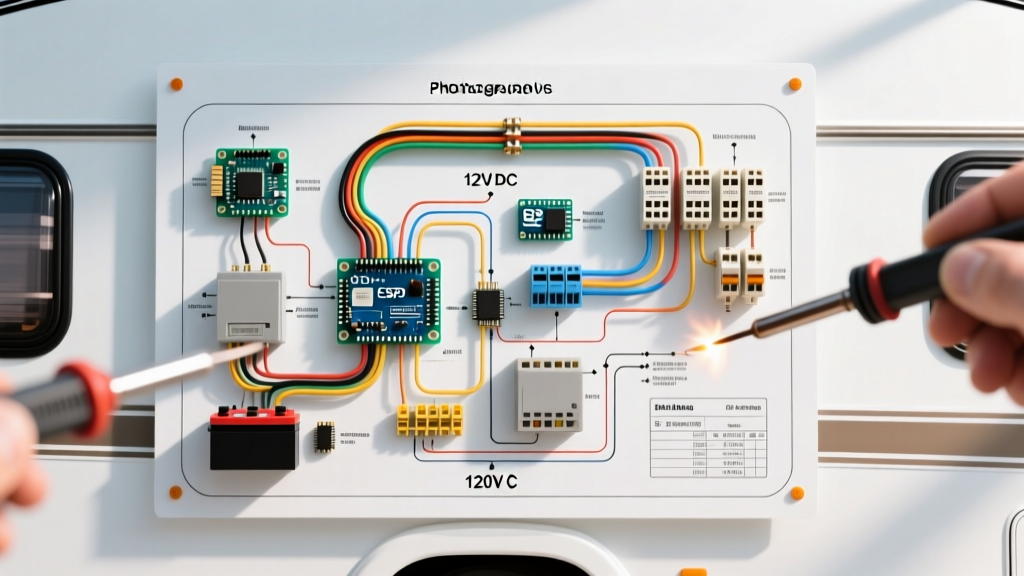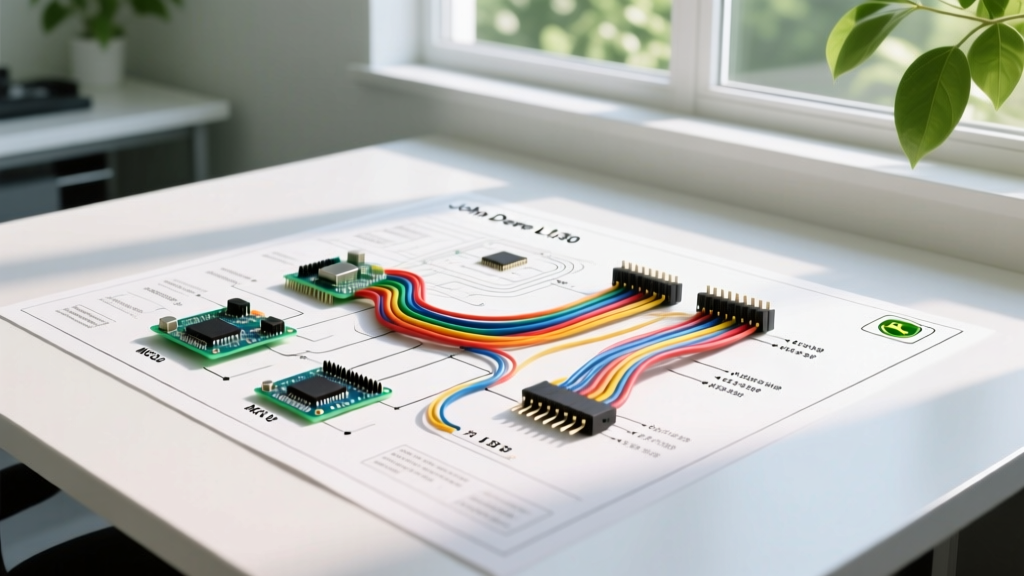

Understanding the Wiring Diagram for John Deere L130 Through a Safety Lens
The John Deere L130 is a legendary mid-2000s lawn tractor, typically equipped with a robust 17.5 HP engine and a 48-inch mower deck. However, as these machines age, their original electrical harnesses become brittle, leading to voltage drops, intermittent stalling, and severe fire hazards. When sourcing or reconstructing a wiring diagram for John Deere L130, most DIYers focus purely on getting the engine to turn over. As of 2026, true electrical expertise requires prioritizing Society of Automotive Engineers (SAE) compliance, proper circuit protection, and strict adherence to mobile machinery safety codes.
This guide transcends basic schematic reading. We will break down the L130’s 12V DC architecture, detail the exact wire gauges required by SAE standards, and expose the hidden failure modes that cause electrical fires in riding mowers.
Core Electrical Architecture & Safety Interlocks
The L130 operates on a standard 12-volt negative-ground DC system. The electrical network is divided into three primary circuits: the charging/stator circuit, the starting/ignition circuit, and the accessory/PTO (Power Take-Off) circuit. Understanding how these interact is critical before cutting a single wire.
The Critical Role of the Safety Interlock Matrix
Modern riding mowers are governed by strict safety standards to prevent runaway blades and unintended movement. The L130 utilizes a series of normally-open (NO) and normally-closed (NC) microswitches wired in series with the ignition module and starter solenoid.
- Seat Switch: Detects operator presence. If the operator leaves the seat while the PTO is engaged, the ignition is grounded, killing the engine.
- Brake/Clutch Switch: Prevents the starter solenoid from engaging unless the brake pedal is fully depressed.
- PTO Engagement Switch: Ensures the heavy-draw electric clutch is disengaged during engine cranking to prevent voltage starvation to the starter.
⚠️ COMPLIANCE WARNING: Bypassing the seat or brake interlock switches to "fix" a starting issue is a direct violation of Penn State Extension's Tractor and Machinery Safety guidelines and CPSC standards. Bypassing these circuits creates a severe amputation and run-over hazard. Always diagnose and replace faulty microswitches rather than jumping them.
SAE Compliance: Wire Gauge & Insulation Matrix
When rebuilding the L130 harness, using standard household copper wire (THHN/THWN) is a catastrophic safety violation. Household wire lacks the chemical resistance to withstand gasoline, oil, and battery acid, and its insulation will melt under engine-bay temperatures. You must use cross-linked polyethylene (XLPE) or PVC wire rated to SAE J1128 (Battery Cable) and SAE J1128/SGT standards.
| Application | Min. Wire Gauge (AWG) | Max Continuous Amps | Required SAE Standard | Fuse / Protection |
|---|---|---|---|---|
| Battery to Starter Solenoid | 4 AWG | 150A+ (Cranking) | SAE J1128 | Main 40A Fusible Link |
| Solenoid to Starter Motor | 4 AWG | 150A+ (Cranking) | SAE J1128 | None (Downstream of Main) |
| Electric PTO Clutch Circuit | 10 AWG | 30A | SAE J1128 SGT | 10A ATO Blade Fuse |
| Voltage Regulator to Harness | 12 AWG | 20A | SAE J1128 SGT | 20A Inline Fuse |
| Headlights & Accessory | 14 AWG | 15A | SAE J1128 GXL | 10A ATO Blade Fuse |
| Ignition, Sensors, Interlocks | 16 to 18 AWG | 5A - 10A | SAE J1128 GXL | 5A Mini Blade Fuse |
Step-by-Step Safe Rewiring Protocol
If your L130’s harness is crumbling, a complete custom rebuild is often safer and more cost-effective than hunting for discontinued OEM parts. Follow this protocol to ensure OSHA-compliant electrical safety principles are applied to mobile machinery.
- Isolate the Power Source: Disconnect the negative (-) battery terminal first. Tape the terminal with electrical tape to prevent accidental arcing against the chassis while you work.
- Map the 7-Pin Ignition Switch: The L130 uses a standard 7-terminal switch. Label your new wires: B (12V Battery), S (Starter Solenoid), M (Magneto/Kill), G (Ground), L (Lights), A (Accessory/PTO relay), and R (Regulator/Alternator).
- Install a PTO Relay: The factory PTO switch is notorious for melting due to the 3.5-amp continuous draw of the Ogura/Warner electric clutch. Wire a standard 12V 30A automotive relay. Run heavy 10 AWG wire directly from the battery (fused) to the relay, and use the ignition switch’s A terminal only to trigger the relay coil.
- Crimp, Don’t Solder: Solder joints in high-vibration environments like a lawn tractor will fatigue and snap. Use a ratcheting crimper and nylon-insulated ring terminals.
- Seal with Marine-Grade Heat Shrink: Slip dual-wall, adhesive-lined heat shrink tubing over every crimp. When heated, the inner adhesive melts and seals out moisture, preventing the green corrosion that plagues the L130’s stator connections.
Known L130 Failure Modes & Fire Prevention
Through years of diagnostic data, three specific electrical failure modes consistently cause fires or total electrical loss in the L130 platform. Addressing these during your rewiring process is mandatory for code compliance and safety.
1. Voltage Regulator Ground Starvation
The L130’s voltage regulator/rectifier is a finned aluminum unit bolted directly to the engine block. It relies on the mounting bolts for its ground path. Over time, engine vibrations, oil seepage, and rust create resistance at this ground point. When the regulator cannot ground properly, it attempts to push AC voltage into the DC harness, melting wires and overcharging the battery until it vents explosive hydrogen gas. Fix: Wire a dedicated 12 AWG ground wire from the regulator mounting bolt directly to the battery’s negative terminal, and apply conductive anti-seize to the mounting bracket.
2. Stator Wire Chafing
The three yellow wires exiting the engine stator pass dangerously close to the exhaust muffler and the cooling fan shroud. Factory loom degrades after a decade. If the wires chafe against the hot muffler, they will short together, instantly destroying the stator and potentially igniting dry grass clippings trapped under the hood. Fix: Reroute stator wires using high-temperature fiberglass sleeving (rated to 1000°F) and secure them with stainless steel P-clamps away from all heat sources.
3. PTO Connector Moisture Ingress
The 2-pin connector that plugs into the electric PTO clutch sits low on the chassis, directly in the path of thrown water and fertilizer. Standard connectors corrode, increasing resistance. This resistance generates heat, melting the plastic connector housing and causing the PTO to intermittently disengage while mowing. Fix: Cut off the factory connector and replace it with a sealed, weather-pack (Deutsch-style) connector, packing the cavity with dielectric grease.
Expert Troubleshooting FAQ
Why does my L130 blow the main fuse only when I engage the mower deck?
This indicates a short to ground in the PTO circuit, or a failing electric clutch coil. The PTO clutch should draw between 2.5 and 3.5 amps. If the internal coil insulation has broken down, it will pull 15+ amps on engagement, instantly blowing a 10A fuse. Test the clutch resistance with a multimeter; it should read between 3.0 and 4.5 ohms. If it reads near zero, replace the clutch assembly.
Can I use a standard automotive fuse block for the L130?
Yes, but it must be an ATC/ATO sealed fuse block with a waterproof cover. Standard open-air fuse blocks will corrode within a single season due to the high humidity and chemical exposure inherent to lawn care. Mount the fuse block high on the firewall, away from the battery’s venting gases and the mower deck’s debris path.
My new battery keeps dying after 3 days of sitting. Is the wiring diagram to blame?
You likely have a parasitic draw or a failed diode in the voltage regulator. Even when the key is off, a failed regulator diode will allow current to flow backward from the battery into the stator, draining it completely in 48 to 72 hours. Disconnect the regulator plug; if the parasitic draw stops, the regulator is defective and must be replaced.