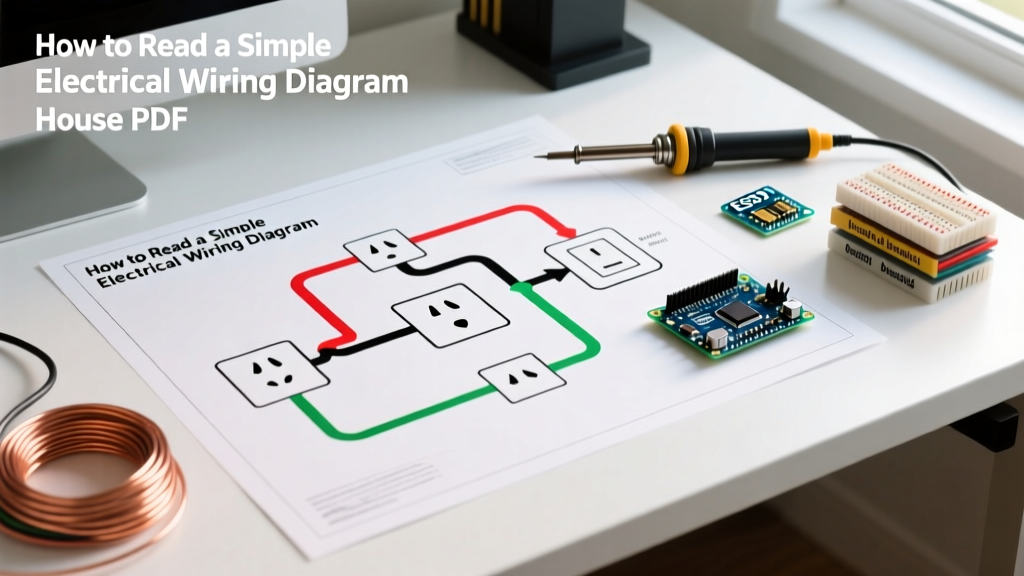

Decoding the Modern Residential Blueprint
In 2026, the days of unfolding massive, tear-prone paper blueprints on a dusty job site are largely behind us. Today, electricians, DIYers, and home inspectors rely on a simple electrical wiring diagram house PDF to map out residential circuits, troubleshoot faults, and plan renovations. However, a PDF schematic is only as useful as your ability to interpret its standardized symbols and trace its logical pathways. Misreading a switch loop or confusing a neutral with a ground in a digital diagram can lead to catastrophic failures, tripped AFCI breakers, or severe shock hazards.
This guide provides a deep-dive reference for reading residential wiring PDFs, aligning with the latest NFPA 70 (National Electrical Code) standards active in 2026. Whether you are mapping a 200-amp service entrance or tracing a multi-way lighting circuit, understanding the anatomy of these digital documents is your first line of defense against electrical faults.
The Anatomy of a Residential Wiring PDF
A standard house wiring diagram PDF is typically divided into three distinct sections: the Single-Line Diagram (SLD), the Floor Plan Overlay, and the Legend/Schedule. Understanding how these layers interact is critical for accurate physical implementation.
1. The Legend and ANSI Symbols
Residential PDFs utilize standardized symbols governed by ANSI/IEEE 315. Before tracing any lines, you must cross-reference the legend. Common symbols include:
- Circle with an 'R' or duplex symbol: Standard 15A or 20A receptacle.
- Circle with a shaded half: Switch-controlled receptacle (often required in living rooms per NEC 210.70).
- Circle with 'S' and a line: Single-pole switch. A '3' or '4' inside denotes 3-way or 4-way switches.
- Circle with 'GFI' or 'G': Ground Fault Circuit Interrupter receptacle.
- Square with 'AFCI': Arc Fault Circuit Interrupter breaker location in the panel schedule.
2. Line Types and Wire Identification
In a simple electrical wiring diagram house PDF, lines represent physical cables (like Southwire 12/2 NM-B Romex) or individual conductors in a raceway. A solid line typically denotes a hot (ungrounded) conductor, while a dashed line often represents a switched leg or a traveler wire. The neutral (grounded) conductor is usually depicted as a dotted line or omitted entirely in simplified schematics, which is a common trap for novices who forget that a physical neutral must accompany the hot wire in the same cable assembly to prevent electromagnetic interference.
Tracing the Main Service and Panel Schedule
Every residential PDF begins at the service drop or lateral. For a standard modern home, the diagram will show a 200-amp, 120/240V single-phase, 3-wire service. The PDF will detail the meter base, the service disconnect, and the main distribution panel.
When reviewing the panel schedule in the PDF, pay close attention to the multi-wire branch circuits (MWBCs). These are circuits that share a single neutral wire but utilize two hot wires on opposite phases (e.g., Breakers 2 and 4). The PDF must indicate a handle tie or a common-trip 2-pole breaker (such as the Square D HOM220 or Eaton BR2020) to comply with NEC 210.4, ensuring both legs are disconnected simultaneously during maintenance.
Branch Circuit Wire Gauge and Breaker Matrix
A critical component of any wiring diagram reference is matching the wire gauge to the overcurrent protection device. The table below outlines the standard specifications you will find referenced in a 2026-compliant residential PDF.
| Circuit Application | NEC Reference | Wire Gauge (NM-B / THHN) | Breaker Size & Type | Max Continuous Load |
|---|---|---|---|---|
| General Lighting | 210.11 / 210.12 | 14 AWG / 14 AWG | 15A AFCI | 12 Amps |
| Kitchen Small Appliance | 210.11(C)(1) / 210.8 | 12 AWG / 12 AWG | 20A GFCI/AFCI | 16 Amps |
| Laundry Receptacle | 210.11(C)(2) | 12 AWG / 12 AWG | 20A AFCI | 16 Amps |
| Electric Water Heater | 422.13 | 10 AWG / 10 AWG | 30A 2-Pole | 24 Amps |
| Central AC Condenser | 440.4 | 10 AWG / 8 AWG | 40A 2-Pole (HACR) | 32 Amps |
Step-by-Step: Tracing a 3-Way Switch Circuit in a PDF
One of the most complex elements to decode in a simple electrical wiring diagram house PDF is the 3-way switch loop, commonly used for stairwells and long hallways. Here is how to trace it accurately using modern code requirements.
- Identify the Power Source: Locate where the 120V feed enters the circuit. In modern PDFs, power usually enters the first switch box, not the light fixture.
- Trace the Line and Load: The 'Line' (hot) connects to the 'Common' terminal (usually a darker colored screw) on Switch 1. The 'Load' (switched hot to the fixture) connects to the 'Common' terminal on Switch 2.
- Map the Travelers: The PDF will show two parallel lines connecting the brass-colored traveler terminals between Switch 1 and Switch 2. These carry the alternating hot state.
- Verify the Neutral (Crucial Step): Per NEC 404.2, a neutral conductor must be present at every switch box to accommodate smart switches and timers. Ensure the PDF shows a 3-conductor cable (e.g., 14/3 or 12/3 NM-B) running between the switches, with the white wire capped or utilized as a neutral, not re-purposed as a hot traveler without proper re-identification tape.
Expert Insight: When reviewing older PDFs or legacy as-built diagrams, you will frequently encounter 'switch loops' where only a 2-wire cable (black and white) was dropped from the fixture to the switch, with the white wire used as a hot feed. This violates current NEC 404.2(C) requirements. If your PDF shows this, you must plan to pull new 3-wire cable during your renovation to support modern smart-home ecosystems.
Troubleshooting Discrepancies Between PDF and Reality
Even the most detailed simple electrical wiring diagram house PDF can fail to capture undocumented modifications made by previous homeowners. When the physical wiring does not match the digital schematic, follow these diagnostic protocols:
1. Voltage Drop and Phantom Voltages
If a receptacle shows as wired on the PDF but reads 40V-60V on your multimeter, you are likely dealing with a disconnected neutral or a high-resistance connection downstream. Use a True-RMS multimeter, such as the Fluke 117, to accurately measure voltage and eliminate phantom readings caused by capacitive coupling in long NM-B cable runs.
2. AFCI Nuisance Tripping
If the PDF indicates a shared neutral between two separate AFCI-protected circuits, the breakers will trip immediately upon energizing. AFCI breakers monitor the specific current signature on both the hot and neutral. A shared neutral (often a miswired MWBC without a handle tie) will cause an imbalance, triggering the arc-fault algorithm. Always verify neutral isolation at the panel using a clamp meter before energizing a newly wired circuit.
Safety Protocols for Diagram Implementation
Working from a wiring diagram does not exempt you from strict safety protocols. The Occupational Safety and Health Administration (OSHA) mandates rigorous Lockout/Tagout (LOTO) procedures. Before cutting, stripping, or terminating any wire indicated on your PDF, you must:
- Turn off the specific branch circuit breaker at the main panel.
- Apply a physical lock and tag to the breaker panel to prevent accidental re-energization.
- Verify the absence of voltage using a non-contact voltage tester (like the Klein Tools NCVT-3) and confirm with a contact voltage tester on a known live source before and after testing the target wire.
For comprehensive safety guidelines regarding residential electrical work and fire prevention, always consult the U.S. Consumer Product Safety Commission (CPSC) electrical safety center.
Conclusion
Mastering a simple electrical wiring diagram house PDF is about more than just recognizing symbols; it requires a deep understanding of electrical theory, NEC code cycles, and physical installation constraints. By systematically decoding the legend, verifying wire-to-breaker matrices, and rigorously tracing switch loops and neutrals, you ensure that your residential electrical projects are safe, efficient, and fully compliant with 2026 standards. Always treat the PDF as a guide, but let your multimeter and physical verification be the final authority on the job site.