
Designing a Code-Compliant Shed Electrical Wiring Diagram
Routing power to an outbuilding requires more than just burying a cable. A properly engineered shed electrical wiring diagram must account for feeder sizing, voltage drop, subpanel isolation, and strict grounding electrode requirements. As electrical codes evolve through the 2026 adoption cycles of the NEC (National Electrical Code), the margin for error in accessory building wiring has narrowed, particularly regarding GFCI and AFCI protection.
This guide provides a comprehensive, panel-and-breaker-focused approach to designing a 60-amp subpanel system for a standard workshop shed. We will cover exact material specifications, conduit fill calculations, and breaker allocation matrices to ensure your installation passes inspection on the first attempt.
Core Components of a 60-Amp Shed Subpanel System
Before digging a trench, you must select the correct hardware. Undersizing the subpanel bus bar or using the wrong feeder wire are the most common failure points in DIY shed wiring.
The Main Panel Feeder Breaker
At your home's main service panel, you will install a 60-amp, 2-pole breaker. For Square D Homeline panels, use the Model HOM260CP. For Siemens panels, use the Q260. This breaker protects the feeder wire running to the shed, not the individual shed circuits.
The Feeder Wire and Conduit
While direct-burial UF-B cable is an option, running individual THHN/THWN-2 conductors inside Schedule 40 PVC conduit is the professional standard for 2026 installations. It allows for future upgrades and better heat dissipation.
- Conductors: Two #6 AWG Copper THHN (Black and Red for Hots), one #6 AWG Copper THHN (White for Neutral), and one #8 AWG Bare Copper (Equipment Ground).
- Conduit: 1-inch Schedule 40 PVC. According to NEC Chapter 9, Table 1, the 40% fill capacity for 1-inch PVC is 0.354 square inches. Our four conductors total approximately 0.23 square inches, making 1-inch PVC perfectly code-compliant and allowing for easy pulling.
The Subpanel
Do not buy a main breaker panel for the shed unless it is a separate structure requiring a local disconnect (which a shed usually does, but a backfed breaker suffices). The most cost-effective and robust choice is the Square D Homeline 100-Amp 6-Space 12-Circuit Main Lug Panel (Model HOM612L100CP). Although rated for 100 amps, it will be fed by the 60-amp breaker at the main house, which is perfectly legal and provides ample bus bar capacity.
Step-by-Step Routing and Trenching
Physical installation requires adherence to NEC Table 300.5 burial depths. Always call 811 before breaking ground.
- Trenching: Dig a trench 24 inches deep. This depth is mandated for standard PVC conduit carrying residential feeders without GFCI protection at the source.
- Conduit Assembly: Use PVC primer and cement on all joints. Install a PVC expansion joint if your trench run exceeds 25 feet to account for thermal expansion and contraction.
- Warning Tape: Lay bright red or yellow 'Caution: Buried Electric Line' tape 12 inches above the conduit before backfilling.
- Pulling Wire: Use a fiberglass fish tape and wire pulling lubricant (like Polywater J) to pull the four conductors through the conduit. Never use dish soap, as it dries out and degrades wire insulation over time.
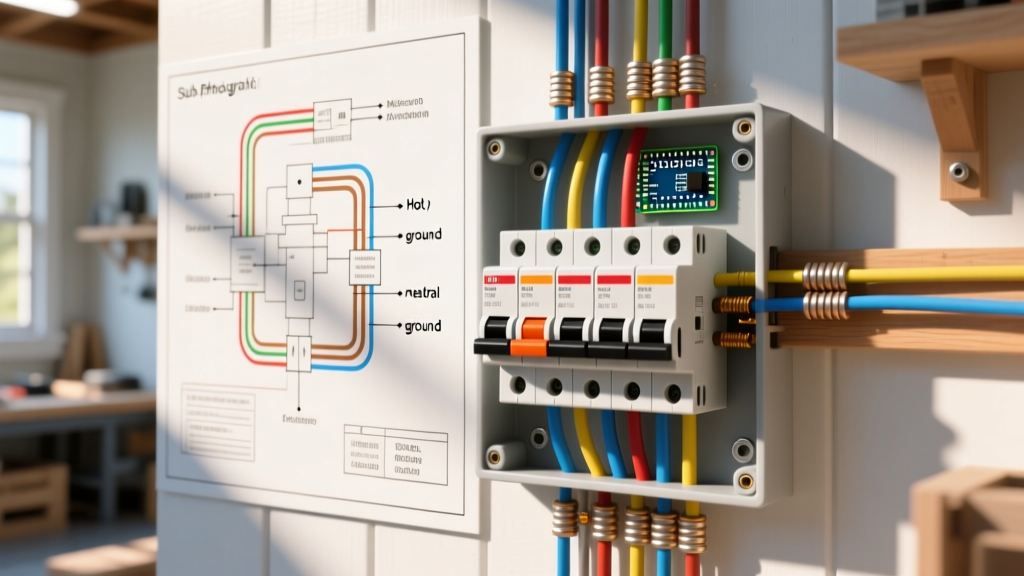
Shed Electrical Wiring Diagram: Breaker Allocation Matrix
Once the feeder reaches the shed subpanel, you must allocate branch circuits. The following matrix outlines the optimal breaker sizing for a standard 12x16 workshop shed, incorporating the latest NEC requirements for outbuilding receptacles.
| Circuit Purpose | Breaker Type & Size | Wire Gauge | NEC Code Reference (2023/2026) |
|---|---|---|---|
| General Receptacles (Left Wall) | 20A Single-Pole GFCI/AFCI | 12 AWG Cu | 210.8(A)(3) & 210.12 |
| General Receptacles (Right Wall) | 20A Single-Pole GFCI/AFCI | 12 AWG Cu | 210.8(A)(3) & 210.12 |
| LED Overhead Lighting | 15A Single-Pole | 14 AWG Cu | 210.70(A)(2) |
| Exterior Security Lighting | 15A Single-Pole | 14 AWG Cu | 210.70(A)(2) |
| Heavy Tool (Welder/Compressor) | 30A Double-Pole | 10 AWG Cu | 210.23 & 430.52 |
| Mini-Split HVAC (If applicable) | 20A Double-Pole | 12 AWG Cu | 440.62 |
Expert Note on AFCI Protection: Under recent NEC updates, AFCI (Arc-Fault Circuit Interrupter) protection is increasingly required for 120V, 15A and 20A branch circuits in accessory buildings. Use dual-function (CAFCI/GFCI) breakers like the Square D HOM120DF to satisfy both requirements in a single space.
Grounding and Bonding: The Most Critical Step
The most frequent cause of failed electrical inspections in outbuildings is improper grounding and neutral bonding. According to NFPA NEC Article 250.32, a separate building supplied by a feeder must have its own grounding electrode system, and the neutral and ground must remain strictly isolated.
Isolating the Subpanel
When you unbox the Square D HOM612L100CP subpanel, it will come with a green bonding screw or bonding strap connecting the neutral bar to the metal panel enclosure. You must remove this screw or strap. In a subpanel, the neutral current must only return via the insulated neutral wire, not through the ground wire or the earth. If you leave the bonding strap in place, you create a parallel neutral path, which can energize the shed's metal framing and pose a lethal shock hazard.
Installing the Grounding Electrode System
You must drive two 5/8-inch by 8-foot copper-clad steel ground rods (such as those from ERICO or Harger) into the earth outside the shed.
- Space the rods at least 6 feet apart.
- Connect them using a continuous run of #6 AWG bare copper wire.
- Use acorn ground rod clamps rated for direct burial, and tighten them to 20 inch-pounds using a torque screwdriver.
- Run this #6 bare copper wire into the subpanel and terminate it exclusively on the isolated ground bus bar.
Termination and Torque Specifications
Modern electrical codes (NEC 110.14(D)) mandate that terminations be torqued to the manufacturer's specifications. Hand-tightening is no longer acceptable for inspected work.
- Main Lugs (Feeder #6 AWG): Square D specifies 25 to 35 inch-pounds for their main lugs. Use a calibrated torque screwdriver (e.g., CDI 401SM).
- Breaker Terminals (#12 and #14 AWG): Typically require 12 to 15 inch-pounds.
- Ground/Neutral Bars: Ensure the set screws bite cleanly into the copper. For stranded wire, ensure no stray strands are splaying outside the terminal block.
2026 Material Cost Breakdown
Understanding the financial commitment helps in planning. Prices reflect early 2026 market averages for copper and PVC.
| Material | Estimated Cost |
|---|---|
| Square D 100A Subpanel (HOM612L100CP) | $48.00 |
| 60A Main Feeder Breaker (HOM260CP) | $26.00 |
| 100 ft #6 AWG THHN (Black, Red, White) | $165.00 |
| 100 ft #8 AWG Bare Copper Ground | $45.00 |
| 100 ft 1-inch Schedule 40 PVC & Fittings | $75.00 |
| Two Ground Rods & Acorn Clamps | $42.00 |
| Branch Circuit Breakers (Dual Function) | $85.00 |
| Total Estimated Materials | $486.00 |
Note: This excludes branch circuit wiring (Romex/NM-B), receptacles, lighting fixtures, and the cost of renting a trencher.
Troubleshooting Edge Cases and Voltage Drop
When designing your shed electrical wiring diagram, distance is your biggest enemy. While #6 AWG copper is perfectly rated for 60 amps regarding heat and ampacity (NEC Table 310.16), voltage drop becomes a critical factor over long distances.
If your shed is located more than 110 feet from the main panel, a 60-amp load will experience a voltage drop exceeding the recommended 3% threshold. To mitigate this, you must upsize your feeder conductors to #4 AWG Copper or #2 AWG Aluminum. For comprehensive voltage drop calculations and advanced feeder sizing strategies, Mike Holt Enterprises provides excellent code-compliant calculators and reference materials that align with NEC recommendations.
What if my main panel is full?
If your main residential panel lacks the physical space for a 2-pole 60A breaker, do not use tandem breakers to cheat space. Instead, install a sub-feed lug block (like the Square D HOMFTL) if your panel supports it, or upgrade your main panel. Alternatively, you can reduce the shed feeder to 50 amps using #8 AWG copper, provided your calculated shed load does not exceed 40 amps continuous.
Final Inspection Checklist
Before calling your local AHJ (Authority Having Jurisdiction) for inspection, verify the following:
- The green bonding screw is removed from the shed subpanel.
- Two ground rods are driven and connected with #6 bare copper.
- Neutral and ground wires are terminated on separate, isolated bus bars.
- All PVC conduit joints are fully glued and sealed against moisture.
- Trench depth is verified at 24 inches before backfilling.
- All breaker and lug terminations are torqued to spec.
By following this detailed panel and breaker guide, your shed will feature a safe, robust, and code-compliant electrical system capable of handling modern workshop demands for decades to come.