
The Anatomy of an RV Dual-Voltage Electrical Panel
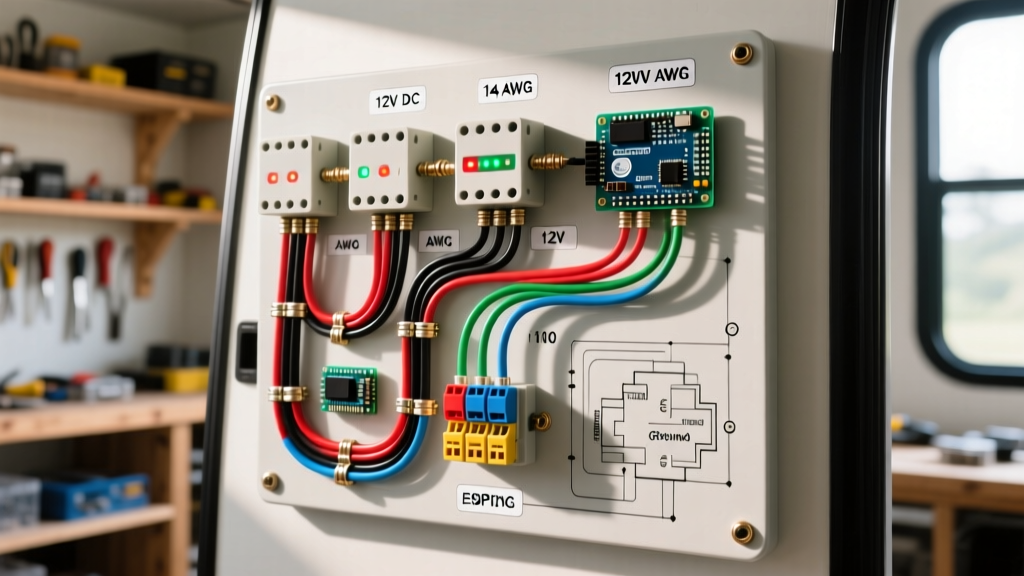
When wiring electrical panels in a recreational vehicle, camper van, or expedition truck, you are essentially managing two entirely distinct power grids within a single metal box. Unlike residential homes that rely solely on 120V/240V AC power, modern RVs require a seamless integration of 120V AC (shore power and generator) and 12V DC (battery banks and solar arrays). As of the 2026 RV manufacturing season, the industry standard for combined power centers remains the Progressive Dynamics PD4100 series, with the PD4135ACV (priced around $215) serving as the benchmark for 30-amp applications.
Properly wiring electrical panels in this environment demands strict adherence to both the National Electrical Code (NEC) Article 551 for RVs and the American Boat & Yacht Council (ABYC) E-11 standards for DC systems, which high-end custom van builders frequently adopt for superior safety. Failing to separate these systems or mismanaging the neutral-to-ground bond can result in catastrophic failures, including chassis electrification or lithium battery fires.
Step-by-Step: Wiring Electrical Panels for 120V AC Shore Power
The 120V AC section of your RV panel handles high-voltage loads like the air conditioner, microwave, and residential refrigerator. The incoming shore power cord feeds directly into a main double-pole (for 50A) or single-pole (for 30A) breaker.
Branch Circuit Routing and Breaker Selection
When wiring electrical panels for AC branch circuits, wire selection is critical. You must use solid or stranded copper THHN/THWN-2 wire routed through flexible liquid-tight conduit to protect against chassis vibration. For a standard 30A RV system, 10 AWG wire is mandated for the main feed, while 12 AWG is standard for 20A branch circuits.
- Main Breaker: 30A (Single Pole) or 50A (Double Pole). Ensure the breaker matches the exact rating of your shore power inlet.
- GFCI Protection: NEC mandates Ground Fault Circuit Interrupter protection for all 120V receptacles in wet areas (bathroom, kitchen, exterior). Use a 20A GFCI breaker or a GFCI receptacle at the first point of the circuit.
- AFCI Protection: Arc Fault Circuit Interrupter breakers are now required for bedroom and living area receptacles to prevent fires caused by frayed cords vibrating against the RV chassis.
Expert Torque Specification: Never rely on 'finger tight' for AC panel connections. According to Square D and Eaton manufacturer specifications, standard 120V terminal screws require exactly 45 in-lbs of torque. Use a calibrated Wiha torque screwdriver to prevent thermal expansion loosening over thousands of miles of highway travel.
Step-by-Step: Wiring Electrical Panels for 12V DC Loads
The 12V DC fuse block is the heart of your RV's off-grid capability, powering LED lighting, water pumps, slide-out motors, and inverter control boards. The golden rule of DC wiring is managing voltage drop; a 3% maximum drop is the target for sensitive electronics.
Fuse Block Placement and Sizing
When wiring electrical panels for DC loads, the main overcurrent protection device (OCPD) must be installed within 7 inches of the positive battery terminal if the wire is not enclosed in a sheath, per ABYC E-11 standards. Inside the main panel, a Blue Sea Systems ST Blade fuse block (approx. $45) is the industry standard.
- Main Feed Wire: Run 2/0 AWG stranded marine-grade wire (SAE J1128 or UL 1426) from the battery bank to a Class T fuse (rated slightly above your inverter's max continuous draw, typically 250A or 300A).
- Panel Feed: From the main busbar, run 4 AWG or 2 AWG wire to the DC fuse block inside the panel, protected by a 100A to 150A ANL fuse.
- Negative Busbar: Never daisy-chain negative wires. Route all DC negatives to a dedicated, insulated negative busbar (like the Blue Sea 250A busbar, approx. $35) and run a single, equally sized ground wire back to the battery shunt.
Wire Gauge and Overcurrent Protection Matrix
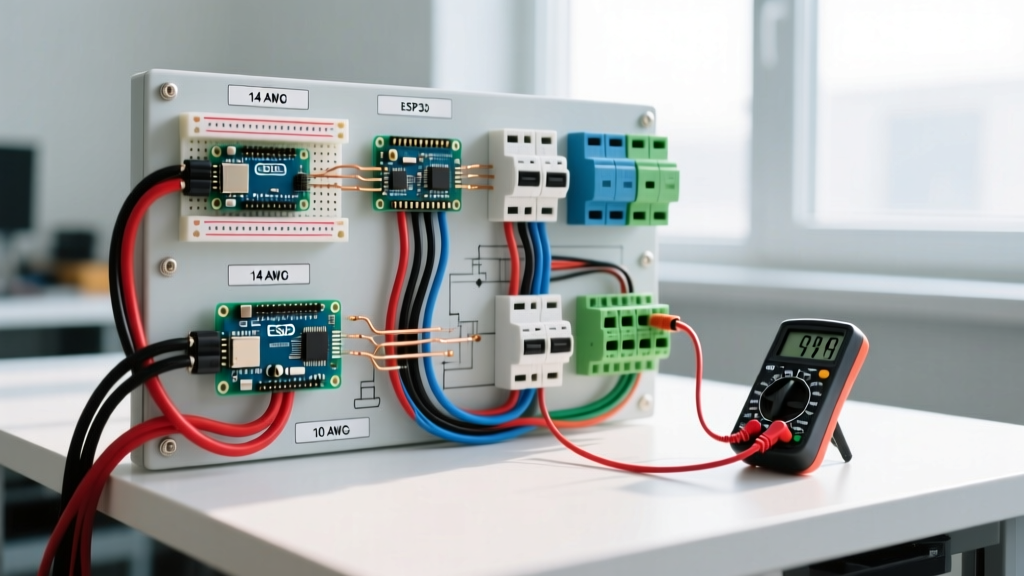
Use the following matrix to ensure your wire gauge and breaker/fuse sizing align with both NEC (for AC) and ABYC (for DC) standards. Note that DC ampacities are lower due to the continuous load nature of RV appliances and the 12V system's higher current draw.
| Wire Gauge (AWG) | 120V AC Max Breaker | 12V DC Max Fuse (ABYC) | Typical RV Application |
|---|---|---|---|
| 14 AWG | 15 Amps | 15 Amps | 12V LED Lighting, 120V Control Boards |
| 12 AWG | 20 Amps | 20 Amps | 12V Water Pump, 120V GFCI Receptacles |
| 10 AWG | 30 Amps | 30 Amps | 120V Main Shore Feed (30A RV), 12V Fridge |
| 8 AWG | N/A (Use 6 AWG for 40A+) | 45 Amps | 12V Slide-out Motors, Solar Charge Controller |
| 6 AWG | 60 Amps | 60 Amps | 120V Sub-panel Feed, High-Watt Inverter DC |
| 2/0 AWG | N/A | 250+ Amps | Main Battery Bank to Inverter/Busbar Feed |
Critical Edge Cases: Inverter Neutral-to-Ground Bonding
One of the most dangerous mistakes made when wiring electrical panels in modern RVs involves the neutral-to-ground bond. In a standard 120V AC system, the neutral and ground are bonded only at the main service disconnect. However, when an RV is disconnected from shore power and running on a built-in inverter, the inverter must create this bond.
If you install a standalone inverter without an automatic internal transfer switch and bonding relay, you risk creating a 'floating neutral' or a double-bonded system. This can cause GFCI outlets to trip constantly or, worse, energize the RV's metal chassis if a fault occurs. For 2026 builds, always specify an inverter/charger with an integrated automatic neutral bonding relay, such as the Victron MultiPlus-II (approx. $1,450), which seamlessly manages this bond during the transition between shore power and inversion.
Common Failure Modes and Troubleshooting
Even with perfect schematics, the harsh environment of a moving vehicle introduces unique failure modes. Here is how to diagnose them:
- Thermal Loosening: Vibration and thermal cycling cause screw terminals to back out. Solution: Annually inspect the panel using a FLIR thermal imaging camera. Any terminal glowing 15°F hotter than adjacent terminals indicates high resistance and requires immediate re-torquing.
- Stranded Wire Fraying: Pushing stranded 12V wire directly into screw terminals causes individual copper strands to break, reducing the effective wire gauge. Solution: Always use a Knipex ferrule crimper to apply insulated bootlace ferrules to every 12V DC wire before termination.
- Corrosion at the Busbar: Dissimilar metals (e.g., aluminum lugs on copper wire) cause galvanic corrosion. Solution: Apply Noalox or a similar anti-oxidant compound to all heavy-gauge DC lugs before crimping and sealing with adhesive-lined heat shrink.
Frequently Asked Questions
Can I use residential Romex (NM-B) wire in my RV electrical panel?
No. While NM-B is common in sticks-and-bricks homes, the National Fire Protection Association (NFPA) and RVIA standards prohibit the use of solid-core NM-B in vehicles. The constant vibration of road travel will cause solid copper wire to work-harden, snap, and arc inside the walls. You must use stranded THHN/THWN-2 wire routed in flexible conduit.
Where should the main DC fuse be located relative to the panel?
According to the American Boat & Yacht Council (ABYC), the main DC overcurrent protection must be placed as close to the battery as possible—within 7 inches if the wire is exposed, or within 72 inches if the entire run is enclosed in a protective sheath or conduit. The fuse block inside the panel only protects the individual branch circuits, not the main feed.
Do I need a separate panel for my solar charge controller?
It is highly recommended. While you can route solar input through your main DC busbar, high-amperage solar arrays (800W+) generate significant heat and electromagnetic interference. Mounting a dedicated Blue Sea fuse block near the MPPT charge controller, as advised by the RV Industry Association (RVIA) best practices, isolates the solar array from sensitive 12V DC appliances like tankless water heater control boards.