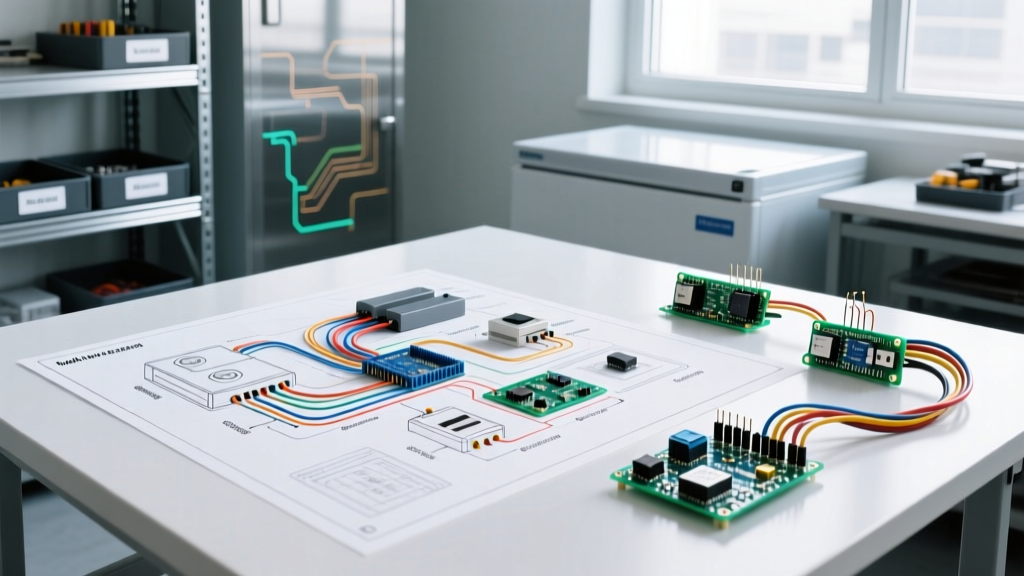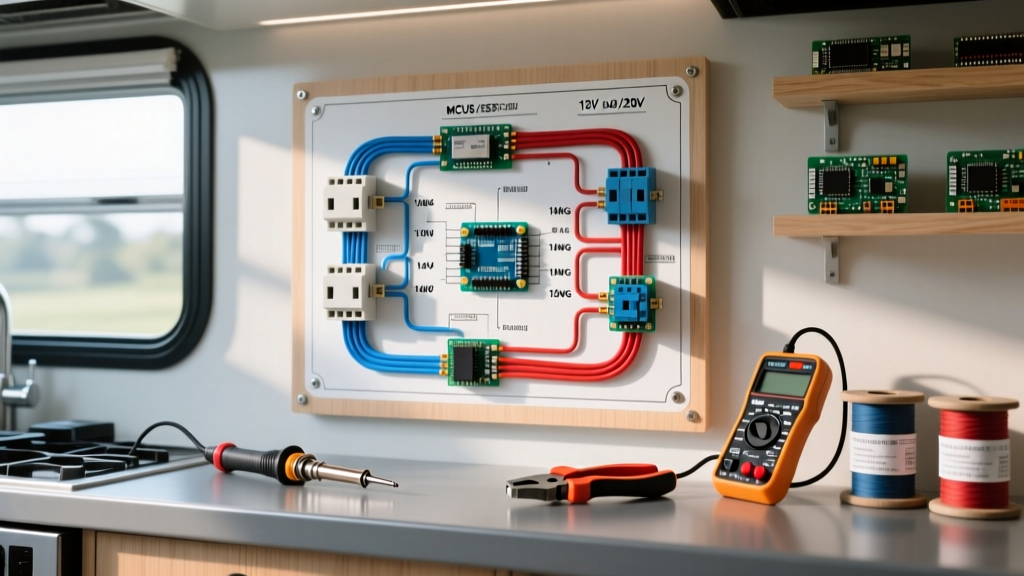

The Shift to All-Electric Vehicle Kitchens
Designing a reliable kitchen electrical wiring diagram for a recreational vehicle, Sprinter camper van, or food truck requires a fundamental departure from residential electrical codes. In a house, a kitchen is fed by a 200A split-phase panel with dedicated 20A small-appliance branch circuits. In a vehicle, you are battling severe spatial constraints, constant high-frequency vibration, and a dual-voltage ecosystem (12V DC and 120V AC). Furthermore, the 2026 RV industry trend is aggressively shifting toward all-electric kitchens—ditching propane for high-draw induction cooktops and convection microwaves. This makes your DC-to-AC inversion topology and voltage drop calculations more critical than ever.
When drafting your vehicle's kitchen electrical wiring diagram, you must account for the simultaneous startup surges of compressor-based refrigeration and the sustained high-wattage draws of modern induction hobs. A miscalculated wire gauge or an improperly crimped terminal in a mobile environment doesn't just trip a breaker; it causes thermal runaway and chassis fires.
Core Topology: Mapping the Kitchen Electrical Wiring Diagram
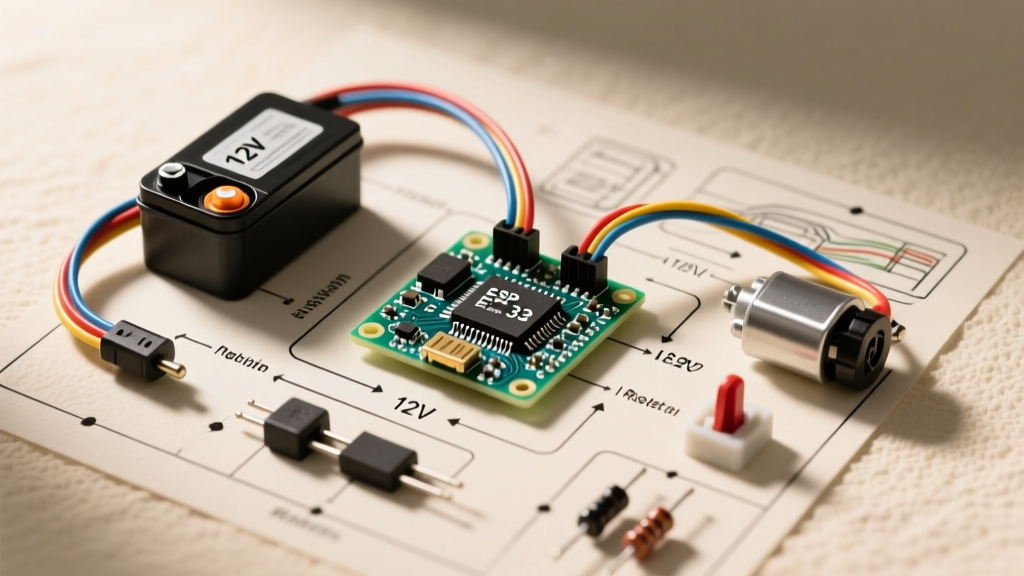
A robust mobile kitchen relies on a centralized Inverter/Charger acting as the bridge between your lithium battery bank and your AC appliances. For a modern all-electric kitchen, a 3000VA inverter is the absolute minimum. The Victron MultiPlus-II 12/3000/120-50 is the current industry standard for this application, featuring PowerAssist technology that supplements shore power when your microwave and induction cooktop run simultaneously.
Your diagram should split into two distinct sub-panels:
- 12V DC Fuse Block: Fed directly from the battery bank via a Class T fuse, powering the 12V compressor fridge, water pump, and LED task lighting.
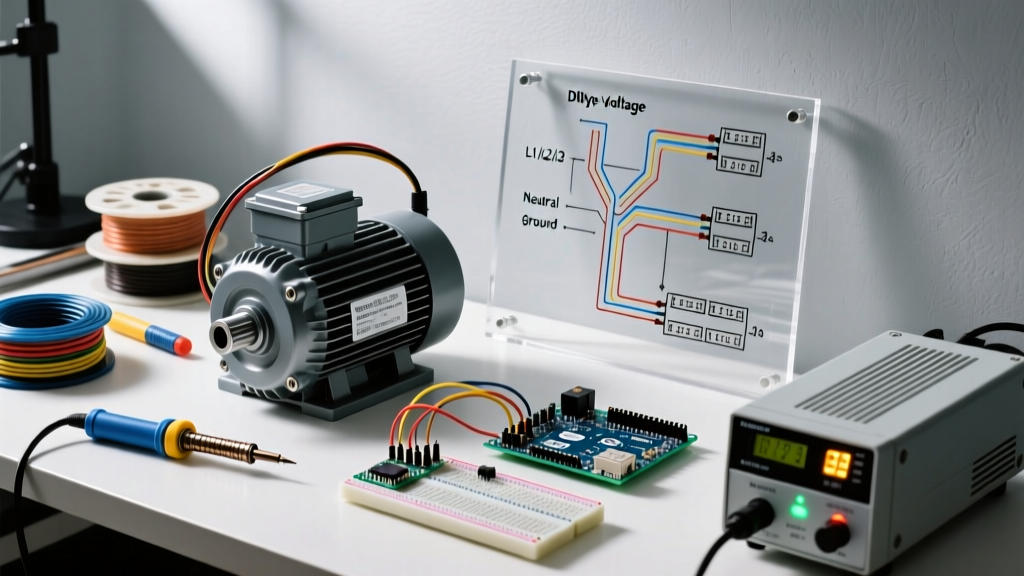
- 120V AC Breaker Box: Fed from the inverter's AC-Out, powering the induction cooktop, microwave, and GFCI-protected countertop receptacles.
Appliance Load Matrix & Wire Sizing
Sizing your conductors correctly is the backbone of any safe kitchen electrical wiring diagram. In a 24-foot Sprinter van, the round-trip wire distance from the battery bank to the kitchen galley can easily exceed 30 feet. According to Blue Sea Systems' Circuit Wizard and ABYC E-11 standards, you must size wires based on a maximum 3% voltage drop for critical electronics and compressors, and no more than 10% for general lighting.
| Kitchen Appliance (2026 Models) | Voltage | Running Watts | Surge Watts | Min. Wire Gauge (AWG) | Overcurrent Protection |
|---|---|---|---|---|---|
| True Induction TI-2B Cooktop | 120V AC | 1600W | 1800W | 12 AWG (Marine) | 20A AC Breaker |
| Furrion 0.9 Cu Ft Microwave | 120V AC | 900W | 1350W | 14 AWG (Marine) | 15A AC Breaker |
| Dometic CFX3 55IM Fridge | 12V DC | 45W | 120W | 10 AWG (Marine) | 15A ATC Fuse |
| Lippert Flow Max Water Pump | 12V DC | 60W | 110W | 14 AWG (Marine) | 10A ATC Fuse |
| Under-Cabinet LED Puck Lights | 12V DC | 15W | 15W | 18 AWG (Marine) | 5A ATC Fuse |
Why 10 AWG for a 45W Fridge?
Beginners often look at a 12V fridge drawing 4 amps and assume 16 AWG wire is sufficient. However, compressor startup surges can hit 10 amps for a fraction of a second. If the wire is too thin, the voltage at the fridge's control board drops below the 10.5V cutoff threshold, causing the compressor to short-cycle and fail prematurely. Always oversize DC wires for motorized kitchen appliances.
120V AC Branch Circuits: GFCI and Wet Locations
Wiring 120V AC in a vehicle kitchen introduces severe shock hazards due to the proximity of water sources and the conductive nature of the vehicle chassis. The NFPA 1192 Standard on Recreational Vehicles mandates that any 120V receptacle installed within 6 feet of a sink must be protected by a Ground Fault Circuit Interrupter (GFCI).
Instead of using bulky GFCI breakers in your sub-panel, install a GFCI receptacle as the first device on your kitchen countertop circuit, wiring the downstream standard receptacles to its LOAD terminals. Use 12 AWG stranded THHN or marine-grade wire for all AC runs. Never use solid core Romex in a vehicle; the constant vibration will cause the solid copper cores to work-harden, snap, and arc inside the walls.
12V DC Branch Circuits: Routing and Fusing
Your 12V DC kitchen loads should be consolidated onto a dedicated marine-grade fuse block, such as the Blue Sea Systems ST Blade. This block must be fed by a single heavy-gauge wire (e.g., 4 AWG) protected by an ANL fuse near the battery bank.
Expert Tip: Never wire your 12V kitchen water pump directly to a standard wall switch. The pump draws high current and will melt standard 12V rocker switches over time. Instead, route the pump's positive wire through a 30A automotive relay, and use the low-current wall switch to trigger the relay's coil.
Vibration-Proof Terminations
The most common point of failure in a mobile kitchen electrical wiring diagram is the termination point. Residential wire nuts are strictly prohibited in RV and van builds. Vibration will loosen the twist-on connection, leading to arcing and fire.
- Crimping: Use adhesive-lined marine heat shrink ring terminals. Strip the wire, insert it into the terminal, and crimp using a ratcheting tool like the Knipex ErgoCrimp or Titan Pro. Apply heat until the adhesive oozes out, creating a waterproof, vibration-proof seal.
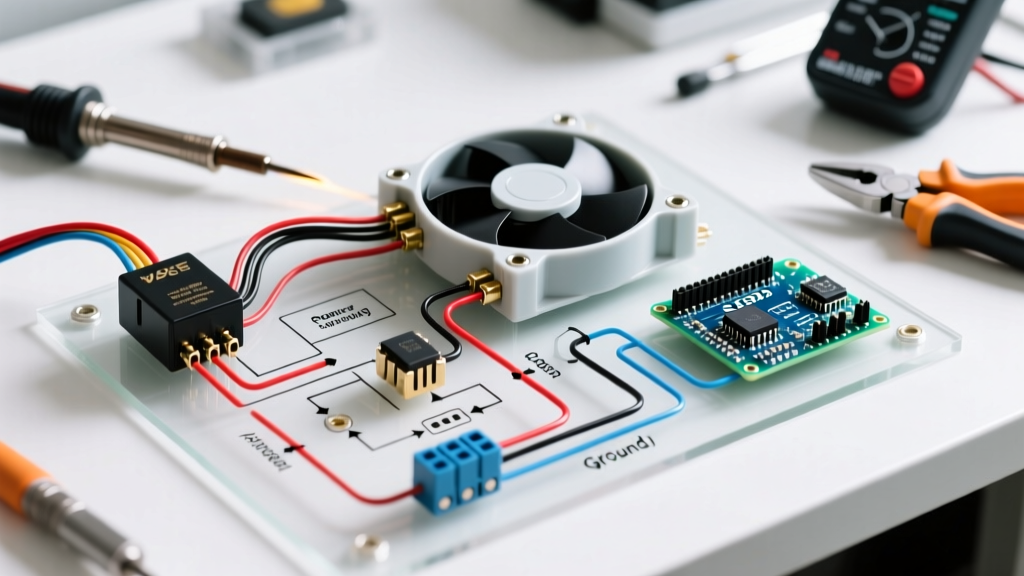
- Splicing: If you must splice wires in the kitchen galley, use WAGO 221 lever nuts. Crucially, you must secure these inside a WAGO 221-500 mounting carrier or a 3D-printed enclosure bolted to the cabinetry. Loose WAGO connectors bouncing against a metal chassis will cause dead shorts.
- Busbars: For high-current DC connections (like the inverter feed), use tinned copper busbars with stainless steel hardware. Apply a torque wrench to the manufacturer's specification and coat the connection in dielectric grease to prevent galvanic corrosion.
Chassis Grounding vs. DC Return Paths
A frequent debate in vehicle electrical design is whether to use the metal chassis as a ground return path. While automotive manufacturers do this for 12V lighting to save copper, the Recreation Vehicle Industry Association (RVIA) strongly recommends dedicated DC return wires (negative wires) routed back to the main DC busbar for all critical kitchen appliances. Relying on chassis grounding for a high-draw compressor fridge or water pump introduces variable resistance through frame bolts and paint, leading to unpredictable voltage drops. Run both a positive and a negative wire for every kitchen appliance.
Troubleshooting Common Kitchen Voltage Drops
If your induction cooktop throws an 'E0' error code or your microwave shuts off after 3 seconds, you are experiencing severe AC voltage sag under load. Here is how to diagnose it:
- Check the Inverter Cables: The 12V DC cables feeding the inverter must be 1/0 AWG or 2/0 AWG, and no longer than 5 feet. If they are undersized, the inverter's DC input voltage will plummet when the microwave draws 100A+ from the battery bank, triggering the inverter's low-voltage cutoff.
- Inspect the Shore Power Transfer Switch: If the issue only occurs when plugged into campsite shore power, the automatic transfer switch (ATS) may have loose internal lugs, causing a bottleneck before the power even reaches your kitchen sub-panel.
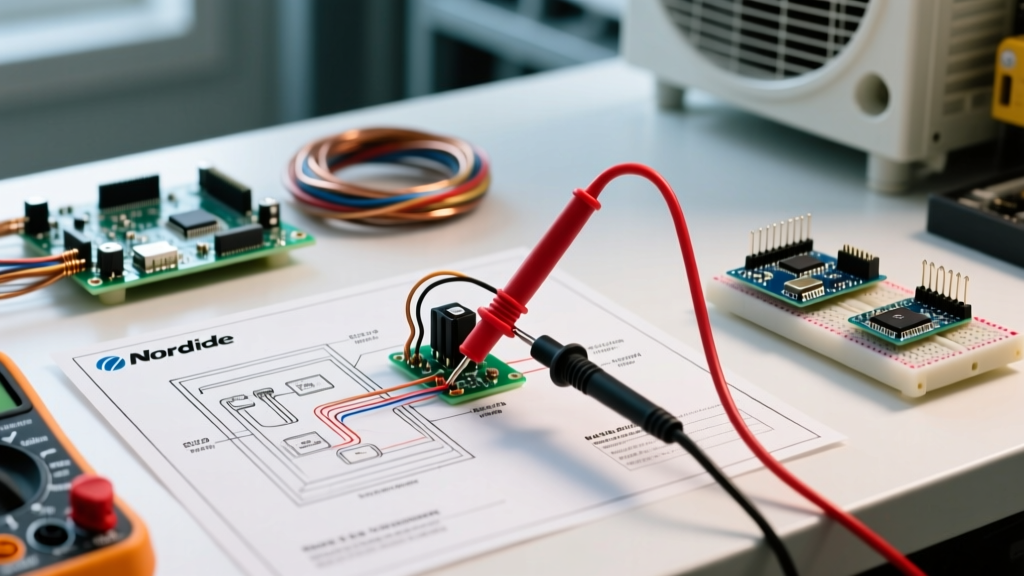
- Measure at the Receptacle: Use a digital multimeter to measure AC voltage directly at the kitchen GFCI receptacle while the induction cooktop is running on high. If it drops below 105V, you must increase the wire gauge or shorten the run length.
Frequently Asked Questions
Can I use residential 14/2 NM-B (Romex) for the 120V kitchen outlets?
No. NM-B uses solid copper conductors and a paper/plastic jacket that degrades rapidly under vehicular vibration and temperature fluctuations. You must use stranded copper wire, ideally tinned marine-grade (SGG) or THHN routed inside flexible split loom or conduit.
Do I need a dedicated inverter just for the kitchen?
Not necessarily, but your main inverter must be sized to handle the combined surge of the kitchen and other AC loads (like an AC unit). If you frequently boondock and want to run the microwave and induction cooktop simultaneously without draining the battery bank instantly, a 3000VA to 5000VA inverter paired with a 400Ah+ lithium battery bank is mandatory.
How do I wire a 12V range hood fan?
Treat the 12V range hood fan like any other low-draw DC appliance. Wire it to a fused terminal on your DC fuse block (typically a 5A or 10A ATC fuse) and route it through a dedicated 12V rocker switch mounted on the kitchen backsplash. Ensure the exhaust vent is sealed with marine-grade butyl tape to prevent water ingress into the cabinetry.