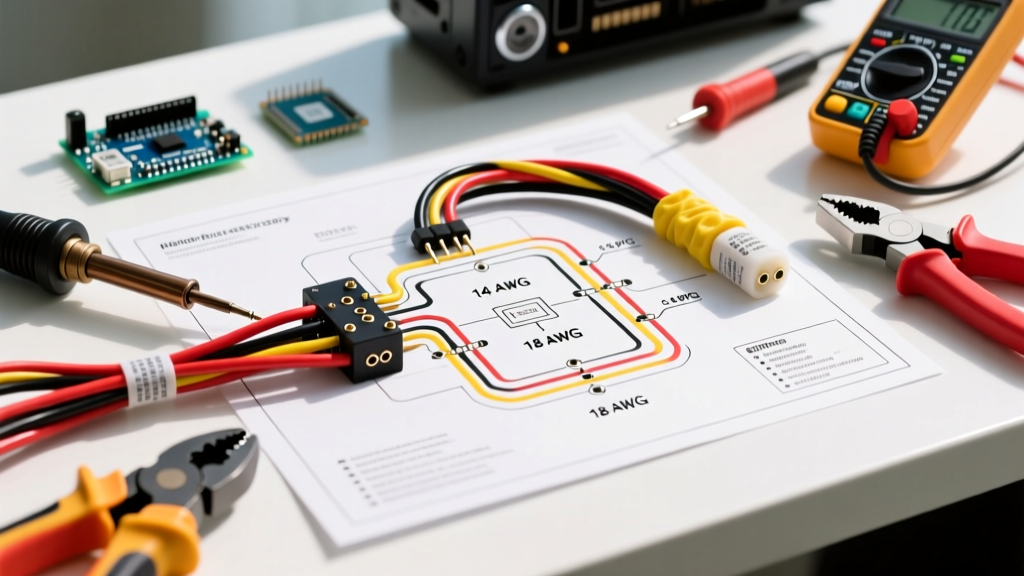
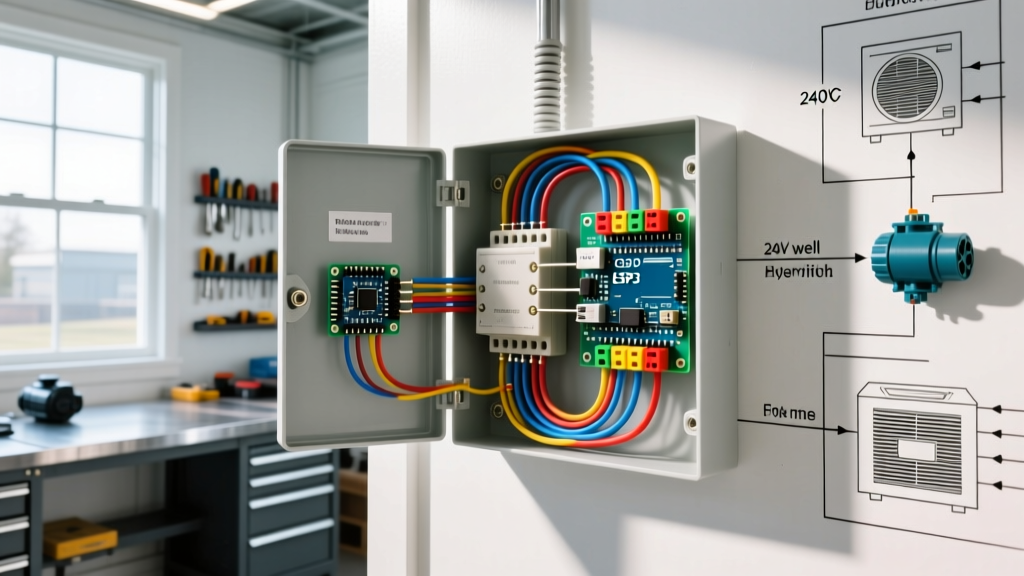
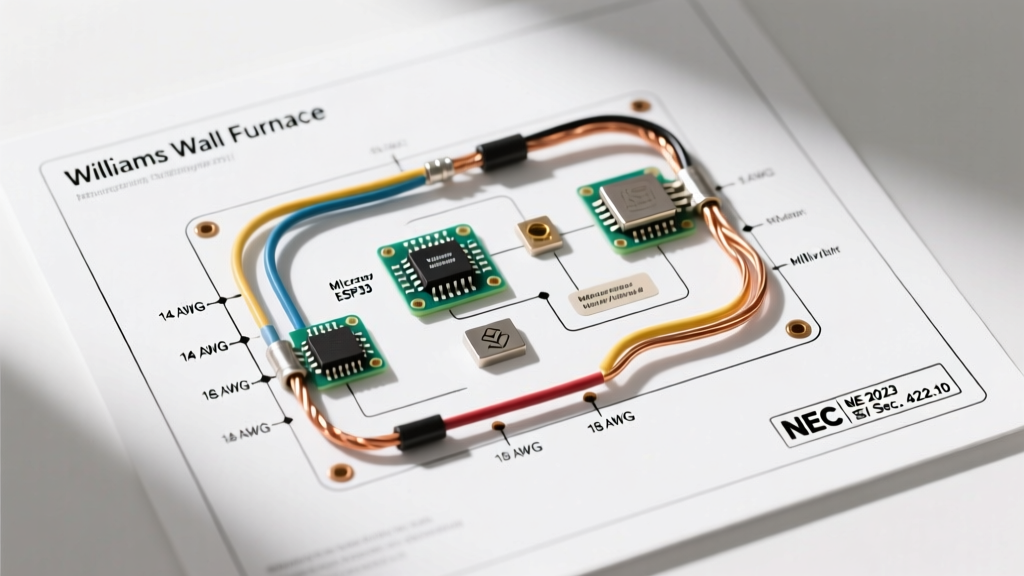
A 240 volt wire diagram is a schematic that maps the physical connections between a double-pole breaker, the conducting wires, and a high-power appliance to safely deliver split-phase alternating current.
In a real installation, stepping up to 240V halves the current draw for the same wattage compared to a 120V circuit, allowing you to use smaller gauge wire and avoid massive voltage drop over distance. Beginners frequently confuse US residential 240V—which is single-phase split-phase power derived from a center-tapped utility transformer—with true two-phase or three-phase commercial power, leading to dangerous miswiring of the neutral and ground buses.
The Anatomy of a Split-Phase 240V Circuit
To read a 240V diagram correctly, you have to understand what the utility company is actually delivering to your main panel. In North America, the transformer on the pole outside your house outputs 240V across a single secondary winding. A center tap on that winding creates a neutral point, effectively splitting the 240V into two 120V legs (L1 and L2) that are 180 degrees out of phase with each other.
When a wiring diagram shows a pure 240V load (like a baseboard heater or an air compressor), it connects directly across L1 and L2. The current flows back and forth between the two hot legs; it never touches the neutral bus. However, when a diagram shows a 120/240V appliance (like an electric range or clothes dryer), it utilizes L1 and L2 for the heavy 240V heating elements, but also routes a neutral wire to supply 120V for the control boards, timers, and interior lights.
Worked Example: Sizing Wire and Breakers for a 4500W Water Heater
Let’s apply this theory to a real-world scenario. You are installing a standard 40-gallon electric storage water heater. The nameplate specifies a single 4500W heating element operating at 240V. Here is how you read the requirements and size the circuit.
Step 1: Calculate the Base Current
Using Ohm’s Law variant for power (I = P / V), divide the wattage by the voltage:
4500W / 240V = 18.75 Amps
Step 2: Apply the NEC Continuous Load Multiplier
Storage water heaters are treated as continuous loads under NEC Article 422.13. You must multiply the base current by 125% to size the branch circuit:
18.75A × 1.25 = 23.43 Amps
Step 3: Select the Breaker
You need a double-pole breaker rated for at least 23.43A. Looking at NEC Article 240.6 for standard breaker sizes, the next size up is 25A. However, 25A breakers are specialty items that cost roughly $45 and are rarely stocked locally. The standard, universally available size is 30A, which safely covers the 23.43A requirement.
Step 4: Size the Conductors
For a 30A breaker, you must use wire rated for at least 30A. According to the 60°C column of NEC Table 310.16 (which governs most NM-B Romex cable terminations), 10 AWG copper wire is rated for exactly 30A. If you are pulling individual THHN conductors in conduit and terminating at 75°C rated lugs, 10 AWG is good for 35A, giving you even more thermal headroom.
Step 5: Verify the Diagram Connections
Your 240V diagram for this heater will show 10/2 NM-B cable. The black wire lands on one brass terminal of the heater, the white wire (which must be re-identified with black electrical tape at both ends) lands on the other brass terminal, and the bare copper wire lands on the green ground screw. No neutral is required.
Where You Meet 240V Diagrams in Practice
You will encounter 240 volt wire diagrams across several distinct categories of residential and light-commercial work. Understanding the specific quirks of each application prevents costly callbacks and failed inspections.
- EV Level 2 Chargers: Modern electric vehicle chargers typically require a 40A to 48A continuous load. Diagrams for these will specify a 50A or 60A double-pole breaker and 6 AWG or 4 AWG copper wire, terminating at a NEMA 14-50 receptacle or hardwiring directly into a junction box. The Department of Energy strongly recommends hardwiring over receptacles for high-draw EV chargers to prevent thermal melting at the plug prongs.
- HVAC Condenser Units: Outdoor AC compressors use 240V but often do not require a neutral. The diagram will show L1 and L2 landing on the contactor coil and compressor terminals, with a separate 24V control circuit powered by a low-voltage transformer inside the unit.
- Electric Ranges and Dryers: These are the classic 120/240V loads. The diagrams will explicitly show a 4-wire setup (Black, Red, White, Bare). The white neutral is critical here; if you omit it, the 120V control board will attempt to backfeed through the ground wire, which will immediately trip a GFCI or AFCI breaker if the panel is equipped with one.
- Welders and Plasma Cutters: Hobbyist welders often use NEMA 6-50 receptacles (pure 240V, no neutral). The diagram will highlight the equipment ground as the sole safety path, requiring a dedicated ground bus connection in the subpanel if you are wiring this in a detached garage.
Standard Wire Color Codes and Terminal Mapping
When translating a schematic into physical wire, color coding is your primary defense against cross-wiring. The NEC strictly regulates these colors to ensure any electrician can safely troubleshoot the circuit years later.
| Wire Function | US Color Code (NEC) | Appliance Terminal | Panel Termination |
|---|---|---|---|
| Hot Leg 1 (L1) | Black | Brass / L1 Screw | Double-Pole Breaker Lug A |
| Hot Leg 2 (L2) | Red (or Black) | Brass / L2 Screw | Double-Pole Breaker Lug B |
| Neutral (N) | White or Gray | Silver / N Screw | Neutral Bus Bar (with white wire) |
| Equipment Ground | Bare Copper or Green | Green / Ground Screw | Ground Bus Bar (or Neutral Bar in main) |
240 Volt Wiring Diagram FAQs
Can I use a US 240 volt wire diagram for a European 230V appliance?
No, the underlying physics and grid architectures are fundamentally different. US 240V split-phase utilizes two 120V hot legs that are 180 degrees out of phase, operating at 60Hz. European 230V is single-phase (one live wire, one neutral) operating at 50Hz. If you wire a European appliance to a US 240V circuit, you will be connecting it across two hot legs with no neutral reference, which will instantly destroy the appliance's power supply and pose a severe fire risk. Furthermore, the 60Hz frequency will cause European motors and transformers to run 20% faster and overheat. Always use a step-down isolation transformer rated for 50/60Hz conversion when operating imported equipment.
Why does my 240V diagram show a white wire capped off with a wire nut?
This typically occurs when an installer uses 3-wire cable (like 10/3 NM-B, containing Black, Red, White, and Bare) to feed a pure 240V appliance that only requires two hot wires and a ground. Because the appliance has no 120V components, it lacks a neutral terminal. The NEC requires that all current-carrying conductors in a cable be connected to a load or capped off safely. The white neutral wire is stripped, capped with a wire nut, and tucked into the back of the junction box. It remains available if the appliance is later upgraded to a 120/240V model that requires a neutral.
Do I need a neutral wire for a pure 240V baseboard heater?
No. Pure resistive 240V loads, such as baseboard heaters, wall ovens (some models), and water heaters, do not require a neutral wire. The current simply alternates between the two hot legs (L1 and L2). The circuit only requires the two ungrounded (hot) conductors and an equipment grounding conductor. Wiring a neutral to a pure 240V load serves no electrical purpose and, if connected to the wrong terminal, can create a dead short or energize the appliance chassis. Always verify the manufacturer's wiring schematic; if the diagram only shows L1, L2, and Ground, leave the neutral bus out of the equation entirely.