
Understanding the SureLight Control Board Ecosystem
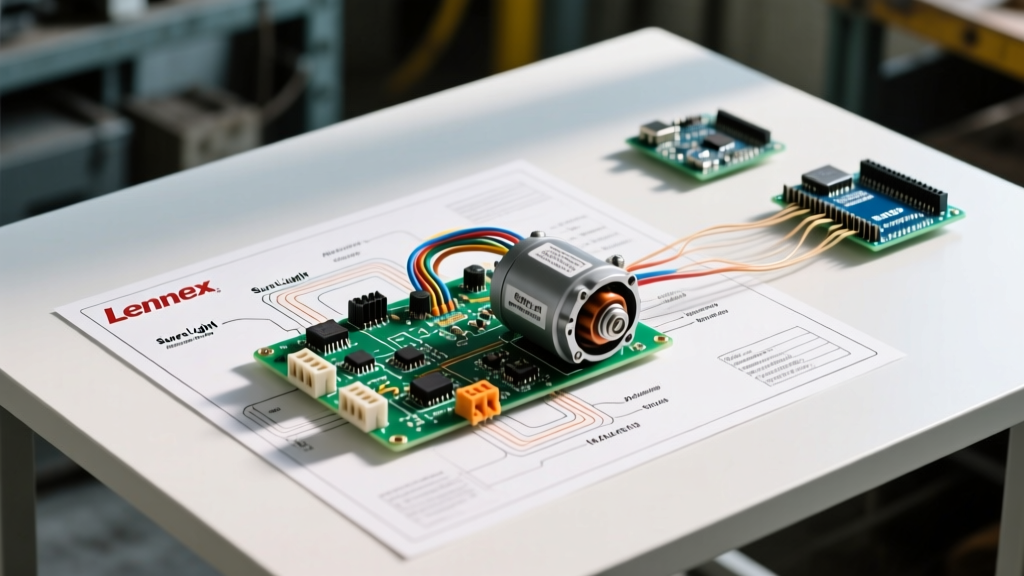
When approaching the wiring diagram for Lennox furnace systems, particularly modern high-efficiency models like the SL28XCV or the EL296E, you are not just wiring a simple motor; you are integrating a complex microprocessor network. At the heart of this network is the Lennox SureLight control board (typically Generation III or IV). Unlike older relay-based boards, the SureLight board acts as the central nervous system, modulating the Electronically Commutated Motor (ECM) based on real-time thermostat demands, pressure switch feedback, and limit circuit statuses.
According to the Air-Conditioning, Heating, and Refrigeration Institute (AHRI), the industry-wide shift toward variable-speed and multi-stage ECM blowers has drastically reduced residential energy consumption, but it has also exponentially increased the complexity of field wiring and diagnostics. Misinterpreting the schematic on the inside of the blower access panel is the leading cause of premature motor failure and control board burnout.
ECM vs. PSC: Identifying Your Lennox Blower Motor
Before tracing a single wire, you must identify the motor topology. Older Lennox models (such as early G61MPV units) utilized Permanent Split Capacitor (PSC) motors. These are easily identified by a run capacitor (usually 5 to 10 microfarads) wired in series with the start winding, and a simple 3-speed tap block (High, Med, Low) connected to the blower relay on the control board.
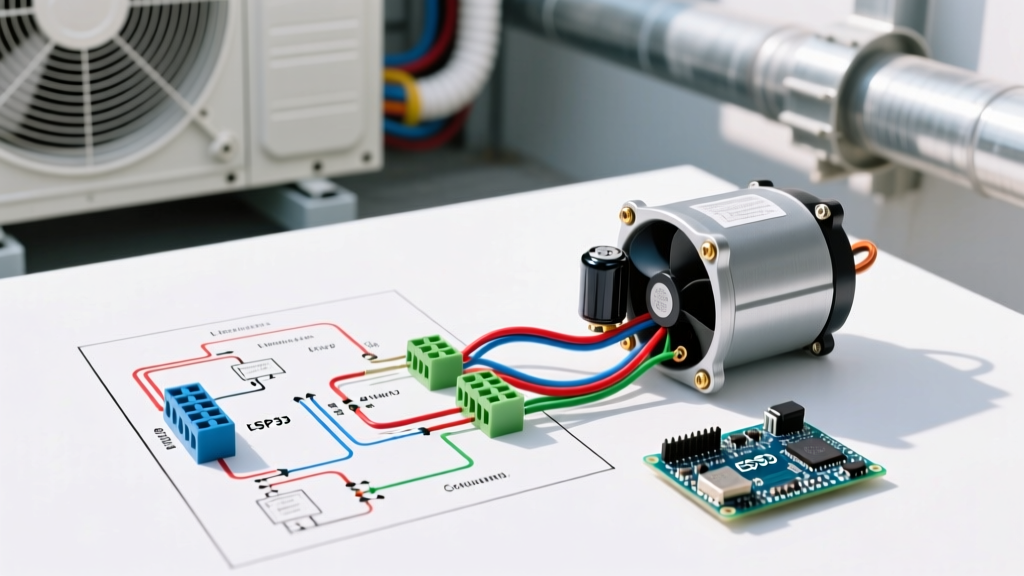
However, to meet current ENERGY STAR certification standards, nearly all Lennox furnaces manufactured in the last decade use ECM technology. An ECM blower motor will not have a run capacitor. Instead, it features a sealed control module attached to the rear of the motor bell, connected to the SureLight board via specialized Molex connectors. Wiring an ECM requires strict adherence to low-voltage communication protocols, not just line-voltage power delivery.
Decoding the Wiring Diagram for Lennox Furnace ECM Pinouts
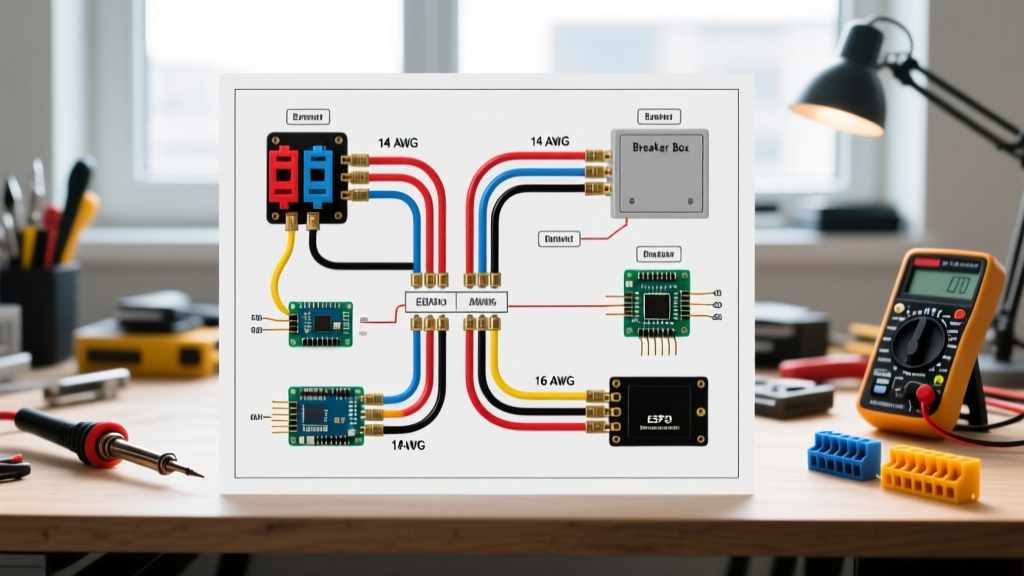
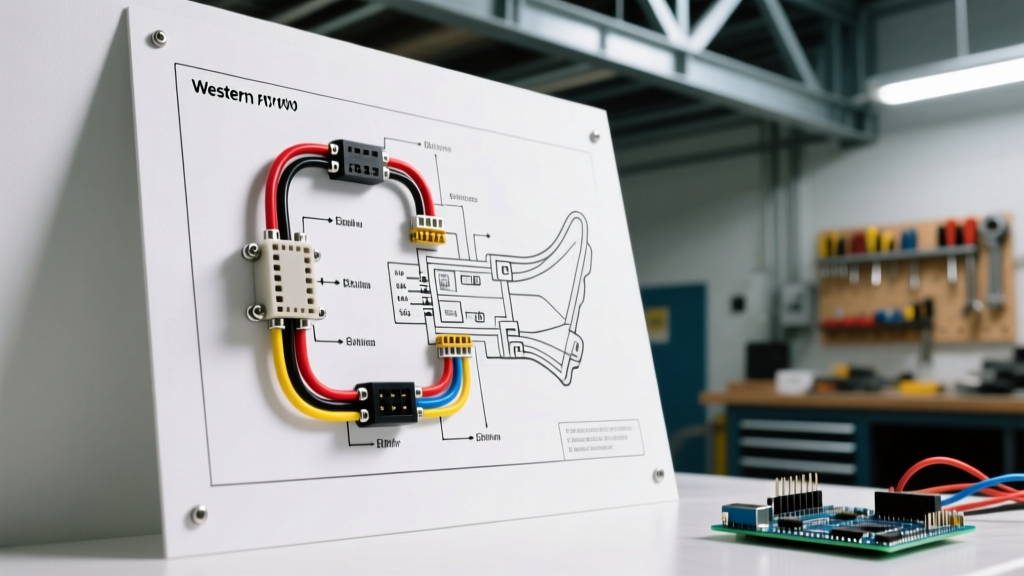
The wiring diagram for a Lennox ECM blower motor is divided into two primary harnesses: the 5-pin power connector and the 16-pin control/communication connector. The schematic on the furnace door will show these as distinct plugs. Below is a breakdown of the critical pinouts you will encounter when testing with a digital multimeter (such as a Fluke 117).
| Connector Type | Pin / Wire Color | Function | Expected Voltage / Signal |
|---|---|---|---|
| 5-Pin Power | Pin 1 (Black) | L1 Line Voltage | 120VAC (+/- 10%) |
| 5-Pin Power | Pin 2 (White) | Neutral | 0VAC (Reference) |
| 5-Pin Power | Pin 3 (Green) | Earth Ground | Continuity to chassis |
| 5-Pin Power | Pin 4 (Red) | +15VDC Logic Power | 15VDC (Supplied by Board) |
| 16-Pin Control | Pin 1 (Yellow) | Serial Data (Rx/Tx) | Pulsing DC (0-5VDC) |
| 16-Pin Control | Pin 2 (Blue) | Tachometer Feedback | Pulsing DC (RPM dependent) |
The 5-Pin Power Connector
The 5-pin Molex delivers the raw electrical energy required to drive the motor's internal inverter. A common edge-case failure occurs when technicians assume the black wire is the only 'hot' leg. The red wire carrying +15VDC is equally critical; it powers the motor's internal microprocessor. If the SureLight board's 15VDC transformer tap fails, the motor will receive 120VAC but will remain completely dead because its internal logic board cannot boot.
The 16-Pin Control Connector
This harness is the communication highway. The serial data wire transmits commands from the SureLight board (e.g., 'ramp to 600 CFM for second-stage heating'). The tachometer wire sends a pulse back to the board for every fraction of a revolution, allowing the board to verify actual RPM against the target RPM. If the tachometer wire is severed or suffers from a loose crimp inside the Molex housing, the SureLight board will assume the motor is stalled and will trigger a hard lockout.
Step-by-Step Motor Wiring Tutorial
When replacing a failed ECM motor or troubleshooting an existing installation, follow this precise sequence to ensure proper integration with the Lennox control architecture.
- Execute Lockout/Tagout (LOTO): Disconnect the 120VAC main power switch and the 24VAC thermostat wires. Wait a full 5 minutes for the ECM module's internal capacitors to discharge. Testing pins while charged can blow the multimeter fuse or the board's logic circuit.
- Verify Chassis Grounding: Before plugging in the new motor, use your multimeter in continuity mode to verify the green ground wire in the 5-pin harness has a direct, zero-ohm path to the furnace chassis and the main electrical panel ground bus. ECMs are highly sensitive to stray voltage and harmonic distortion; a poor ground will cause erratic serial communication.
- Seat the Molex Connectors: Align the 16-pin and 5-pin connectors. Push firmly until you hear and feel the secondary locking tab click. Crucial Detail: Gently tug each individual wire at the back of the connector housing. Factory crimps can occasionally be shallow, and a wire that backs out 2 millimeters will cause an intermittent 'Blower Motor Fault' code weeks after installation.
- Restore Power and Monitor Initialization: Reapply 120VAC. The ECM motor will perform a self-test, often spinning backward briefly or rocking side-to-side to calibrate the rotor position sensors. This is normal and indicates the 15VDC logic and serial lines are active.
Draft Inducer Motor: The Secondary Circuit
While the blower motor gets the most attention, the wiring diagram for Lennox furnace systems also details the draft inducer motor. In models like the EL296E, the inducer is typically a shaded-pole or small PSC motor wired directly to the IND (Inducer) relay on the SureLight board. Unlike the ECM blower, this is a simple 120VAC circuit. However, the wiring diagram will also show the pressure switch tubing and electrical contacts in series with the inducer circuit. If the inducer wiring is correct but the RPM is low due to a failing capacitor or worn bearings, the pressure switch will not close, resulting in a 3+1 flash code (Pressure Switch Failed to Close).
Advanced Troubleshooting: Reading SureLight Flash Codes
The true value of the wiring diagram is realized when cross-referencing physical wire paths with the SureLight diagnostic LED flash codes. The control board features two LEDs (DS1 and DS2) that flash in a slow-fast sequence to indicate specific circuit faults.
Common ECM Wiring Flash Codes:
2 + 5 Flashes (Blower Motor Fault): The board sent a serial command, but the tachometer feedback indicates the RPM is outside the acceptable tolerance. Check the 16-pin tach wire for continuity. If the wire is intact, the motor's internal hall-effect sensor has failed, requiring a full motor/module replacement.
1 + 4 Flashes (Motor Communication Loss): The SureLight board is not seeing the serial data line. Verify the +15VDC on the 5-pin red wire. If 15VDC is present at the board plug but missing at the motor plug, the harness is damaged. If 15VDC is missing at the board, the board's internal logic transformer is blown.
According to training bulletins from the National Comfort Institute, technicians frequently misdiagnose a 2+5 flash code as a bad motor when the actual culprit is a voltage drop on the 120VAC line. If the incoming utility voltage drops below 108VAC during high-load summer months, the ECM module will starve for current, fail to reach target RPM, and throw a false motor fault. Always log line voltage at the furnace disconnect switch before condemning a $1,000 ECM motor.
Sourcing Replacement Parts and 2026 Pricing Realities
If your diagnostic process confirms a catastrophic failure of the motor or its attached control module, you must navigate the replacement market. As of 2026, OEM Lennox ECM motors (which often include the integrated control module) typically range from $850 to $1,300 depending on the specific tonnage and model cross-reference.
For budget-conscious repairs, aftermarket universal ECM replacements, such as the Genteq X13 or Regal Beloit Evergreen series, offer a viable alternative, generally costing between $350 and $500. However, when using universal motors, the wiring diagram changes significantly. You will bypass the 16-pin serial communication entirely and instead use dip-switches on the aftermarket motor module to set the CFM profiles, wiring standard 24VAC thermostat signals (Y1, Y2, W1, G) directly to the motor's low-voltage terminal block. Always retain the original OEM wiring diagram inside the panel for future technicians, and tape the new universal schematic directly over it to prevent severe diagnostic confusion down the line.