
Introduction to Motion Detector Light Wiring
Upgrading to a hardwired motion sensor light is one of the most effective ways to enhance home security and improve energy efficiency. However, improper installation can lead to tripped breakers, phantom triggering, or severe electrical hazards. This comprehensive guide provides a precise wiring diagram for motion detector light systems, walking you through standard replacements and advanced manual switch overrides. All procedures align with the 2026 National Electrical Code (NEC) standards for outdoor luminaires and damp locations.
Safety Warning: Always turn off the circuit breaker at the main service panel before beginning any electrical work. According to the U.S. Consumer Product Safety Commission, verifying the absence of voltage with a non-contact tester is a non-negotiable first step to prevent arc flash and electrocution.
Understanding the Core Wiring Diagram
Most hardwired outdoor motion detector lights (such as the popular Heath Zenith 5411 or Ring Floodlight Cam Wired Pro) utilize a standard 4-wire connection interface. Unlike a simple single-pole switch that only breaks the hot leg, a motion sensor requires a continuous neutral connection to power its internal PIR (Passive Infrared) sensor and relay circuitry.
Standard Wire Color Coding
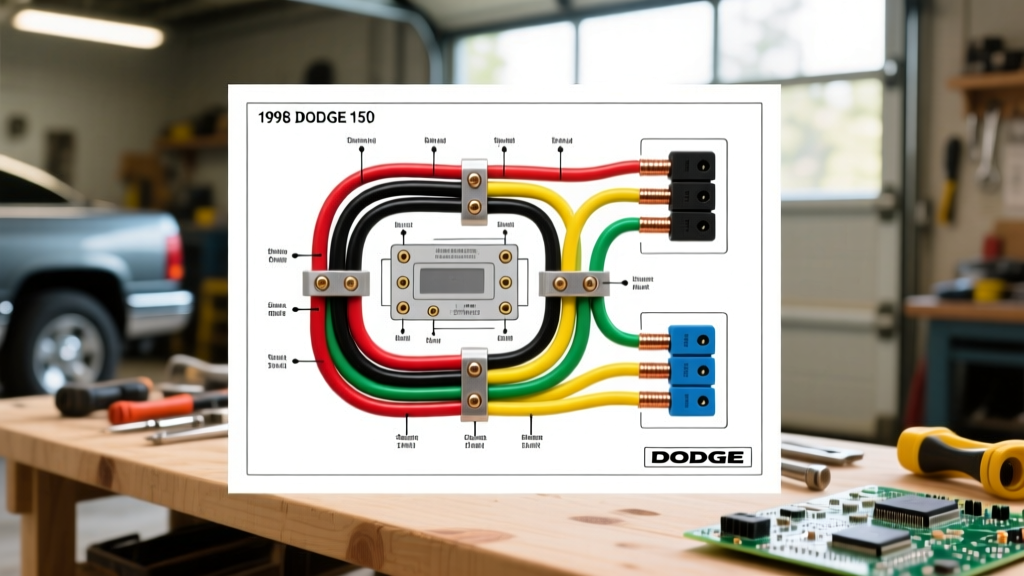
- Line (Hot): Black wire from the sensor. Connects to the always-hot supply wire from your breaker panel.
- Load (Switched Hot): Red (or sometimes Black with a red stripe) wire from the sensor. Connects to the black wire of the light fixture.
- Neutral: White wire from the sensor. Connects to the white supply wire and the white wire of the light fixture.
- Ground: Bare copper or green wire. Connects to the junction box ground and the fixture ground.
Tools and Materials Required (2026 Pricing)
To execute this wiring diagram safely and to code, you will need specific tools. Do not rely on cheap, uncalibrated voltage testers for outdoor damp-location work.
| Item | Specification / Model | Estimated Cost |
|---|---|---|
| Non-Contact Voltage Tester | Klein Tools NCVT-2 (Dual Range) | $38.00 |
| Wire Strippers | Klein Tools 11063W (10-14 AWG) | $26.00 |
| Outdoor Cable | 14/2 NM-B (for 15A) or 12/2 UF-B (direct burial) | $0.85 / ft |
| Wire Nuts | Ideal Industries In-Sure Push-In (3-Port) | $12.00 / pk |
| Motion Sensor Fixture | Heath Zenith 5411 (Mechanical Relay) | $48.00 |
| Silicone Sealant | GE Advanced Silicone 2 (Clear) | $9.50 |
Step-by-Step Walkthrough: Standard Replacement
Follow this sequence to wire a standard motion detector light to an existing junction box. This assumes you are replacing an old dusk-to-dawn fixture or a standard switched exterior light.
- Kill the Power and Verify: Flip the breaker to the OFF position. Place the tip of your Klein NCVT-2 against the existing fixture wires. The tool must remain completely silent and unlit. If it beeps, you have turned off the wrong breaker.
- Remove the Old Fixture: Unscrew the mounting nuts and carefully pull the fixture away from the weatherproof junction box. Support the fixture so it does not hang by the wires.
- Disconnect and Prep Wires: Unscrew the wire nuts. If the existing copper wires are oxidized or bent, snip the ends and strip exactly 3/4 inch of fresh insulation using your wire strippers.
- Establish the Ground: Connect the bare copper ground wire from the supply, the ground pigtail from the junction box, and the green/bare ground wire from the motion sensor using a green wire nut or a push-in connector.
- Wire the Neutral Bundle: Connect the white supply wire, the white fixture wire, and the white sensor wire together. This completes the circuit for the sensor's internal logic board.
- Connect Line and Load: Connect the black supply wire (Line) to the black sensor wire. Then, connect the red sensor wire (Load) to the black fixture wire. Note: Never connect the sensor's red Load wire directly to the supply Line, or you will bypass the relay and the light will stay on permanently.
- Mount and Seal: Tuck the wires neatly into the box, apply a bead of GE Silicone 2 around the backplate gasket to prevent moisture ingress, and secure the fixture with the provided hardware.
Advanced Diagram: Adding a Manual Switch Override
Many homeowners want the ability to manually override the motion sensor for outdoor gatherings or maintenance. This requires wiring a single-pole switch in parallel with the motion sensor's internal relay. This is the most requested variation of the wiring diagram for motion detector light setups.
The Parallel Bypass Wiring Method
To achieve this, you will run a 14/2 or 12/2 cable from an interior switch box to the exterior junction box. Here is how the parallel override is wired:
- The Supply Hot (Line) is spliced to feed both the black wire of the motion sensor AND one of the brass screws on the manual interior switch.
- The Switched Hot from the interior switch is tied together with the red wire (Load) of the motion sensor. This combined bundle then feeds the black wire of the light fixture.
- The Neutral is shared across the sensor, the fixture, and the switch (if the switch requires a neutral for an illuminated LED rocker).
How it works: When the interior switch is OFF, current must flow through the motion sensor's internal relay to reach the light. When you flip the interior switch ON, current bypasses the sensor entirely, providing uninterrupted power to the light fixture regardless of motion.
Troubleshooting Common Failure Modes & Edge Cases
Even with a perfect wiring diagram, environmental factors and component mismatches can cause operational issues. Use this diagnostic matrix to resolve them.
| Symptom | Root Cause | Expert Solution |
|---|---|---|
| LED bulbs flicker or glow dimly when the light is 'OFF'. | Phantom voltage from triac-based motion sensors leaking current to high-efficiency (<5W) LED drivers. | Replace the sensor with a mechanical relay model (e.g., Heath Zenith 5411) or install a 50-ohm 5W dummy load resistor in parallel with the LED. |
| Light turns on randomly with no people or cars present. | Thermal interference or micro-movements in the PIR sensor's field of view. | Adjust the sensor sensitivity dial down by 20%. Ensure the sensor is not aimed at HVAC exhaust vents, dryer vents, or tree branches swaying in the wind. |
| Light stays on continuously and will not shut off. | Sensor is stuck in 'Test' mode, or the internal relay contacts have welded together due to inrush current. | Check the physical toggle switch on the sensor housing; ensure it is set to '1', '5', or '10' minutes, not 'Test'. If set correctly, the relay is fried and the unit must be replaced. |
| Bypass switch turns the light on, but the motion sensor no longer works. | Wired the switch in series rather than parallel. | Rewire the switch in parallel as described in the Advanced Diagram section above. A series switch cuts power to the sensor's logic board entirely. |
NEC Compliance and Optimal Sensor Placement
When executing your wiring diagram for motion detector light installations, placement is just as critical as the electrical connections. The U.S. Department of Energy recommends mounting security lights between 6 and 10 feet high. Mounting higher than 12 feet drastically reduces the PIR sensor's ability to detect the heat signature of a human intruder, as the infrared cones become too wide and diffuse.
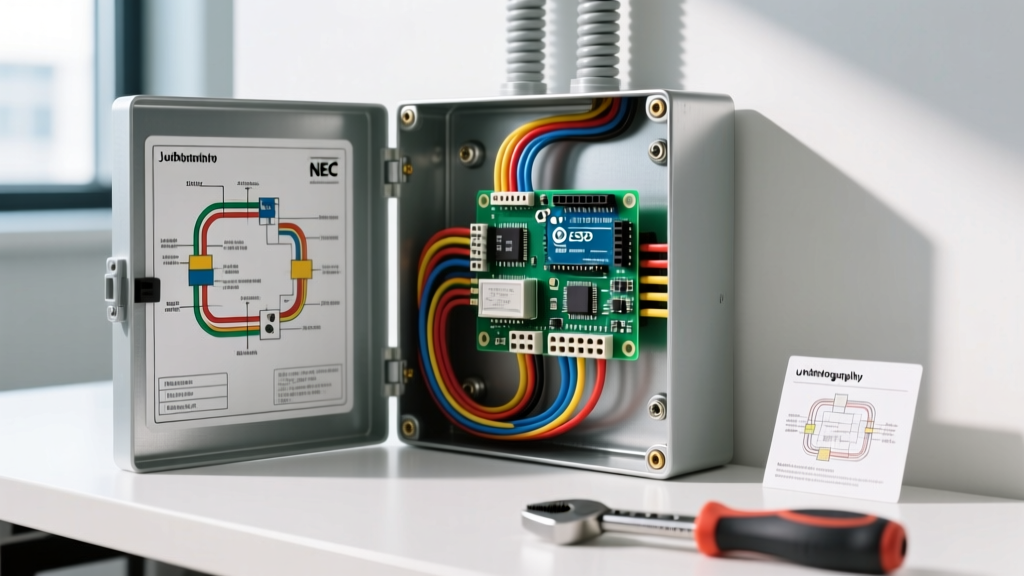
Furthermore, ensure your exterior junction box is rated for 'Wet Locations' if the fixture is exposed to direct rain, or 'Damp Locations' if mounted under a deep soffit. The National Fire Protection Association (NFPA) strictly mandates that all outdoor splices must be contained within an approved, weather-sealed junction box; exposed wire nuts wrapped in electrical tape are a severe code violation and a primary cause of residential electrical fires.
Final Testing Protocol
Once wired, do not immediately seal the fixture. Turn the breaker back on and set the sensor to 'Test' mode. Walk across the sensor's field of view at a 90-degree angle (PIR sensors detect lateral movement much better than head-on movement). If the light triggers within 2 seconds and shuts off after 5-7 seconds in Test mode, your wiring is flawless. Switch the dial to your desired timing (usually 5 minutes), apply your silicone sealant, and secure the final lens covers.