
Mastering Baseboard Electric Heater Wiring: The NEC-Compliant Planning Phase
Planning the baseboard electric heater wiring for a residential or commercial retrofit requires far more than simply running cable from the panel to the wall. Electric resistance heating is one of the most power-dense loads in any building. According to the U.S. Department of Energy, while electric baseboard heaters are 100% efficient at converting electricity to heat, their high amperage draw demands rigorous circuit sizing and strict adherence to the National Electrical Code (NEC). A poorly planned installation can result in nuisance tripping, melted wire insulation, or catastrophic fire hazards.
This installation planning guide breaks down the exact load calculations, wire gauge selections, thermostat topologies, and physical clearance requirements you need to execute a flawless baseboard heater rough-in and trim-out in 2026.
Phase 1: Load Calculations and the 80% Continuous Load Rule
The most common mistake DIYers and junior electricians make is sizing the breaker exactly to the heater's maximum amperage. Under NEC Article 424 (Fixed Electric Space-Heating Equipment) and Article 210.20(A), a fixed space heater is classified as a continuous load because it is expected to operate for three hours or more during peak winter conditions.
Therefore, the branch circuit must be sized at 125% of the continuous load. Conversely, the continuous load cannot exceed 80% of the breaker's rated capacity.
The 80% Rule in Practice: A standard 20-Amp double-pole breaker at 240V provides 4,800 Watts of total capacity. However, applying the 80% continuous load rule means your maximum allowable heater wattage on this circuit is 3,840 Watts (16 Amps).
Baseboard Heater Sizing Matrix (240V Systems)
The table below outlines standard circuit configurations for popular baseboard models, such as the Cadet F Series or Marley Qmark 2500 Series. Always verify the exact nameplate amperage of your specific units.
| Heater Wattage | Voltage | Amperage Draw | Min. Breaker Size | Wire Gauge (Cu) | Cable Type |
|---|---|---|---|---|---|
| 500W - 1,000W | 240V | 2.1A - 4.2A | 15A (2-Pole) | 14 AWG | 14/2 NM-B |
| 1,200W - 1,500W | 240V | 5.0A - 6.25A | 15A or 20A (2-Pole) | 12 AWG | 12/2 NM-B |
| 2,000W - 2,250W | 240V | 8.3A - 9.4A | 15A or 20A (2-Pole) | 12 AWG | 12/2 NM-B |
| 2,500W - 3,000W | 240V | 10.4A - 12.5A | 20A (2-Pole) | 12 AWG | 12/2 NM-B |
| 3,500W - 4,500W | 240V | 14.6A - 18.75A | 30A (2-Pole) | 10 AWG | 10/2 NM-B |
Phase 2: Selecting the Right Cable and Routing
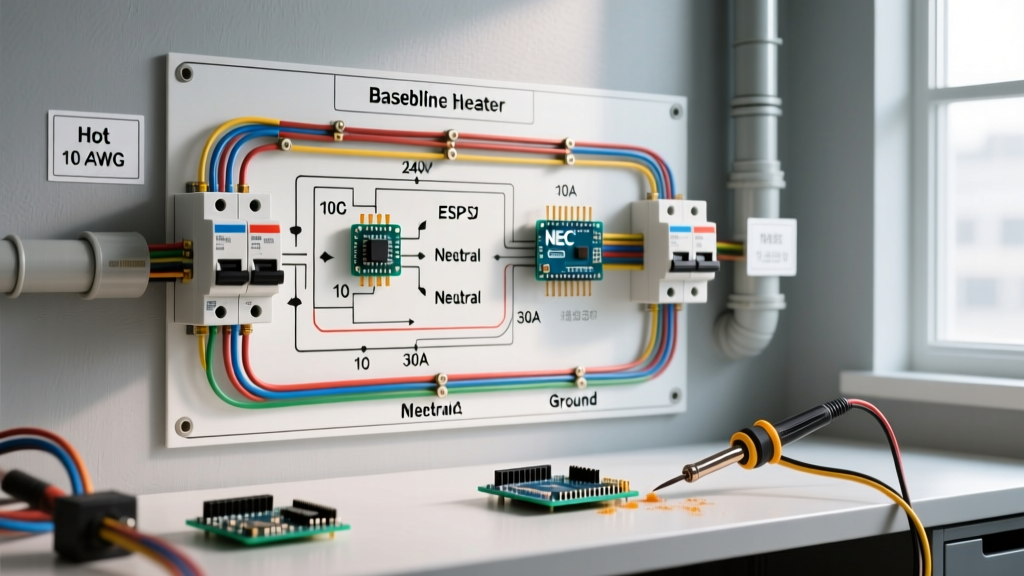
For standard interior drywall installations, 12/2 NM-B (Romex) with a ground is the industry standard for 20-Amp, 240V baseboard circuits. The black and white wires serve as Line 1 (L1) and Line 2 (L2). Because this is a 240V straight-resistive load, a neutral wire is not required.
Crucial NEC Marking Requirement
When using 12/2 or 10/2 NM-B cable for a 240V circuit, the NEC requires you to permanently re-identify the white wire to indicate it is an ungrounded (hot) conductor. You must wrap the ends of the white wire with black or red electrical tape or use heat-shrink tubing at both the panel and the heater junction box. Failing to do so is an immediate red flag during municipal inspections.
Edge Case - Metal Conduit: If you are wiring in a commercial space, an unfinished basement, or a garage where NM-B cable is subject to physical damage, you must transition to THHN/THWN-2 wires inside EMT (Electrical Metallic Tubing) or use MC (Metal Clad) cable. For a 20A circuit, pull two 12 AWG THHN wires (Black and Red) plus a 12 AWG green ground through 1/2-inch EMT.
Phase 3: Thermostat Wiring Topologies
Baseboard electric heater wiring relies heavily on the type of thermostat you specify. Line-voltage thermostats are wired directly in series with the heater's power supply. You have two primary options:
1. Single-Pole Line-Voltage Thermostats
A single-pole thermostat (e.g., Cadet B-Mechanical) only breaks one leg of the 240V circuit. While it will turn the heater off when the ambient temperature is reached, it does not completely disconnect the power. The heater remains energized with 120V to ground. This is a safety hazard during maintenance and is prohibited by code in some jurisdictions unless a separate disconnect switch is present.
2. Double-Pole Line-Voltage Thermostats (Recommended)
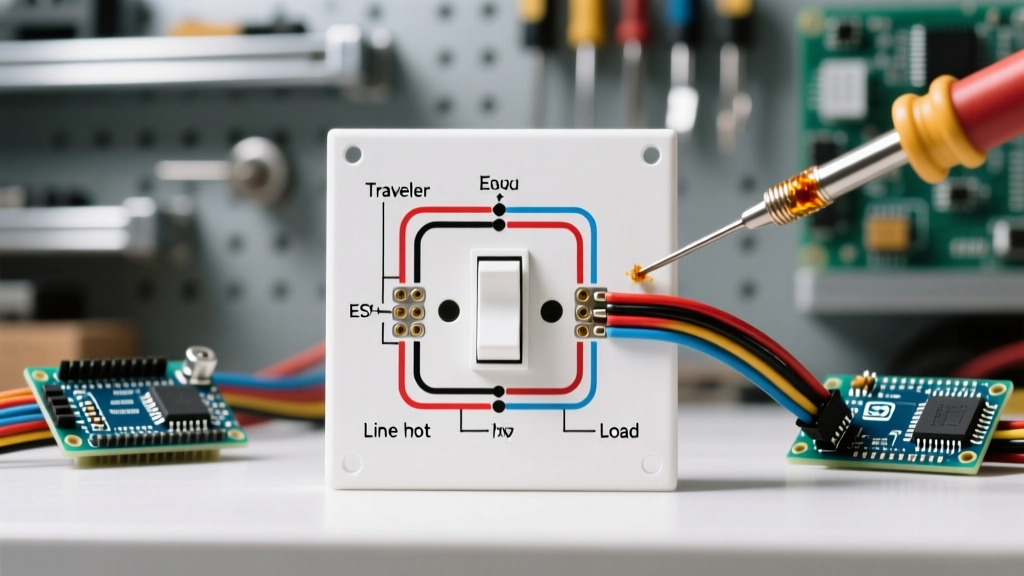
A double-pole thermostat (e.g., Honeywell TL8230A1003 or Marley Qmark B2502) breaks both L1 and L2 simultaneously. When the thermostat is turned to the "Off" position, the heater is completely de-energized. This is the gold standard for safety and code compliance. Wiring a double-pole thermostat requires connecting the two line wires from the panel to the "Line" terminals, and the two load wires going to the heater to the "Load" terminals.
Phase 4: Physical Clearances and Receptacle Rules
According to Marley Engineered Products (the manufacturer behind Cadet and Qmark brands) and NEC Article 424, physical placement is just as critical as the electrical wiring.
- Combustible Clearances: Heaters must maintain a minimum clearance of 6 inches from adjacent walls and draperies. More importantly, there must be at least 12 inches of clearance from any combustible material directly above the heater (such as window sills or shelving).
- The Receptacle Prohibition: NEC 424.13 explicitly states that fixed electric space-heating appliances shall not be installed under a receptacle. The rising heat can melt the plastic faceplate of an outlet above it, or cause a plugged-in cord's insulation to degrade and short out. If an existing outlet is located where the heater must go, the outlet must be relocated to an adjacent wall or converted to a floor receptacle.
- Carpeting and Flooring: The bottom of the heater must be at least 1/2 inch above the finished floor. If installing over thick carpet, use the manufacturer's spacer legs to ensure airflow into the bottom convection chamber is not choked off.
Phase 5: 2026 Material and Installation Cost Estimates
Budgeting for a baseboard heater installation requires accounting for recent fluctuations in copper pricing and smart-home integration components. Below is a realistic cost breakdown for a standard 12x12 bedroom retrofit (requiring one 1,500W 240V heater) in 2026.
| Material / Service | Specification | Estimated Cost (2026) |
|---|---|---|
| Baseboard Heater Unit | Marley Qmark 2512NW (36-inch, 1500W, 240V) | $115 - $145 |
| Digital Line-Voltage Thermostat | Honeywell TL8230A1003 (Double Pole, Programmable) | $75 - $95 |
| Wiring (12/2 NM-B) | 50-foot roll (Southwire or Cerro) | $45 - $60 |
| 2-Pole Breaker | Square D Homeline 20A (HOM220CP) | $18 - $25 |
| Junction Box & Connectors | 4x4 Steel Box, Romex connectors, wire nuts | $15 - $20 |
| Professional Labor (Optional) | Licensed Electrician (4-6 hours @ $125/hr avg) | $500 - $750 |
Note: If your home's electrical panel is maxed out, upgrading from a 100A to a 200A service to accommodate new heating circuits will add $2,500 to $4,500 to the total project cost.
Expert Troubleshooting & Edge Cases
Dealing with Legacy Aluminum Wiring
If you are upgrading heaters in a home built between 1965 and 1973, you may encounter 12 AWG or 10 AWG solid aluminum branch circuit wiring. Modern baseboard heaters and line-voltage thermostats feature copper pigtails. Never directly connect copper to aluminum using standard wire nuts. The galvanic reaction and differing thermal expansion rates will cause the connection to loosen, arc, and eventually start a fire. You must use IDEAL AlumiConn connectors or a COPALUM crimp system to safely pigtail the aluminum house wire to a copper whip before connecting to the heater.
Multi-Wire Branch Circuits (MWBC) for Multiple Heaters
If you are wiring multiple smaller heaters (e.g., two 1,000W 240V units in adjacent rooms) and want to save panel space, you can use a 12/3 NM-B cable as a Multi-Wire Branch Circuit. The black and red wires serve as L1 and L2 for the 240V heaters, while the shared white neutral is capped off and unused at the heater junction boxes. However, NEC 210.4(B) requires that the 2-pole breaker handle ties be installed so that both legs are disconnected simultaneously during maintenance.
Final Pre-Power Checklist
Before flipping the breaker to the "ON" position, verify the following:
- Confirm the white wire in the 12/2 NM-B cable is re-identified with black/red tape at both ends.
- Ensure all wire connections inside the heater's built-in junction box are secured with appropriately sized wire nuts (typically yellow or red for 12 AWG solid copper) and that no bare copper is exposed outside the nut.
- Verify the ground wire is bonded to the green grounding screw on the heater chassis and the metal junction box (if applicable).
- Check that the thermostat is set to "Off" or its lowest temperature setting to prevent an immediate in-rush current surge when the breaker is engaged.
Proper baseboard electric heater wiring is an exercise in precision. By respecting the continuous load calculations, adhering to NEC physical clearances, and utilizing double-pole disconnects, you ensure a heating system that is both highly efficient and fundamentally safe for decades of operation.