
Introduction to the Honda GX390 12V Electric Start System
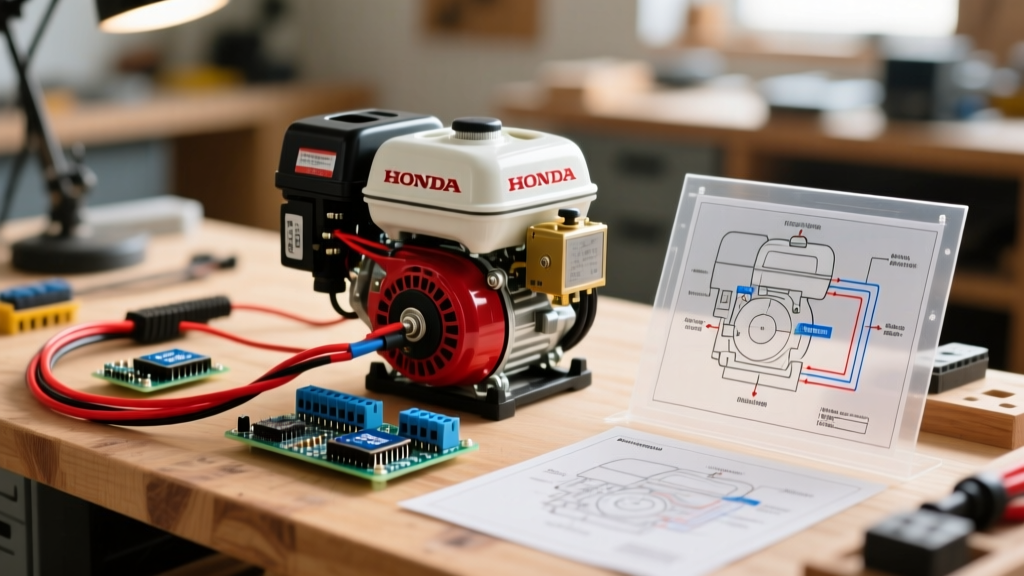
The Honda GX390 is a 389cc, 11.7 HP horizontal-shaft engine widely regarded as the gold standard for heavy-duty commercial equipment, including pressure washers, water pumps, and portable generators. While the standard recoil starter is reliable, the high 8.5:1 compression ratio can make cold-weather pull-starting physically demanding. Upgrading to or repairing an electric start system requires a precise understanding of the Honda GX390 electric start wiring diagram to ensure reliable cranking and protect the sensitive ignition components.
Unlike simpler small engines, the GX390 integrates an Oil Alert system and an optional 18-amp charging stator. Miswiring the 12V DC starter circuit into the low-voltage CDI kill circuit is the most common cause of catastrophic ignition coil failure. This guide provides a comprehensive, technician-level breakdown of the wiring topology, component specifications, and diagnostic procedures for 2026 GX390 electric start configurations.
Core Electrical Components & Specifications
Before routing wires, verify that your hardware meets the amperage and physical requirements of the GX390 platform. The starter motor draws a significant inrush current, necessitating heavy-gauge cabling to prevent voltage drop.
| Component | OEM Part Number / Spec | Electrical Rating | 2026 Avg. Cost |
|---|---|---|---|
| Starter Motor Assembly | 31200-ZE2-013 (12V DC) | 90A - 120A Peak Inrush | $165 - $195 |
| Starter Solenoid (Relay) | 31210-ZE2-000 (4-Terminal) | 150A Continuous / 12V | $35 - $45 |
| Battery (AGM Recommended) | 12V 14Ah - 18Ah (e.g., Mighty Max) | 200 CCA Minimum | $35 - $55 |
| Ignition Switch (Panel Mount) | 35100-ZE2-003 (3-Position) | 15A Max Switching | $22 - $30 |
| Charging Coil (Stator) | 31120-ZE2-010 (Optional) | 18A / 12V DC Output | $85 - $110 |
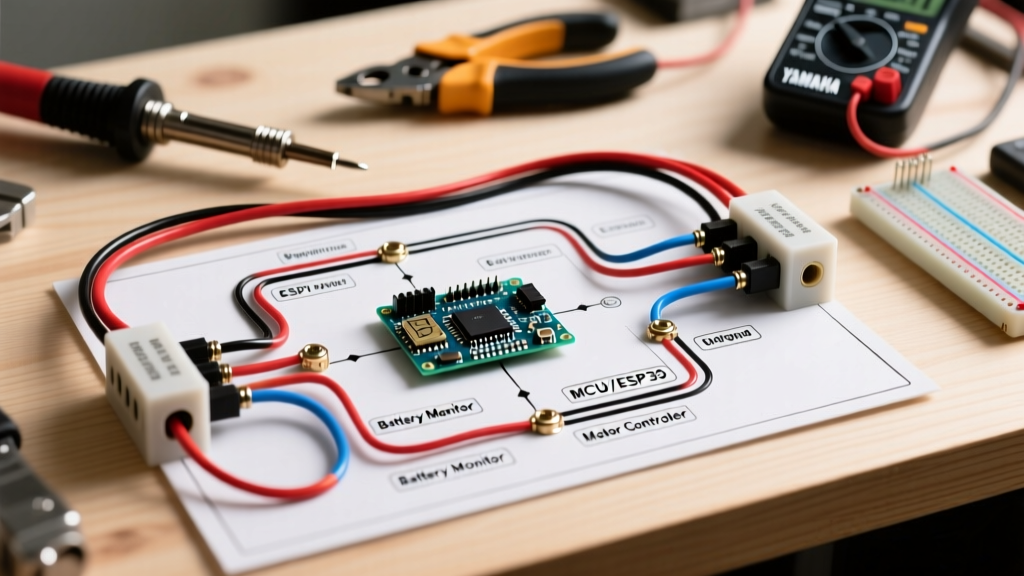
Step-by-Step Honda GX390 Electric Start Wiring Diagram
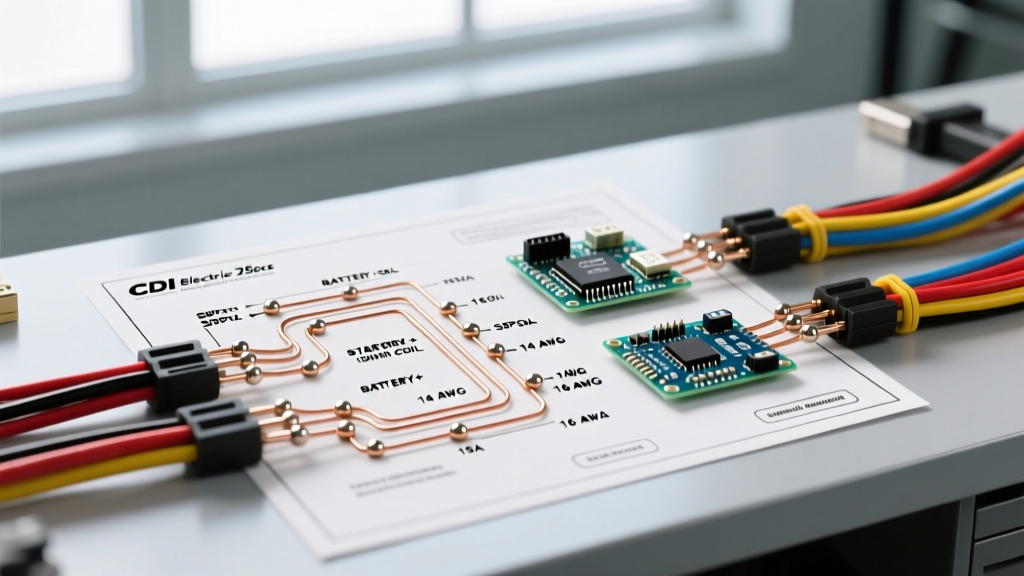
The wiring harness is divided into two distinct circuits: the high-current cranking circuit and the low-current control/ignition circuit. Keep these physically separated where possible to prevent electromagnetic interference (EMI) and accidental shorting.
1. High-Current Cranking Circuit (Battery to Starter)
This circuit handles the massive amperage required to turn the 389cc flywheel. Use 4 AWG or 6 AWG stranded copper wire for all high-current connections.
- Battery Positive (+) to Solenoid: Route a 4 AWG red cable from the battery positive terminal to the large input stud on the starter solenoid. Install a 150A ANL fuse or a 100A Mega fuse within 6 inches of the battery terminal to protect against dead shorts.
- Solenoid to Starter Motor: Connect a 4 AWG red cable from the large output stud on the solenoid directly to the M8 terminal on the GX390 starter motor.
- Grounding: The GX390 starter motor grounds through its metal mounting flange to the engine block. Ensure the mounting surface is bare metal (no paint or powder coat). Torque the two 12mm starter mounting bolts to 16 lb-ft (22 Nm). For redundancy, run a 6 AWG ground strap from the battery negative terminal directly to a clean, unpainted bolt on the engine crankcase.
2. Low-Current Control Circuit (Ignition Switch & Solenoid Trigger)
This circuit uses 12 AWG or 14 AWG wire to signal the solenoid and manage engine shutdown.
- Ignition Switch 'B' (Battery) Terminal: Connect a 12 AWG red wire from the solenoid's small 'BAT' trigger terminal (or directly from the battery positive via a 15A inline fuse) to the 'B' terminal on the back of the ignition switch.
- Ignition Switch 'S' (Start) Terminal: Run a 12 AWG wire (typically yellow/red) from the 'S' terminal to the small 'IGN' trigger stud on the solenoid. When turned to 'Start', this completes the 12V circuit, energizing the solenoid coil.
- Solenoid Ground: If using a 4-post solenoid, ground the fourth small post to the engine block. If using a 3-post solenoid, the casing grounds through its mounting bracket.
3. The Honda Oil Alert System (CDI Kill Wire)
CRITICAL WARNING: The GX390 CDI kill wire (usually yellow with a black stripe or solid black) operates by grounding the ignition coil to stop the spark. Never apply 12V positive battery voltage to this wire or the ignition switch 'M' (Magneto) terminal. Doing so will instantly destroy the internal CDI transistor, requiring a $120+ coil replacement.
Wire the ignition switch 'M' terminal to the engine's kill wire. When the key is turned to 'OFF', the switch internally bridges the 'M' terminal to the 'G' (Ground) terminal, grounding the CDI and stopping the engine. The Oil Alert module intercepts this same wire; if oil levels drop below the sensor threshold, the module grounds the wire automatically.
Integrating the 18-Amp Charging Stator
Many GX390 applications (like generators and compressors) run for extended periods and require a charging system to maintain the 12V battery. The GX390 uses an 18-amp AC stator that requires an external rectifier/regulator.
- Locate the two AC output wires (typically white and yellow) emerging from the stator under the flywheel shroud.
- Connect these to the AC input terminals on a 12V/18A motorcycle-style rectifier/regulator (polarity does not matter on the AC side).
- Connect the DC positive output of the rectifier to the battery positive terminal, ensuring you install a 15A inline blade fuse to prevent battery overcharging or fire in the event of a regulator failure.
- Connect the DC negative output to the engine block ground.
Common Wiring Faults & Multimeter Diagnostics
When the GX390 fails to crank, avoid blindly replacing the starter motor. Use a digital multimeter to perform voltage drop testing. According to diagnostic standards outlined by Fluke's electrical troubleshooting guides, a healthy circuit should exhibit minimal voltage loss under load.
Diagnostic Checklist:
- Symptom: Solenoid clicks, but starter doesn't turn.
Test: Set multimeter to DC Volts. Place the red probe on the starter motor terminal and the black probe on the battery negative terminal. Have an assistant turn the key to 'Start'. If voltage reads below 9.5V, you have a high-resistance connection (corroded battery terminal, undersized wire, or poor engine ground). If it reads 12V+ but the motor doesn't spin, the starter motor carbon brushes are worn out. - Symptom: Engine cranks but produces no spark.
Test: Disconnect the kill wire from the ignition switch. Check for continuity between the kill wire and the engine block with the key in the 'RUN' position. If there is continuity, the Oil Alert sensor is faulty, the oil level is genuinely low, or the wire insulation is chafing against the fan shroud. - Symptom: Parasitic battery drain overnight.
Test: Disconnect the negative battery cable. Place the multimeter in series (Amps mode) between the cable and the battery post. A reading above 50mA indicates a faulty rectifier/regulator leaking AC current back into the battery, or a sticking solenoid contact.
Sourcing OEM vs. Aftermarket Parts
When repairing your GX390 electric start harness, component selection impacts longevity. Based on 2026 market pricing and field reliability data:
- OEM Honda Starters: Costing around $180, OEM units feature copper-wound armatures and high-grade planetary gears. They are essential for daily commercial use (e.g., rental fleet pressure washers).
- Aftermarket Starters (HIA, Stens, DB Electrical): Priced between $60 and $85. These often use aluminum windings or lower-tolerance bushings instead of needle bearings. They are acceptable for weekend residential use but tend to fail prematurely in high-vibration or high-moisture environments.
- Wiring Harnesses: Never use pre-made universal lawn tractor harnesses. The GX390's specific Oil Alert routing requires a custom-built harness using marine-grade tinned copper wire (like Ancor brand) to resist vibration-induced strand breakage and corrosion.
Frequently Asked Questions
Can I use a 3-post solenoid instead of the OEM 4-post solenoid?
Yes. A 3-post solenoid (common in automotive applications) grounds internally through its mounting bracket. You must ensure the solenoid is mounted directly to bare, unpainted metal on the equipment frame or engine mount. A 4-post solenoid is generally preferred for small engines because it provides a dedicated, reliable ground wire terminal, eliminating grounding issues caused by painted equipment frames.
What size battery is required for the GX390 electric start?
The GX390 requires a 12V battery with a minimum of 200 Cold Cranking Amps (CCA) and a capacity of 14Ah to 18Ah. Standard U1 lawn tractor batteries (like the Mighty Max or Duracell SLA U1) fit perfectly in most aftermarket battery trays and provide the necessary amperage to overcome the 389cc engine's compression.
Why does my engine shut off immediately after I release the key from 'Start' to 'Run'?
This indicates a miswired ignition switch. The 'I' (Ignition) terminal on the switch must provide 12V to the equipment's run circuits (like fuel solenoids on carburetors, if equipped), but the engine's magneto ignition is self-sustaining. If your switch is incorrectly bridging the 'M' (Magneto) ground circuit in the 'Run' position, it will kill the spark as soon as the key leaves the 'Start' position. Verify your switch pinout against the official Honda GX390 power equipment documentation.