
Understanding the Wiring Diagram for Distributor Ignition Systems
When tackling a classic car restoration, marine inboard rebuild, or agricultural motor wiring project, the ignition system is the heartbeat of the engine. While modern vehicles rely on distributorless ignition systems (DIS) or coil-on-plug (COP) setups, the traditional distributor remains the standard for millions of small-block V8s, inline-sixes, and industrial motors. Understanding how to read and execute a wiring diagram for distributor setups is a fundamental skill for any DIY electrical enthusiast.
This motor wiring tutorial breaks down the two most common distributor architectures: the traditional breaker-points system and the High Energy Ignition (HEI) system. We will cover exact wire gauges, voltage drop tolerances, ballast resistor specifications, and the critical starter-bypass circuits that separate a reliable ignition from a no-start condition.
Core Components in a Distributor Circuit
Before tracing the wiring diagram for distributor connections, you must understand the primary components that manage the 12-volt DC current from the battery to the spark plugs.
- Ignition Coil: Acts as a step-up transformer. It takes the 12V primary input and multiplies it into 20,000–40,000 volts on the secondary side to jump the spark plug gap.
- Distributor Cap and Rotor: Routes the high-voltage secondary current from the coil wire to the correct spark plug wire in the engine's firing order.
- Switching Mechanism (Points or Module): Located inside the distributor, this mechanism grounds and un-grounds the primary side of the coil, causing the magnetic field to collapse and fire the spark.
- Condenser (Capacitor): Used exclusively in points-style systems to absorb the inductive spike when the points open, preventing severe arcing across the point contacts.
Wiring Diagram for Distributor: Points-Style System
The breaker-points ignition system was the industry standard from the 1920s through the mid-1970s. The wiring diagram for distributor setups using points requires a specific resistance network to prevent the delicate tungsten point contacts from burning up.
The Ballast Resistor and Starter Bypass
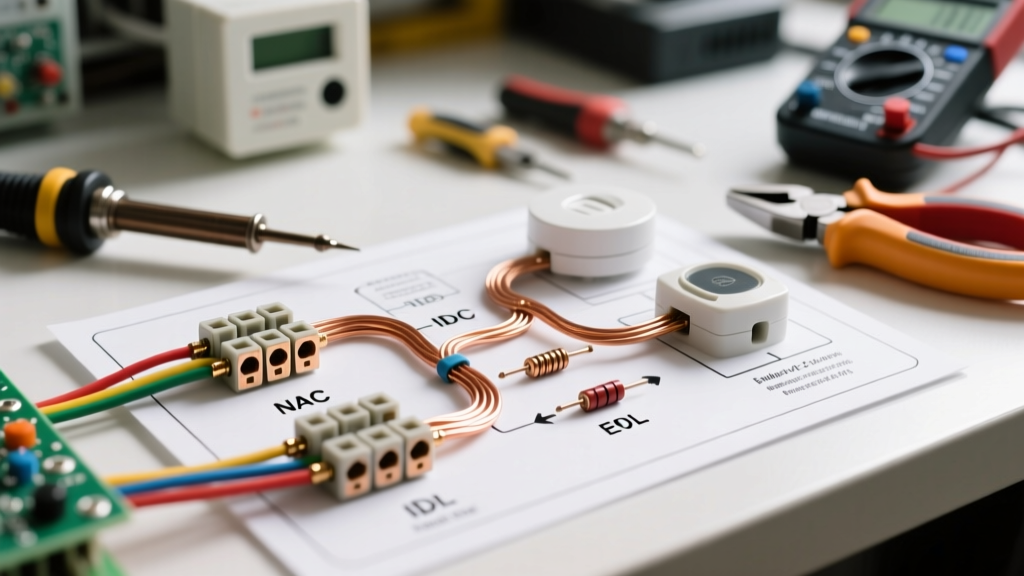
A standard points-style coil has an internal primary resistance of roughly 1.5 ohms. If you apply a continuous 14.4 volts (alternator output) directly to this coil, the current will exceed the thermal limits of the points, causing them to pit and fail within hours. To solve this, a ceramic ballast resistor (typically 1.2 to 1.5 ohms) or a factory resistance wire is placed in the primary power feed.
However, during engine cranking, battery voltage drops to around 9 or 10 volts. With the ballast resistor in place, the coil would only see 6 volts, resulting in a weak spark. The wiring diagram solves this using the starter solenoid's 'I' (Ignition) terminal.
Wiring Flow - Points System:
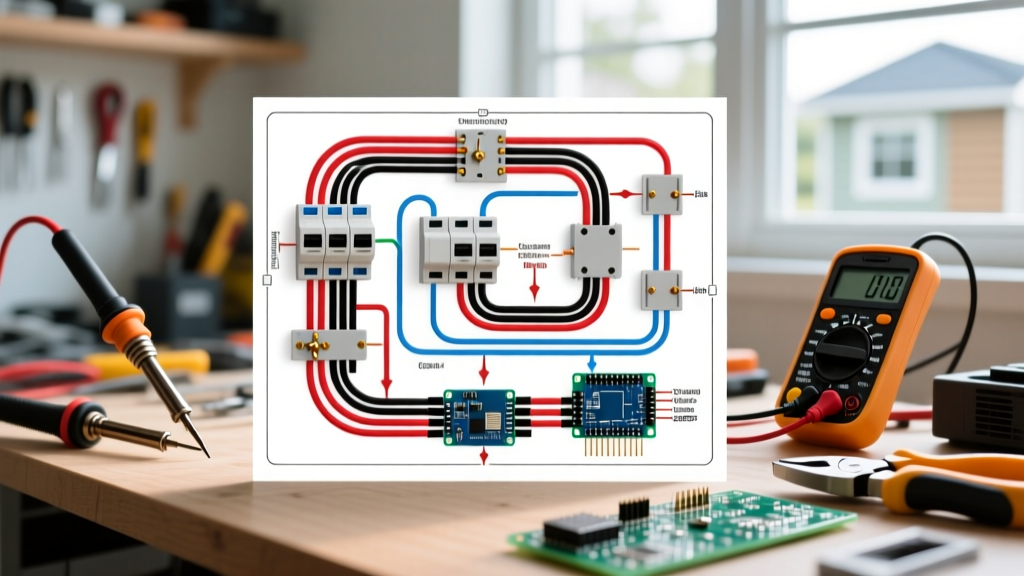
1. 12V Battery → Ignition Switch (Run Position)
2. Ignition Switch → Ballast Resistor Input
3. Ballast Resistor Output → Coil Positive (+)
4. Coil Negative (-) → Distributor Points → Ground
5. Starter Solenoid 'I' Terminal → Coil Positive (+) [Crank Bypass]
When you turn the key to 'Start', the solenoid engages and sends full battery voltage through the 'I' terminal directly to the coil positive, bypassing the ballast resistor for a hotter spark during cranking. Once the key returns to 'Run', the 'I' terminal goes dead, and the coil is fed through the ballast resistor. For deeper insights into classic vehicle electrical routing, Hagerty Media's classic car tech archives provide excellent visual schematics for vintage harnesses.
Wiring Diagram for Distributor: GM HEI (High Energy Ignition)
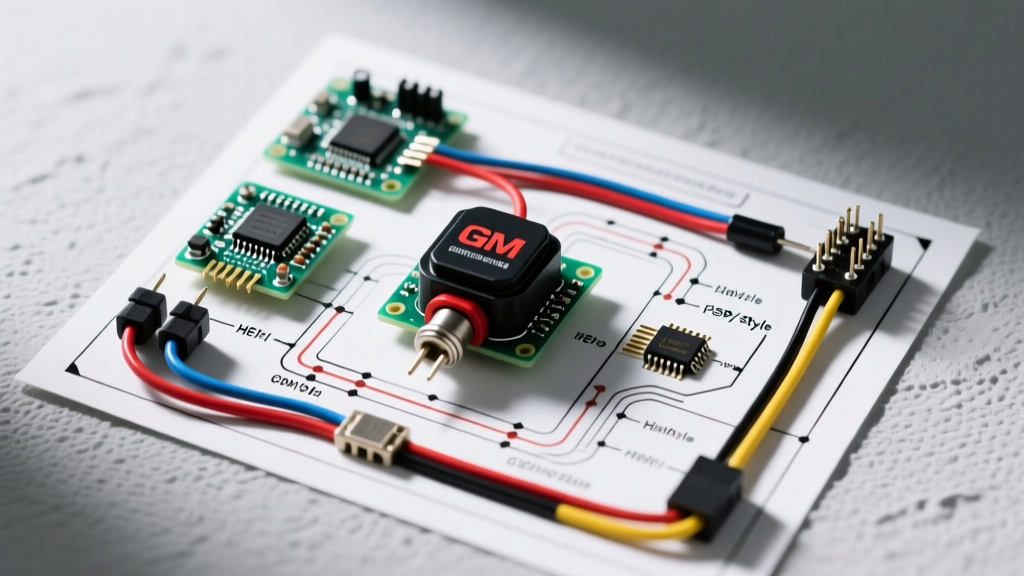
Introduced by General Motors in 1974, the HEI system eliminated the mechanical points and condenser, replacing them with a magnetic pickup coil and a solid-state 4-pin control module mounted inside the distributor cap. The HEI system produces a much hotter spark (up to 40,000 volts) and allows for wider spark plug gaps (0.045" to 0.060").
Critical HEI Wiring Rules
The most common failure in aftermarket HEI installations is using the factory resistance wire from the old points system to power the new HEI distributor. The HEI module requires a full, unresisted 12V to 14V supply. Feeding it 9V through an old ballast wire will cause the module to overheat, misfire under load, and eventually fail.
HEI 4-Pin Module Pinout & Connections
The external wiring for a standard 4-pin HEI is remarkably simple, requiring only three connections:
- BAT (Battery): Connect to a switched 12V source using a minimum of 12 AWG wire. Do not use a ballast resistor.
- TACH (Tachometer): Connect to the signal wire of your aftermarket tachometer. This pin pulses to ground, mimicking the negative side of a traditional coil.
- GND (Ground): The module grounds through the physical distributor housing. You must ensure the mating surfaces between the module and the housing are completely free of corrosion, paint, or debris. Apply a thin layer of dielectric heat-sink grease to the back of the module before bolting it down.
For comprehensive ignition component specifications and module testing procedures, refer to Holley's MSD Ignition technical resources, which detail the interaction between magnetic pickups and capacitive discharge systems.
Wire Gauge Selection and Routing Matrix
Selecting the correct American Wire Gauge (AWG) is critical to preventing voltage drop and electromagnetic interference (EMI). The following table outlines the exact specifications for distributor ignition wiring.
| Circuit Run | Recommended AWG | Wire Type | Notes & Edge Cases |
|---|---|---|---|
| Battery to Ignition Switch | 10 AWG | Stranded Copper (THHN/ Automotive GXL) | Must be fused at 30A near the battery. |
| Ignition Switch to HEI 'BAT' | 12 AWG | Stranded Copper | Do not use resistance wire. Max voltage drop: 0.2V. |
| Ignition Switch to Ballast Resistor | 14 AWG | Stranded Copper | Points system only. Use high-temp fiberglass sleeving over resistor. |
| Coil to Distributor Cap | OEM Carbon Core | High-Voltage Secondary (8mm+) | Use 90-degree boots to prevent cracking on tight firewall clearances. |
| Tachometer Signal Wire | 18 AWG | Shielded Copper | Route away from spark plug wires to prevent false RPM readings. |
Common Failure Modes and Troubleshooting
Even with a perfect wiring diagram for distributor setups, real-world installations often suffer from environmental and mechanical edge cases. Here is how to diagnose the most frequent issues:
1. Tachometer Bounce or Erratic Readings
The Problem: The tachometer needle jumps erratically or pegs at maximum RPM.
The Cause: Electromagnetic interference (EMI) from solid-core spark plug wires, or a failing condenser in a points system.
The Fix: Ensure you are using suppression-style (carbon core or spiral core) spark plug wires. Never use solid copper core wires on a street vehicle, as they act as antennas, broadcasting RFI directly into the tachometer signal wire. If using points, replace the condenser (ensure it is rated between 0.15µF and 0.25µF).
2. HEI Module Burnout
The Problem: The engine runs perfectly when cold, but dies abruptly once it reaches operating temperature and will not restart until it cools down.
The Cause: Thermal failure of the HEI pickup module due to poor grounding or insufficient voltage.
The Fix: Perform a voltage drop test. Set your multimeter to DC Volts. Place the red probe on the alternator output post and the black probe on the HEI 'BAT' terminal while the engine is running. If the reading is higher than 0.3V, you have excessive resistance in the power feed. Upgrade the wiring to 12 AWG and install a dedicated 30-amp relay triggered by the ignition switch to feed the distributor directly from the battery.
3. Points Pitting and Rapid Wear
The Problem: New ignition points develop a blue/black tungsten crater on one side and a spike on the other within 500 miles.
The Cause: A failed condenser or a ballast resistor that has shorted internally, sending full system voltage through the points.
The Fix: Test the ballast resistor with an ohmmeter; it should read between 1.2 and 1.8 ohms. If it reads near zero, replace the ceramic block. Verify the condenser wire is securely grounded to the distributor base plate.
Advanced Upgrades: Optical and Magnetic Trigger Kits
For motorsports or high-RPM industrial applications, mechanical points and standard magnetic pickups can suffer from timing scatter above 6,000 RPM. Upgrading the internal distributor components to an optical trigger (like a Pertronix Flame-Thrower or MSD Flying Magnet) requires modifying the external wiring diagram. Optical sensors typically require a stable 5V to 12V reference voltage and must be connected to an external capacitive discharge (CD) ignition box rather than a standard inductive coil. When wiring these advanced systems, always use shielded cable for the trigger signal and route it at least 4 inches away from any high-voltage secondary wiring.
Summary
Mastering the wiring diagram for distributor ignitions requires respecting the differences between inductive points systems and solid-state HEI setups. By adhering to strict wire gauge requirements, properly utilizing starter-bypass circuits, and ensuring pristine ground paths for electronic modules, you can build an ignition harness that delivers reliable, high-energy spark in any operating environment. For further reading on automotive electrical standards and harness construction, consult the technical articles available at Summit Racing's How-To library.