
The Critical Role of Wire Gauge and Color Codes in MSD Ignitions
Upgrading to a high-energy capacitive discharge (CD) ignition system is one of the most effective ways to improve throttle response and high-RPM reliability in a performance engine. However, when enthusiasts search for a wiring diagram for MSD distributor setups, they often focus solely on pinouts while ignoring the most common point of failure: wire gauge and routing. The MSD 6AL (Part #6425) paired with an MSD Pro-Billet Distributor (such as the #8360 for Small Block Chevy or #8365 for Big Block Chevy) demands precise electrical delivery. A CD ignition box can draw up to 14 amps of peak current during cranking and 3 amps continuously at high RPM. If your wire gauge is undersized, voltage drop will starve the box, resulting in weak sparks, misfires, and unburned fuel.
This comprehensive guide breaks down the exact wire gauge specifications, color code standards, and routing protocols required to wire an MSD 6-series box to an MSD magnetic pickup distributor correctly.
Expert Insight: According to Fluke's electrical testing guidelines, even a 0.5-volt drop on the primary 12V supply line to an ignition box can reduce spark output energy by up to 15%. Always use pure copper wire, never Copper-Clad Aluminum (CCA), for high-energy ignition circuits.
Decoding the MSD Color Code Standard
MSD utilizes a strict, industry-standardized color code across its 6-series ignition controls. Understanding these colors is the first step in interpreting any wiring diagram for MSD distributor applications. Below is the definitive reference chart for the MSD 6AL (6425) harness.
| Wire Color | Function / Destination | Required Wire Gauge | Signal Type |
|---|---|---|---|
| Heavy Red | Main Power (+12V Battery) | 8 AWG | High Current DC |
| Heavy Black | Main Ground (Battery / Chassis) | 8 AWG | High Current DC |
| Red | Switched +12V (Ignition Switch) | 12 AWG | Low Current Trigger |
| White | Points / Amplifier Trigger | 18 AWG | Low Voltage Signal |
| Orange | Coil Positive (+) | 18 AWG | High Voltage Pulse |
| Black | Coil Negative (-) | 18 AWG | High Voltage Pulse |
| Green & Violet | Magnetic Pickup (Distributor) | 18 AWG (Twisted Pair) | Low Voltage AC Signal |
Wire Gauge Specifications: Where DIYers Fail
The most frequent mistake made when executing a wiring diagram for MSD distributor configurations is using 12 AWG or 14 AWG wire for the Heavy Red and Heavy Black main power leads. The SAE J1128 standard for primary automotive wire dictates that continuous current loads must be matched to wire gauge to prevent thermal degradation and voltage drop.
Main Power and Ground (8 AWG Minimum)
- Heavy Red (+12V): Must be routed directly to the positive terminal of the battery or a high-amperage front distribution block. Do not source this from the starter solenoid, as starter cranking amperage can cause severe voltage sags.
- Heavy Black (Ground): Must be grounded directly to the battery negative terminal or the engine block (using a clean, bare-metal surface). Grounding to painted sheet metal or a rusty chassis rail will introduce resistance, causing the MSD box to reset or shut down under heavy load.
Switched Ignition and Signal Wires (12 AWG to 18 AWG)
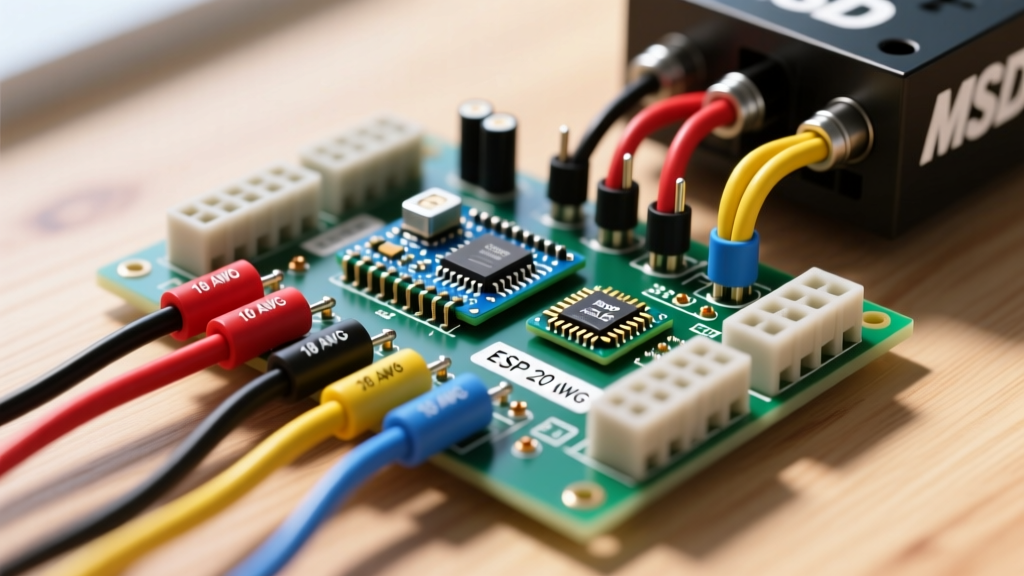
The standard Red wire only needs to carry enough current to trigger the internal relay of the MSD box (typically under 1 amp). A 12 AWG wire is sufficient here. For the signal wires (White, Orange, Black, Green, Violet), 18 AWG stranded copper is the optimal choice. It provides enough physical durability to resist vibration-induced breakage while remaining flexible enough for tight routing.
Step-by-Step Wiring Sequence for MSD 6AL and Pro-Billet Distributor
Follow this exact sequence to ensure clean connections and minimize the risk of crossing high-voltage and low-voltage signals.
- Establish the Ground Network: Crimp a 3/8-inch ring terminal onto the 8 AWG Heavy Black wire. Secure it to a dedicated grounding stud on the engine block or directly to the battery negative. Use heat-shrink butt connectors for all splices; never use vinyl electrical tape, which unravels under engine bay heat.
- Route the Main Power: Connect the 8 AWG Heavy Red wire to the battery positive. Install an inline 30-amp marine-grade circuit breaker or fuse within 18 inches of the battery terminal to protect the harness in the event of a short.
- Wire the Magnetic Pickup: Connect the Green and Violet wires from the MSD box to the corresponding Green and Violet wires on the MSD Pro-Billet distributor. Critical Note: If the engine backfires through the carburetor upon starting, the magnetic pickup polarity is reversed. Simply swap the Green and Violet connections at the MSD box harness.
- Connect the Ignition Coil: Route the Orange wire to the positive terminal of your ignition coil (e.g., MSD Blaster 2, Part #8202) and the Black wire to the negative terminal. Ensure the coil primary resistance is between 0.5 and 0.9 ohms; standard OEM coils with higher resistance will not work properly with a CD box.
- Terminate the Switched 12V: Connect the thin Red wire to a 12V source that is only active when the ignition key is in the 'Run' and 'Start' positions.
EMI Interference and Routing Protocols
A correctly interpreted wiring diagram for MSD distributor setups is useless if the wires are routed poorly. Electromagnetic Interference (EMI) is the silent killer of CD ignition systems. The MSD 6AL fires the spark plug multiple times per combustion event, generating massive electromagnetic fields.
The Twisted Pair Requirement
The Green and Violet magnetic pickup wires carry a very low-voltage AC signal (usually under 2 volts) generated by the reluctor wheel and pickup coil inside the distributor. This signal is highly susceptible to inductive cross-talk. You must twist the Green and Violet wires together at a rate of 2 to 4 twists per inch from the distributor cap all the way to the MSD box connector. This twisting cancels out induced electromagnetic noise.
Separation Distances
- Signal vs. High Voltage: Never route the Green/Violet pickup wires parallel to the Orange/Black coil wires or the spark plug wires. Maintain a minimum separation distance of 4 inches.
- Alternator Interference: Keep the magnetic pickup harness away from the alternator and ignition plug wires. If you experience tachometer bounce or erratic timing at high RPM, it is almost always caused by the pickup wires absorbing alternator EMI.
Troubleshooting Common Wiring Failures
Even with the correct wiring diagram for MSD distributor applications, edge cases occur. Here is how to diagnose the most common electrical faults:
- Engine Cranks but No Spark: Check the thin Red wire for 12V during the 'Start' position of the key. Many older GM vehicles drop voltage to the ignition circuit during cranking. If voltage drops below 9V, the MSD box will not fire. Use an MSD Magnetic Pickup Ignition Adapter or wire a bypass relay from the starter solenoid 'I' terminal.
- Spark Present, but Engine Backfires: As mentioned, this is a reversed Green/Violet magnetic pickup polarity. Swap the wires.
- Box Shuts Off at High RPM: This is a classic voltage drop symptom. The Heavy Red or Heavy Black wire is undersized, or the ground connection is corroded. Perform a voltage drop test across the main power and ground wires while the engine is running at 4,000 RPM. Any reading above 0.2V indicates a failing connection or inadequate wire gauge.
For further technical specifications and installation diagrams, always refer to the official documentation provided by Holley MSD Performance. By respecting wire gauge requirements and strict color code routing, your MSD ignition system will deliver consistent, high-energy sparks from idle to the redline.