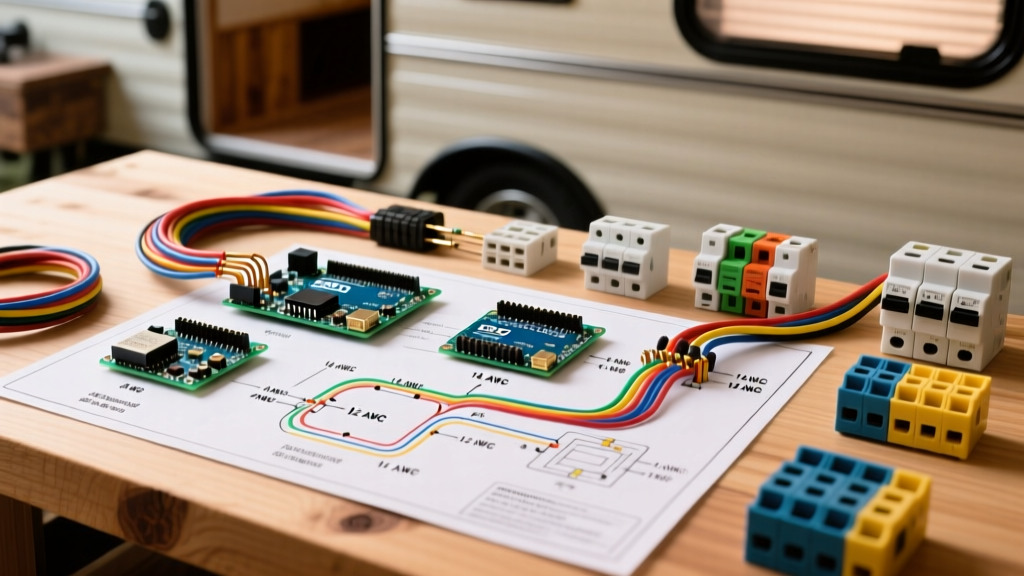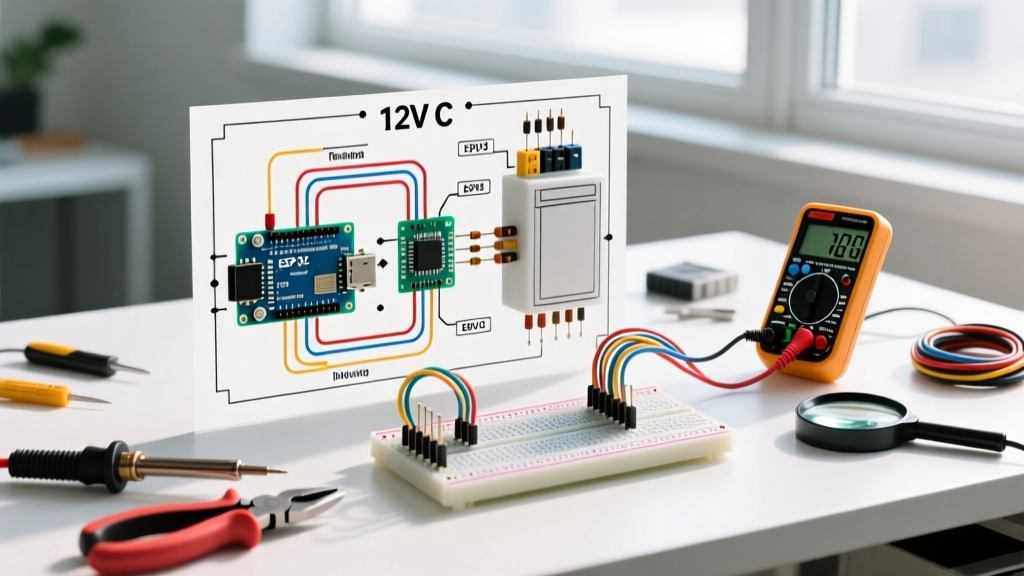

The 2026 Challenge: Modern Vehicle Architectures and 12V Appliances
The explosion of overlanding, camper van conversions, and off-grid mobile workspaces has fundamentally changed how we interact with vehicle electrical systems. In 2026, integrating high-draw 12V DC appliances—such as the Dometic CFX3 55IM compressor fridge or a Victron Phoenix 12/500 inverter—requires far more than just splicing into the cigarette lighter socket. Modern vehicles utilize complex CAN-bus multiplexing, 48V mild-hybrid systems, and smart alternators that will throw diagnostic trouble codes (DTCs) or shut down circuits if they detect unauthorized parasitic draws.
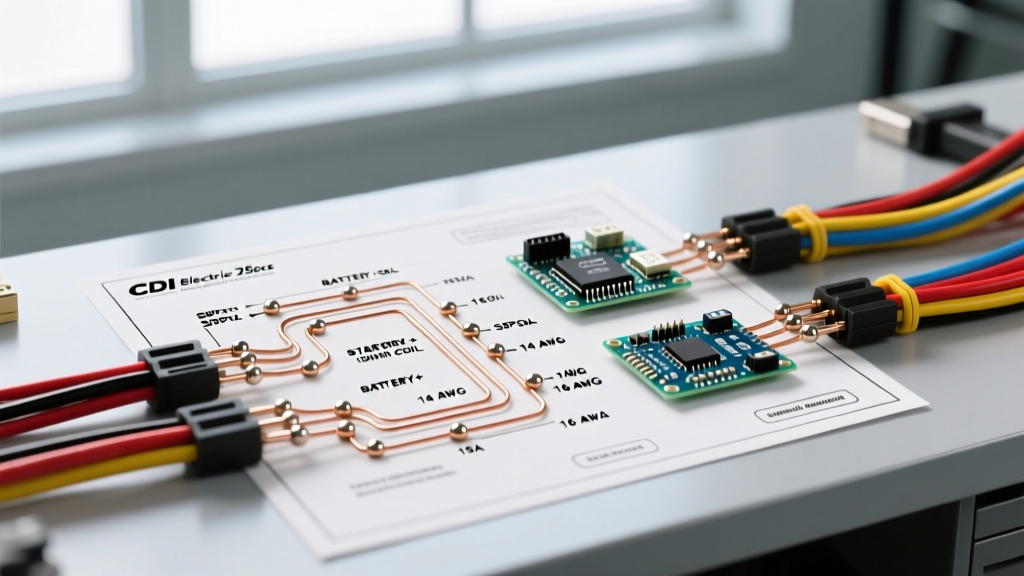
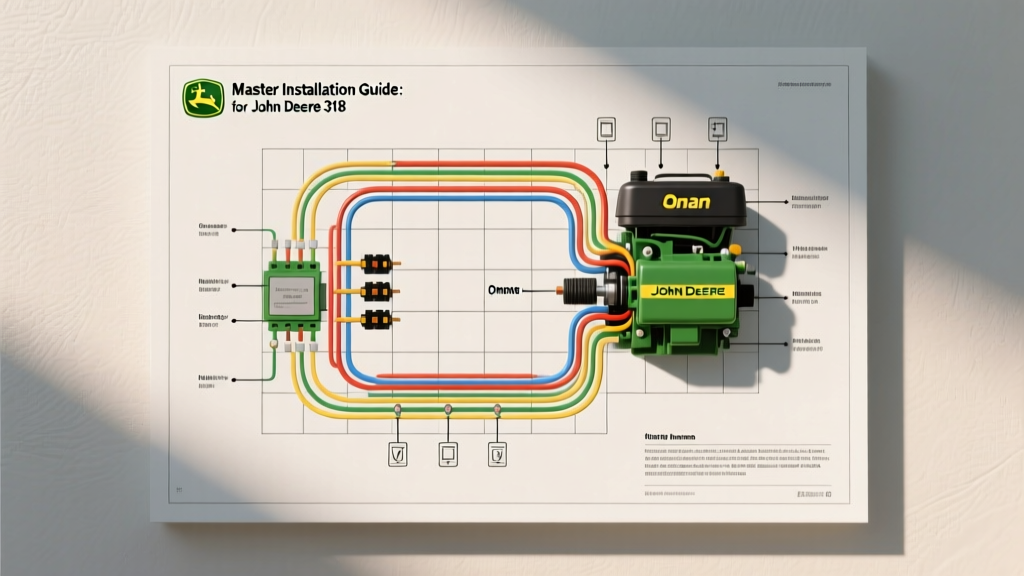
To wire appliances safely and reliably, you must understand the vehicle's OEM electrical layout. However, factory service manuals (FSMs) are often locked behind expensive dealership portals. This guide bridges the gap between automotive electrical systems and appliance wiring tutorials, showing you exactly how to find wiring diagrams for cars free and use them to execute a professional-grade 12V appliance installation.
Where to Source Wiring Diagrams for Cars Free (and Legally)
Searching for wiring diagrams for cars free can lead you down a rabbit hole of outdated forums and malware-ridden PDF sites. To wire high-current appliances safely, you need accurate, manufacturer-level schematics. Here is how professionals source them without paying $300+ for a Helm Inc. printed manual:
1. OEM Upfitter and Body Builder Guides
If you are wiring appliances into a Ford Transit, Ram ProMaster, or Chevrolet Express, manufacturers publish Body Builder Layout Books and Upfitter Guides for free. These documents contain the exact pinouts for auxiliary power points, ignition-switched relays, and ground studs specifically designed for aftermarket appliance integration. You can find these by searching "[Vehicle Year/Make/Model] Body Builder Layout Book PDF" on the manufacturer's commercial fleet website.
2. Public Library Alldata and Chilton Access
Most major public library systems in North America offer free remote access to AlldataDIY or EBSCO Auto Repair Reference Center. By logging in with your library card number from home, you gain access to the exact OEM wiring schematics, connector cavity views, and wire color codes used by dealership technicians. This is the most reliable way to trace an ignition-switched 12V source for an appliance relay trigger.
3. Enthusiast Forum Archives (The FSM Method)
For consumer vehicles like the Toyota Tacoma or Jeep Wrangler, dedicated enthusiast communities frequently archive FSM electrical PDFs. Sites like IH8MUD or WranglerForum have dedicated "Electrical & Wiring" sub-forums where users host Google Drive repositories of the factory wiring diagrams. Always cross-reference the diagram's publication date with your vehicle's exact build month, as mid-year production changes can alter harness pinouts.
Appliance Tutorial: Wiring a 12V Fridge and Inverter
Let us apply these diagrams to a real-world appliance wiring scenario: installing a 60W 12V compressor fridge and a 500W DC-to-AC inverter. We will use automotive-grade standards rather than residential electrical codes, as vehicles are subject to extreme vibration, temperature cycling, and corrosive environments.
Step 1: Sizing the Wire (AWG vs. SAE Standards)
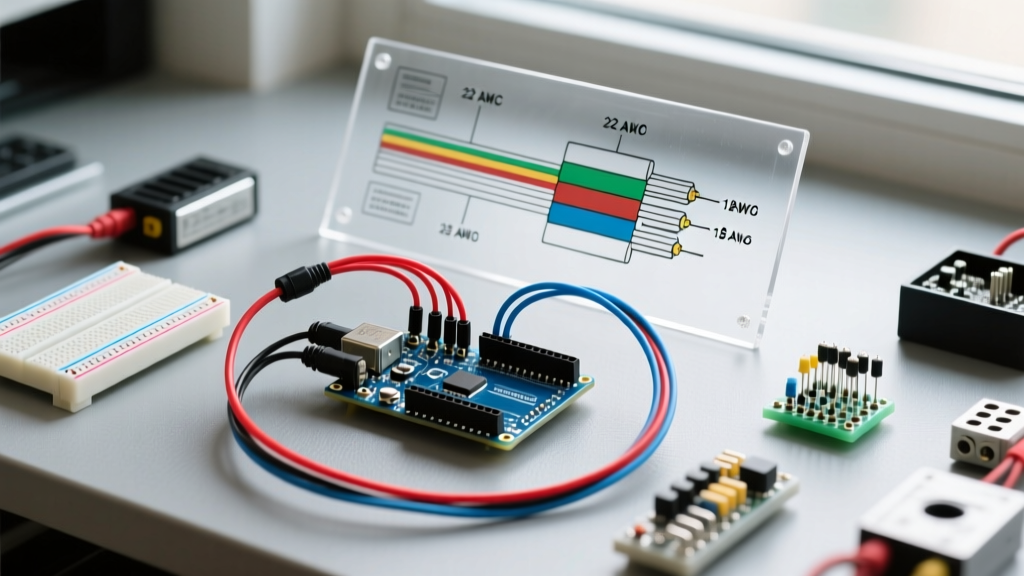
A common and dangerous mistake is using residential THHN copper wire for automotive appliances. THHN has thick insulation that traps heat and is not rated for the under-hood temperatures or fluid exposure found in vehicles. Instead, you must use GXL or TXL (Thin-wall cross-linked) automotive primary wire, which conforms to the SAE J1128 Low Tension Primary Cable standard. GXL wire features fine-stranding for vibration resistance and a high-temperature XLPE insulation jacket.
Furthermore, automotive wire gauge is sized differently than the American Wire Gauge (AWG) standard used in homes. A 10 AWG SAE wire has slightly less copper mass than a 10 AWG THHN wire. When calculating voltage drop for a 12V appliance, a 3% drop (0.36V) is the maximum acceptable threshold to prevent appliance low-voltage shutoffs.
| Appliance Type | Max Draw (Amps) | One-Way Wire Length | Required SAE Wire Size | Recommended Fuse |
|---|---|---|---|---|
| 12V Compressor Fridge (e.g., Dometic CFX3) | 12A (Surge) | 10 ft | 12 AWG GXL | 15A ATC Blade |
| 12V Compressor Fridge | 12A (Surge) | 25 ft | 10 AWG GXL | 15A ATC Blade |
| 500W Inverter (e.g., Victron Phoenix) | 45A (Cont.) / 70A (Peak) | 8 ft | 4 AWG GXL | 80A MIDI / AME |
| 12V Diesel Heater (Glow Plug Phase) | 10A (Startup) | 15 ft | 12 AWG GXL | 15A ATC Blade |
Step 2: Overcurrent Protection and Fuse Selection
According to guidelines outlined by the Blue Sea Systems Circuit Protection 101 and marine/vehicle DC standards, the fuse is designed to protect the wire, not the appliance. The fuse must be rated at or below the maximum ampacity of the wire, but above the continuous draw of the appliance.
- ATC/ATO Blade Fuses: Ideal for appliances drawing under 30A (fridges, water pumps, diesel heaters). Use a sealed, IP67-rated fuse holder if the connection is in an exterior compartment or near the wheel well.
- MIDI / AME Fuses: Required for high-current appliances like inverters or DC-DC chargers (40A to 150A). These feature a bolt-down design that resists vibration-induced loosening, unlike cartridge fuses.
- Placement: The overcurrent device must be installed within 7 inches of the power source (the battery positive terminal or the OEM distribution stud). If you are tapping into an OEM upfitter circuit, the vehicle's built-in fuse protects the wire up to the tap point, but you must add a secondary fuse immediately after your splice for your appliance branch.
Step 3: Termination and Chassis Grounding
Modern vehicles use the chassis as a ground return path, but painting, powder coating, and galvanic corrosion can ruin a ground connection. When wiring a high-draw appliance like an inverter, relying on a random chassis bolt can lead to voltage drop, alternator whine, and ECU interference.
Pro-Tip for 2026 EV and Hybrid Platforms: Never pierce or tap into the high-voltage orange cabling or the 12V DC-DC converter ground straps on hybrid vehicles. The National Fire Protection Association (NFPA) and OEM safety guidelines strictly mandate that aftermarket 12V accessories must have their own dedicated ground path back to the auxiliary battery or a designated OEM ground busbar, isolated from the vehicle's sensitive CAN-bus ground returns.
For terminations, abandon standard vinyl crimps. Use adhesive-lined heat shrink ring terminals (such as 3M Highland or Kleinschmidt). The inner lining of hot-melt adhesive melts during the shrinking process, creating a waterproof seal that prevents capillary action from drawing moisture and battery acid into the copper strands.
Critical Failure Modes to Avoid in DIY Automotive Wiring
Even with the correct wiring diagrams for cars free at your fingertips, physical execution is where most DIY appliance installs fail. Watch out for these specific edge cases:
- The "Smart Alternator" Voltage Drop: Many 2020+ vehicles use smart alternators that drop system voltage to 12.2V or lower during coasting to save fuel. If your 12V fridge is wired to a standard ignition-switched relay, it may shut off unexpectedly when the vehicle's ECU drops the alternator output. Solution: Use a DC-DC charger with a built-in voltage sense wire, or wire the appliance to a dedicated auxiliary lithium battery bank via a voltage-sensitive relay (VSR).
- Crimp Fatigue from Vibration: Using solid-core wire or poorly crimped terminals will result in micro-fractures at the connection point within 500 miles of off-road driving. Always use a ratcheting crimping tool calibrated for the specific terminal type (e.g., a H-frame crimper for Deutsch DT connectors).
- Inductive Kickback Spikes: Appliances with large electric motors or compressors generate massive voltage spikes when turned off. If wired on the same circuit as sensitive LED lighting or USB chargers, this kickback can fry downstream electronics. Solution: Always run a dedicated, fused home-run wire directly from the battery or main distribution bus to high-draw motorized appliances.
Summary
Successfully wiring 12V appliances into a vehicle requires a hybrid approach: utilizing OEM automotive schematics to safely source power, while applying strict DC appliance wiring standards for the physical installation. By leveraging free upfitter guides, selecting SAE J1128 compliant GXL wire, and adhering to strict overcurrent protection rules, you can build a mobile electrical system in 2026 that is as reliable and safe as a factory-engineered RV.