
Mastering Electrical Diagnostics on the Cub Cadet RZT 50
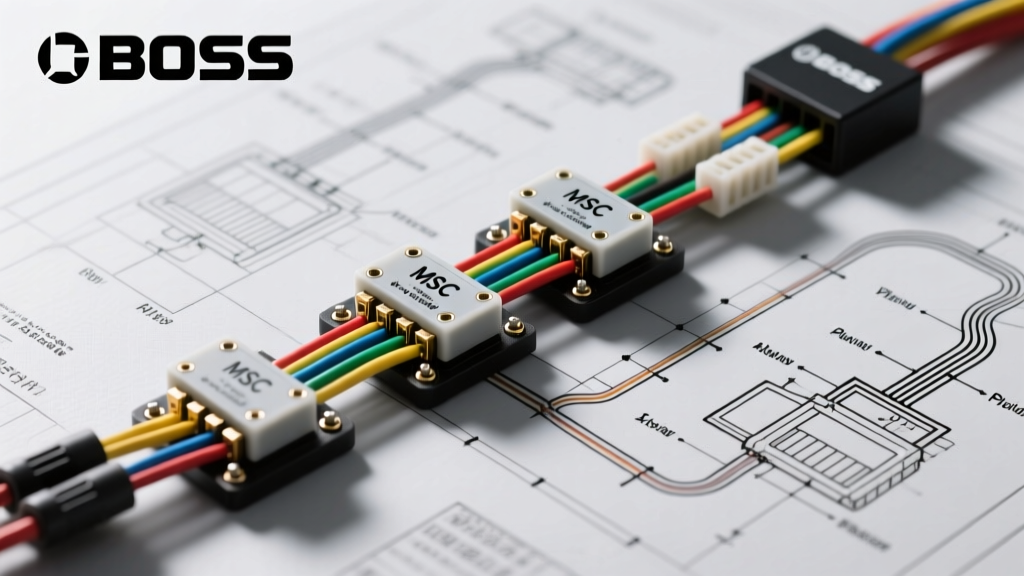
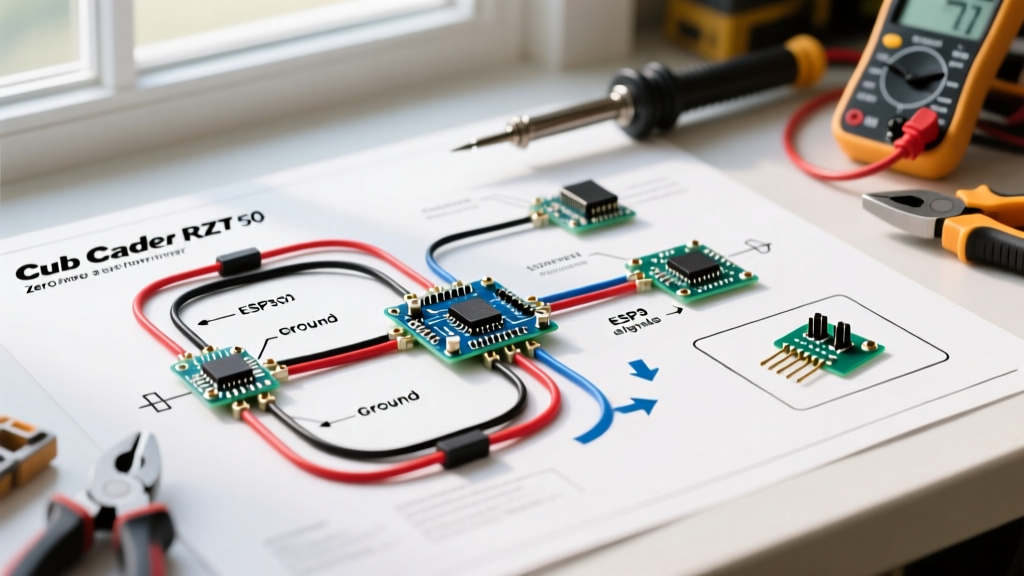
Zero-turn mowers like the Cub Cadet RZT 50 are incredible landscaping workhorses, but their electrical systems are constantly subjected to harsh vibrations, moisture, and debris. When your mower refuses to crank, or the blades fail to engage, guessing which component failed leads to wasted time and unnecessary part swapping. Locating and understanding the correct wiring diagram for Cub Cadet RZT 50 models transforms a frustrating breakdown into a logical, step-by-step diagnostic process.
In this guide, we will break down the electrical architecture of the RZT 50 (typically equipped with a Kohler 7000 Series or Kawasaki V-Twin engine), show you how to trace circuits using a digital multimeter (DMM), and identify the most common hidden failure points that plague this specific chassis.
The RZT 50 Electrical Architecture: A High-Level Overview
Before probing any wires, you must understand how the schematic is organized. The wiring diagram for Cub Cadet RZT 50 mowers is generally divided into four distinct sub-circuits:
- The Starting Circuit: Routes 12V DC from the battery to the starter solenoid, gated by the ignition switch and the Safety Interlock System (SIS).
- The Safety Interlock System (SIS): A network of microswitches (brake pedal, PTO engagement, steering lap bars) designed to kill the engine or prevent cranking if the operator leaves the seat with the PTO engaged.
- The PTO (Blade Engagement) Circuit: Powers the electromagnetic clutch coil via a dashboard switch and a heavy-duty relay.
- The Charging Circuit: Converts AC voltage from the engine stator into DC voltage via a rectifier/regulator to maintain the 12V battery.
Essential Diagnostic Tools for 2026
To properly troubleshoot using the schematic, you need more than just a test light. According to Fluke's official guide on digital multimeters, a high-impedance DMM is mandatory for modern small engine electronics to prevent damaging sensitive voltage regulators. Assemble the following:
- Digital Multimeter (DMM): Capable of measuring DC Voltage, AC Voltage, Resistance (Ohms), and Continuity.
- Wire Piercing Probes: Allows you to test for voltage inside a wire without stripping the insulation, which prevents future corrosion.
- Feeler Gauges: Specifically a 0.018-inch gauge for checking PTO clutch air gaps.
- Dielectric Grease & Heat Shrink: For sealing any repairs against moisture intrusion.
Multimeter Reference Chart for RZT 50 Components
Keep this data table handy while tracing the wiring diagram. These values represent a healthy system at rest or at operating RPM.
| Component | Test Type | Expected Reading (Healthy) | Failure Mode Indication |
|---|---|---|---|
| Battery (Resting) | DC Volts | 12.6V - 12.8V | < 12.2V (Sulfated/Dead Cell) |
| Charging Output | DC Volts (Engine @ 3600 RPM) | 13.8V - 14.4V | > 14.8V (Bad Regulator) or < 13V (Bad Stator) |
| Stator Output | AC Volts (Engine @ 3600 RPM) | 28V AC - 35V AC | < 20V AC (Shorted Stator Windings) |
| PTO Clutch Coil | Resistance (Ohms) | 2.5 Ω - 4.5 Ω | 0 Ω (Short) or Infinite (Open/Broken Coil) |
| Starter Solenoid Coil | Resistance (Ohms) | 1.5 Ω - 3.0 Ω | Infinite (Internal Coil Break) |
Scenario 1: Engine Won't Crank (Tracing the Safety Interlock)
The most common reason an RZT 50 fails to crank is an open circuit in the safety interlock system. The wiring diagram shows that the starter solenoid will only receive the 12V "trigger" signal if the PTO is OFF, the brake is SET, and the steering levers are in the OUTWARD (neutral) position.
Step-by-Step Diagnostic Flow:
- Verify Battery Voltage: Ensure you have at least 12.4V at the battery terminals. If not, charge the battery before proceeding.
- Check the Trigger Wire: Locate the starter solenoid (usually near the battery box). Identify the small trigger wire (often purple or red with a stripe). Have an assistant turn the key to START. If you read 12V DC here, but the solenoid doesn't click, the solenoid is dead. Replace it.
- Trace Backward Through the SIS: If you read 0V at the solenoid trigger wire, consult your wiring diagram to find the brake switch and PTO switch. Use your DMM's continuity setting to test the brake switch. When the pedal is depressed and locked, the switch should close (continuity). If it reads open, the microswitch is misaligned or broken.
- Inspect the Steering Lap Bar Switches: The RZT 50 features neutral safety switches on the steering levers. Debris frequently jams these switches. Clean the pivot points and verify continuity when the levers are pushed fully outward.
Scenario 2: PTO Clutch Fails to Engage
When you pull the PTO switch and hear nothing, the issue lies in the blade engagement circuit. As of early 2026, an OEM replacement PTO clutch for the RZT 50 retails between $185 and $230, so you must verify the electrical supply before replacing the mechanical assembly.
Isolating the Fault:
- Test for Voltage at the Clutch: Unplug the two-wire connector leading to the PTO clutch. Set your DMM to DC Volts, insert the probes into the harness side of the connector, and pull the PTO switch. You should read full battery voltage (12V+). If you read 0V, the fault is upstream (bad dash switch, blown fuse, or failed PTO relay).
- Test the Clutch Coil Resistance: Set your DMM to Ohms (Ω). Place the probes on the clutch side of the connector. A healthy coil will read between 2.5 and 4.5 ohms. If it reads infinite (OL), the internal copper windings are broken, and the clutch must be replaced.
- Check the Air Gap: If voltage is present and resistance is normal, but the clutch slips or won't pull in, the mechanical air gap may be too wide. Use a 0.018-inch feeler gauge to measure the gap between the rotor and the armature. Adjust the three perimeter nuts until the gauge slides through with a slight drag.
Scenario 3: Battery Keeps Dying (Charging Circuit Analysis)
If you constantly need to jump-start your RZT 50, the charging circuit is failing. The Kohler Engines online manual repository emphasizes that stator testing must always be done with the engine running at full operating RPM (typically 3600 RPM for PTO operation).
Expert Warning: Never disconnect the battery cables while the engine is running to test the alternator. Small engine charging systems lack the heavy-duty diodes found in automotive alternators, and this "load test" will instantly blow the rectifier/regulator.
The Stator Test: Locate the two yellow wires coming from the engine stator, plugging into the rectifier/regulator. Unplug the connector. Start the engine and run it to full throttle. Set your DMM to AC Volts and probe the two yellow wires on the stator side. You should read between 28V AC and 35V AC. If the reading is significantly lower, the stator windings are shorted to ground or burned out, requiring a stator replacement.
Hidden Failure Points & Edge Cases
Even with a perfect wiring diagram for Cub Cadet RZT 50 models, some physical faults won't show up on the schematic. Watch out for these notorious edge cases:
- Seat Pan Chafing: The main wiring harness routes directly beneath the plastic seat pan. Over years of use, the vibration wears through the wire loom, causing the main 12V feed to short against the seat springs. Inspect this area if you experience intermittent, unexplainable blown fuses.
- Corroded AMP Connectors: The RZT 50 uses multi-pin AMP connectors to bridge the chassis harness to the engine harness. Moisture gets trapped inside these plastic shells. Unplug them, inspect for green copper oxide corrosion, clean with electrical contact cleaner, and pack with dielectric grease.
- Failing Ignition Switch Modules: The internal contacts of the key switch can wear out, specifically the terminal that sends power to the PTO relay. If the PTO works when you bypass the switch but not when using the key, replace the ignition module (OEM part numbers typically start with 725- or 925-).
Final Thoughts on Schematic Literacy
Troubleshooting small engine electronics is entirely about isolation. By combining the official wiring diagram with systematic multimeter testing, you eliminate the guesswork. Always refer to Cub Cadet's official support and manual portal to download the exact schematic for your specific serial number, as wire colors and relay placements can vary slightly between the Kawasaki and Kohler engine configurations. Armed with the right diagram and a methodical approach, you can keep your RZT 50 running flawlessly for seasons to come.