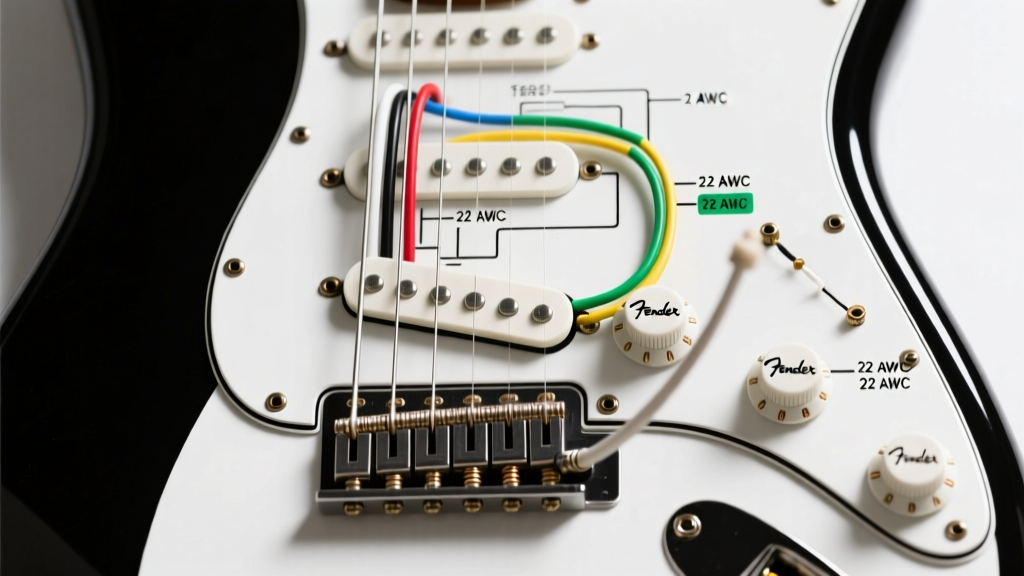

The Anatomy of a Stratocaster Circuit: Beyond the Schematic
When tackling a wiring diagram for Fender Stratocaster guitars, most DIYers focus solely on which lug connects to which potentiometer. However, the true difference between a factory-standard instrument and a boutique-grade, noise-free masterpiece lies in the physical materials: wire gauge, insulation capacitance, and precise color code adherence. In 2026, with the proliferation of high-gain digital modelers and ultra-sensitive studio interfaces, the physical properties of your Stratocaster's wiring harness dictate your noise floor and high-frequency clarity just as much as your pickups do.
This guide bypasses generic schematics to deliver an expert-level breakdown of wire gauge selection, manufacturer color codes, and the exact lug-by-lug routing for the industry-standard Oak Grigsby 8-lug 5-way switch.
Wire Gauge Selection: The Physics of Tone Transfer
The Fender Stratocaster operates on a high-impedance, low-current signal path. Because the current is negligible (typically under 1mA), the primary electrical concern is not current-carrying capacity, but rather capacitance and flexibility. Using the wrong wire gauge or insulation type will act as a low-pass filter, bleeding off the harmonic overtones that give a Stratocaster its signature "quack" and "chime."
22 AWG vs. 24 AWG Stranded Tinned Copper
For main harness runs (switch to pots, output jack), 22 AWG stranded tinned copper is the undisputed standard. It offers the perfect balance of mechanical strength and flexibility. For the delicate pickup leads, where wires must be routed through tight cavity channels and bent sharply near the pickguard screws, 24 AWG is preferred to reduce stress on the pickup's internal bobbin windings.
| Wire Spec | Insulation Type | Capacitance (pF/ft) | Best Application | 2026 Avg. Cost |
|---|---|---|---|---|
| 22 AWG Stranded | Cloth-Waxed Braid | ~18 pF/ft | Vintage-correct restorations, main ground bus | $0.85 / ft |
| 22 AWG Stranded | PVC (RoHS Compliant) | ~32 pF/ft | Standard production, budget-friendly harness builds | $0.35 / ft |
| 22 AWG Stranded | Teflon / PTFE | ~14 pF/ft | High-fidelity boutique builds, maximum treble retention | $1.40 / ft |
| 24 AWG Stranded | PVC / Shielded | ~45 pF/ft | Pickup lead extensions, tight cavity routing | $0.60 / ft |
Expert Insight: Avoid solid-core wire entirely in a Stratocaster pickguard harness. The constant vibration and the physical stress of lifting the pickguard for maintenance will cause solid-core wire to work-harden and snap at the solder joints over time. Always use stranded wire with a minimum of 7 strands.
Decoding Fender & Aftermarket Wire Color Codes
Mixing up hot and ground wires on single-coil pickups doesn't just result in a dead signal; it reverses the magnetic polarity of the coil relative to the circuit ground, leading to severe phase cancellation and exacerbated 60-cycle hum in switch positions 2 and 4. Below is the definitive color code reference for standard Stratocaster pickups.
Manufacturer Color Code Reference
- Fender Vintage / Custom Shop (e.g., Fat 50s, 69s): White (Hot), Black (Ground).
- Fender Modern Noiseless / Ultra: Typically utilizes shielded coaxial cable. Center conductor (Hot), Shield/Bare (Ground). Always verify with a multimeter.
- Seymour Duncan (e.g., SSL-1, Quarter Pound): Black (Hot), White + Red (Series Link, taped off), Green + Bare (Ground).
- DiMarzio (e.g., Area 61, Chopper): Red (Hot), Black + White (taped off), Green + Bare (Ground).
Note: When integrating aftermarket hum-canceling single-coils into a standard Stratocaster wiring diagram, always consult the Seymour Duncan Wiring Library to verify phase alignment with your existing middle pickup.
Step-by-Step: The Oak Grigsby 8-Lug 5-Way Switch
While vintage Fenders used a 12-lug CRL switch, the modern standard for DIYers and luthiers in 2026 is the Oak Grigsby 8-lug switch (Part #SW-8). It features two distinct sides (Side A and Side B), each with four lugs. Lugs 1-3 are inputs, and Lug 4 is the common output.
Side A: Pickup Input Routing
- Lug A1: Solder Neck Pickup Hot (White/Black depending on brand).
- Lug A2: Solder Middle Pickup Hot.
- Lug A3: Solder Bridge Pickup Hot.
- Lug A4 (Common): Solder a 22 AWG jumper wire to the first lug of the Volume Potentiometer.
Side B: Tone Control Routing (Modern Standard Mod)
The vintage Stratocaster wiring diagram leaves the bridge pickup without a tone control. The "Modern Standard" modification routes the bridge pickup to Tone 2, which is highly recommended for taming the ice-pick highs of bridge single-coils.
- Lug B1: Jumper to Lug B2 (Neck and Middle share Tone 1).
- Lug B2: Solder a wire to Tone Pot 1 (Neck/Middle).
- Lug B3: Solder a wire to Tone Pot 2 (Bridge).
- Lug B4 (Common): Solder a wire to the input lug of Tone Pot 1, and jumper to Tone Pot 2 (or wire directly to a master tone input if using a 2-tone setup).
Potentiometers and Capacitors: The Tone Shaping Network
The values of your pots and caps dictate the resonant peak of your pickups. For a standard single-coil Stratocaster, the golden rule is 250k Audio Taper (A250k) potentiometers. Using 500k pots (common in humbuckers) will push the resonant peak too high, resulting in a harsh, brittle tone.
Component Specifications & Pricing (2026)
- Pots: CTS 450G Series 250k Audio Taper. Expect to pay around $7.50 to $9.00 per pot. Ensure you buy "split shaft" for standard push-on plastic knobs, or "solid shaft" if using set-screw metal knobs.
- Capacitors: 0.047µF (Vintage 60s roll-off, darker jazz tones) or 0.022µF (Modern, retains more midrange clarity). Orange Drop (Sprague) or Russian Paper-In-Oil (PIO) capacitors are the top choices. A genuine Sprague 0.047µF Orange Drop costs approximately $4.50.
- Treble Bleed Mod: Solder a 150kΩ resistor in parallel with a 0.001µF (1nF) ceramic capacitor across the input and output lugs of the volume pot. This preserves high-end clarity when rolling the volume knob down from 10 to 7.
Grounding and Shielding: Eliminating the 60-Cycle Hum
A flawless wiring diagram for Fender Stratocaster builds is useless if the grounding scheme introduces a ground loop. Stratocasters should utilize a Star Grounding topology. Instead of daisy-chaining grounds from pot to pot, run individual 22 AWG ground wires from the back of each potentiometer, the switch common ground, and the bridge claw to a single, centralized ground point on the back of the volume pot.
Soldering to Pot Casings: The 380°C Rule
The most common failure mode in DIY Strat wiring is a "cold solder joint" on the back of the volume pot, caused by insufficient heat. The metal casing acts as a massive heat sink.
- Score the back of the CTS pot casing with 220-grit sandpaper to remove the protective oxidation layer.
- Apply a high-quality no-clean liquid flux pen to the scored area.
- Set your soldering iron to 380°C (715°F). (Use 350°C for switch lugs to avoid melting the plastic wafer).
- Pre-tin the back of the pot with a large blob of 60/40 rosin-core solder (or SAC305 lead-free if RoHS compliance is required in your region).
- Melt the pre-tinned blob and insert the stripped ground wire simultaneously. Remove heat within 3 seconds to prevent cooking the internal carbon track.
For further best practices on guitar electronics maintenance and cavity shielding, refer to the Fender Support Portal and the electronics guides at StewMac.
Troubleshooting Common Wiring Faults
If your Stratocaster is wired but exhibiting anomalies, use this diagnostic checklist before desoldering anything:
- Positions 2 and 4 sound thin and "hollow" (Out of Phase): Your middle pickup's hot and ground wires are reversed relative to the neck and bridge. Swap the hot and ground leads on the middle pickup. Note: If the middle pickup has a metal cover, reversing the leads will make the cover "hot," causing loud buzzing when touched. You must cut the internal ground jumper to the cover and ground it separately.
- Volume knob acts like a tone knob: You have likely soldered the switch output to the wrong lug on the volume pot. Ensure the switch output goes to Lug 1 (input), Lug 2 (wiper) goes to the output jack tip, and Lug 3 is grounded.
- Persistent 60-cycle hum that stops when touching the strings: Your bridge claw ground wire is disconnected, or the output jack ground (sleeve) is swapped with the hot (tip).
Mastering the physical execution of the Stratocaster wiring diagram—down to the exact AWG gauge, insulation capacitance, and thermal management during soldering—elevates your instrument from a mass-produced assembly to a precision audio tool. Take your time, respect the color codes, and let the physics of high-quality tinned copper do the heavy lifting for your tone.