
Decoding the Electric Bike Wiring Diagram PDF: A 2026 Masterclass
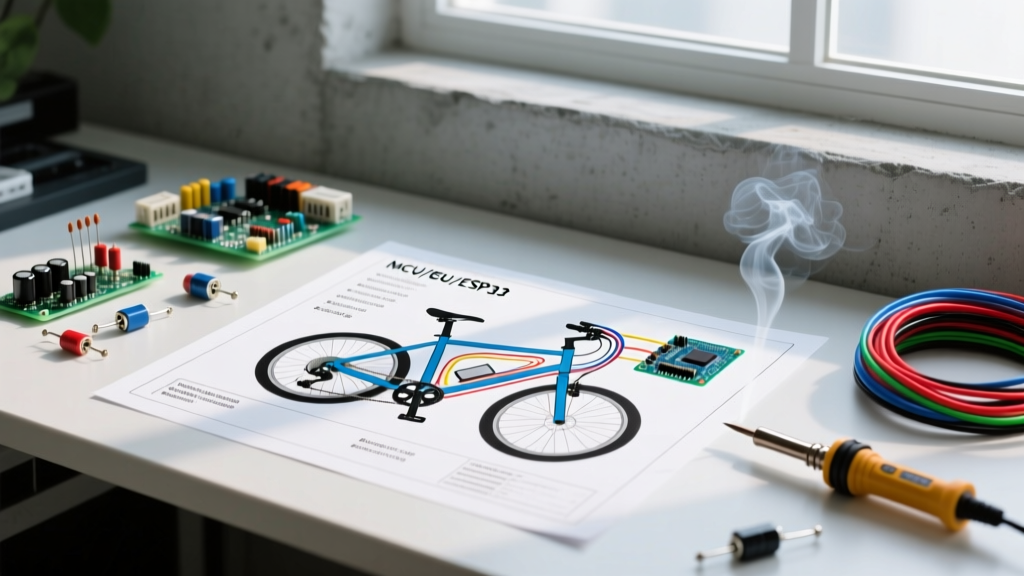
Building or repairing a custom electric bicycle requires more than just connecting red wires to red wires. In 2026, with mid-drive systems pushing over 160Nm of torque and direct-drive hub motors routinely exceeding 2000W, a misinterpreted electric bike wiring diagram PDF can result in catastrophic Battery Management System (BMS) failure, melted phase wires, or severe fire hazards. Whether you are working with a KT36/48SVPR sine-wave controller, a Sabvoton 72V vector drive, or a Bafang M620 ultra mid-drive, understanding the schematic is your first line of defense.
This vehicle-specific guide breaks down the universal standards found in e-bike wiring PDFs, translates generic Chinese controller pinouts into actionable wiring steps, and highlights the critical edge cases that generic manuals fail to mention.
The Anatomy of a Standard E-Bike Wiring Schematic
When you open a manufacturer's wiring diagram PDF, the layout can look like a tangled web. However, every e-bike electrical system is divided into four distinct functional nodes. Understanding these nodes allows you to troubleshoot any diagram, regardless of the brand.
1. High-Voltage Power Input (36V - 72V Nominal)
This circuit handles the raw DC current from the battery pack. It includes the main discharge wires, the ignition switch loop (which triggers the controller's low-voltage logic), and the regenerative braking feedback line. According to Battery University, ensuring proper wire gauge and BMS integration at this stage is critical to preventing voltage sag and thermal runaway under heavy load.
2. Motor Phase and Sensor Output
The controller acts as a 3-phase inverter. The thick wires deliver pulsed DC (which the motor reads as AC), while the thin harness carries the 5V Hall effect sensor signals that tell the controller the exact rotor position.
3. Low-Voltage Accessories (5V - 12V)
Modern e-bike controllers feature internal DC-DC buck converters. These step down the main battery voltage to power the LCD display, USB charging ports, and integrated lighting systems.
4. Data and Communication Buses
In 2026, protocols like CAN-bus and UART are standard for high-end builds (like those using Grin Technologies or ASI BAC8000 controllers), allowing the display, BMS, and controller to share real-time telemetry data.
E-Bike Controller Pinout Matrix: The Core of the Diagram
The most common point of failure when following an electric bike wiring diagram PDF is misidentifying the low-voltage signal wires. While high-current phase wires are universally color-coded (Yellow, Green, Blue), the signal harness varies wildly. Below is the definitive pinout matrix for a standard 48V 1000W hub motor controller utilizing modern waterproof connectors.
| Wire Color / Harness | Function | Wire Gauge (AWG) | Voltage / Signal Type | Standard Connector |
|---|---|---|---|---|
| Thick Red / Black | Main Battery Power | 12 AWG Silicone | 36V - 52V DC | XT90-S (Anti-spark) |
| Yellow / Green / Blue (Thick) | Motor Phase A, B, C | 14 AWG Silicone | PWM AC (up to 40A) | 4mm Bullet / Julet SM |
| Red / Black / Yellow / Green / Blue (Thin) | Motor Hall Sensors | 22 AWG | 5V DC Digital Pulse | Julet 6-Pin Waterproof |
| Red / Black / White / Green | Throttle (Hall Effect) | 22 AWG | 5V In / 0.8V - 4.2V Out | Higo Z206 (3-Pin) |
| Red / Black / Yellow / Green | PAS (Pedal Assist Sensor) | 22 AWG | 5V DC / Pulse Train | Julet 3-Pin Waterproof |
| Orange / Orange | Self-Learning / Phase Match | 22 AWG | 5V Logic Short | SM-2P (White plastic) |
Translating Generic PDFs to Your Specific Build
Many DIY builders source controllers from AliExpress or Amazon, only to find that the included electric bike wiring diagram PDF uses translated terms or generic color codes that do not match the physical wires. Here is the step-by-step framework to verify your wiring before applying power.
- Verify the 5V Regulator: Before plugging in your expensive LCD display or throttle, use a digital multimeter. Turn on the ignition switch and probe the thin Red and Black wires on the display harness. You must read exactly 4.9V to 5.1V. If you read battery voltage (e.g., 48V), the diagram is wrong, and plugging in the display will instantly fry its internal logic board.
- Map the Throttle Sweep: Probe the signal wire (usually White or Green) while slowly twisting the throttle. The voltage should rise smoothly from 0.8V (idle) to 4.2V (wide open). Any dead spots or sudden jumps indicate a mismatched Hall-effect throttle.
- Identify the E-Brake Logic: E-brake levers cut power to the motor. Some diagrams show 'Low-Level' brakes (pull to ground), while others show 'High-Level' brakes (pull to 5V). Connecting a high-level brake to a low-level pin will cause the controller to think the brakes are permanently engaged, resulting in a 'Code 08' or motor cutoff error.
BMS and Battery Wiring Edge Cases
The most dangerous misinterpretations in an electric bike wiring diagram PDF occur at the battery BMS. A standard 13S 48V Li-ion BMS features three main negative terminals: B- (Battery Negative), C- (Charge Negative), and P- (Power/Discharge Negative).
Critical Safety Warning: The NYC FDNY E-Bike Safety Guidelines explicitly warn against 'split-port' BMS bypassing. Never wire your main motor discharge directly to the BMS charge port (C-). The charge port MOSFETs are typically rated for only 5A to 10A. Drawing 25A+ through the charge port will melt the BMS traces and cause an uncontainable lithium fire. Always wire the motor controller to the P- (Discharge) terminal.
Furthermore, if your diagram includes a BMS communication wire (usually a yellow/blue twisted pair for UART or CAN), ensure the controller's ground reference matches the BMS ground. A ground loop here will result in corrupted battery percentage readings on your handlebar display.
Connector Standards: Moving Beyond Soldering
In 2026, professional e-bike builders have largely abandoned direct soldering for signal wires in favor of modular, waterproof connectors. When modifying a wiring diagram to fit a custom frame, use the following industry-standard connectors:
- Higo / Julet Mini (Z-Series): The gold standard for 5V signal wires (throttles, displays, PAS). They are IP67 waterproof and feature gold-plated pins that resist galvanic corrosion.
- XT90-S: The 'S' stands for spark-suppression. The male connector features a built-in resistor that pre-charges the controller's capacitors before the main contacts engage, preventing the violent sparking that degrades standard XT90 connectors over time.
- Anderson Powerpole (APP): Still preferred for high-current battery-to-frame modular connections, specifically the 45A or 120A variants, due to their wipe-contact design that cleans oxidation upon insertion.
Where to Source Reliable Wiring Documentation
Relying on a folded, poorly translated piece of paper included in a generic controller box is a recipe for disaster. For accurate, high-resolution electric bike wiring diagram PDFs, always consult the engineering repositories of established e-bike component manufacturers. Grin Technologies (ebikes.ca) maintains one of the most comprehensive, openly accessible libraries of motor phase charts, controller pinouts, and torque simulation tools on the internet. Cross-referencing your generic diagram against Grin's standardized phase-angle charts can save hours of troubleshooting motor cogging and stuttering.
FAQ: Troubleshooting E-Bike Wiring Discrepancies
Why does my motor stutter and make a grinding noise after wiring it according to the PDF?
This is a phase-angle mismatch. Even if the colors (Yellow, Green, Blue) match the diagram, the internal Hall sensor timing of your specific motor might be offset by 60 or 120 degrees from the controller's default map. Use the controller's 'Self-Learning' wire loop. Connect the two white self-learning wires together while the rear wheel is elevated; the controller will automatically cycle through phase combinations until the motor spins smoothly in the correct direction, then disconnect the loop to save the mapping.
Can I use a 36V controller wiring diagram for a 48V battery?
Physically, the pinouts will be identical. However, you must verify the controller's capacitor voltage rating. A true 36V controller uses 63V-rated capacitors. Connecting a 52V (14S) battery, which peaks at 58.8V, leaves almost no safety margin and risks capacitor explosion under voltage spikes from regenerative braking. Always ensure the controller is rated for at least 60V continuous if running a 48V/52V system.
My LCD display turns on, but shows 0 speed and no battery level. What did I wire wrong?
Your display is receiving main power, but the data communication line is severed or mismatched. If you are using a generic KT LCD3 display with a non-KT controller, the UART protocol will not handshake. You must ensure the TX (Transmit) and RX (Receive) pins on the display harness are crossed correctly (TX to RX, RX to TX) as outlined in the specific protocol documentation, not just the generic color diagram.