
The Anatomy of a Chinese 110cc Electric Start System
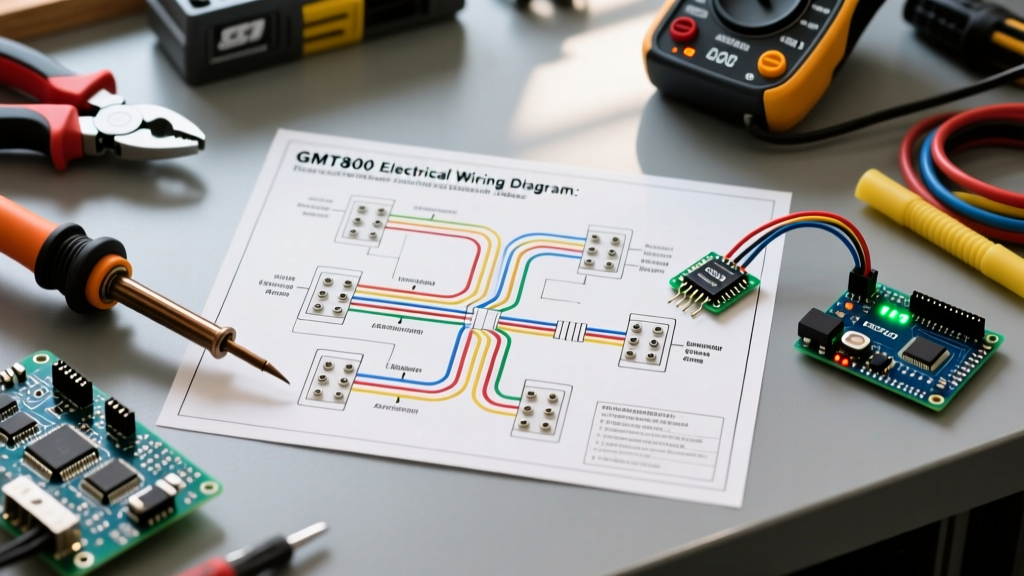
When troubleshooting an electric start Chinese 110cc ATV wiring diagram, you are typically dealing with a horizontal single-cylinder engine clone, most commonly the 152FMH or 1P52FMH powerplants found in brands like TaoTao, Coolster, Roketa, and Apollo. Unlike Japanese OEMs (Honda, Yamaha) that utilize highly standardized, sealed harnesses, Chinese 110cc ATVs often feature a modular, semi-custom wiring approach. This means the harness is assembled in sections, leading to notorious inconsistencies in wire color coding and connector quality.
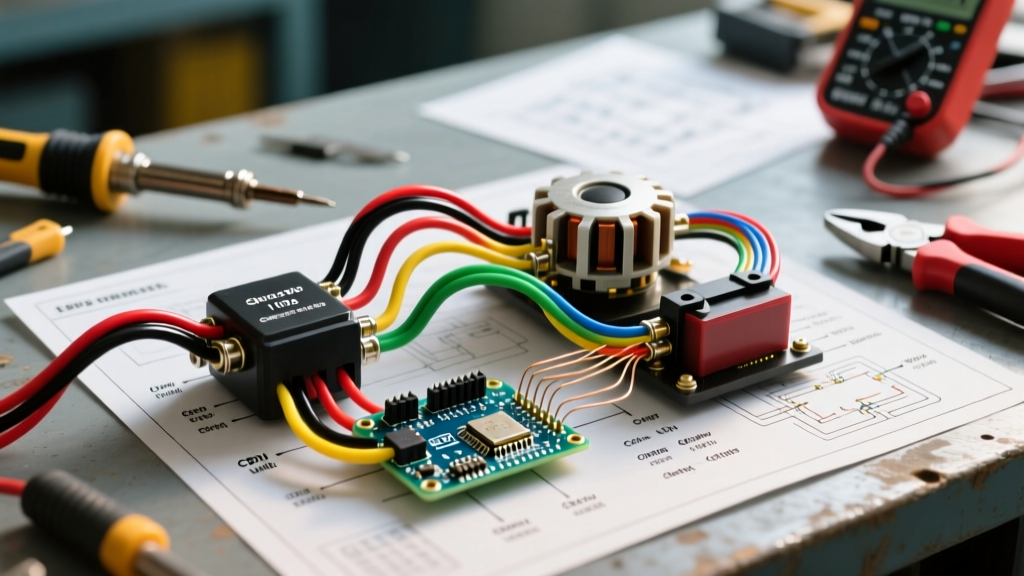
Understanding the core architecture is the first step to a reliable fix. The electric start system on these quads relies on a 12V DC battery circuit that is entirely separate from the AC magneto ignition system, though they share a common ground. The primary components include:
- Stator (Magneto): Generates AC voltage for the ignition system (trigger coil) and the lighting/charging system (lighting coil).
- CDI (Capacitor Discharge Ignition): Stores and discharges voltage to the ignition coil. Critical Note: You must determine if your system uses an AC-fired or DC-fired CDI.
- Voltage Regulator/Rectifier: Converts the stator's AC output to 12V DC to charge the battery and run the electric starter.
- Starter Solenoid (Relay): Acts as a heavy-duty switch to route high amperage from the battery to the starter motor.
- Safety Interlocks: Brake switches and neutral safety switches designed to prevent the ATV from starting in gear.
Standard Wire Color Decoding (And Why You Can't Trust It)
The most frustrating aspect of mapping a Chinese 110cc ATV wiring diagram is the wire colors. While there is a "standard" Chinese motorcycle color code, factory variations are rampant. Always verify with a multimeter rather than relying solely on the insulation color.
| Standard Color | Expected Function | Reality Check / Verification Method |
|---|---|---|
| Black / White | Engine Kill Switch | Should show continuity to ground when the key is OFF or kill switch is engaged. |
| Blue / Yellow | Stator Trigger Coil | Carries the low-voltage pulse from the stator to the CDI. Verify with an oscilloscope or peak voltage meter. |
| Green | Ground (DC System) | Must have near 0.0 ohms to the engine block and battery negative terminal. |
| Red | Main Battery Power (12V DC) | Hot at all times. Check for 12.4V - 12.8V directly at the battery post. |
| Pink / Yellow | AC Lighting Coil Output | Outputs raw AC from the stator to the regulator/rectifier. Never connect directly to a 12V DC bulb. |
| Black / Red | CDI to Ignition Coil | Carries high-voltage pulse. Do not pierce this wire; test resistance at the coil instead. |
Electric Start Circuit: Step-by-Step Power Flow
The electric start circuit is a simple 12V DC series-parallel network, but it is frequently interrupted by safety interlocks. Here is the exact power flow when you turn the key and press the start button:
- Battery Positive (Red Wire): 12V DC travels to the main ignition switch.
- Ignition Switch Output: When turned to "ON", power flows down a secondary red or black wire to the start button and the safety interlocks.
- Safety Interlocks (Brake/Neutral): The current must pass through the normally-open brake lever switch or the neutral gear switch. If the brake isn't pulled, the circuit remains open. This is the cause of 80% of all "no-crank" complaints.
- Start Button: Pressing the button completes the low-amperage control circuit to the starter solenoid's trigger terminal.
- Starter Solenoid: The internal electromagnet pulls a heavy copper contact closed, bridging the battery's main positive cable directly to the starter motor.
- Starter Motor: Receives 12V DC and high amperage (typically 40-80 amps), cranking the 152FMH engine via the Bendix gear or starter clutch.
Diagnostic Matrix: Crank vs. No-Crank vs. No-Spark
To efficiently troubleshoot your electric start Chinese 110cc ATV wiring diagram, use this diagnostic matrix to isolate the failure point. According to Electrical Technology's relay testing guidelines, verifying the solenoid and control circuit is paramount before replacing expensive starters.
Scenario A: No-Crank (Silent or Just a Click)
- Check 1: Battery voltage under load. A reading below 10.5V while pressing the start button indicates a dead cell or sulfated battery. Replace the 12V 4Ah or 5Ah AGM battery (approx. cost: $25-$35 in 2026).
- Check 2: Bypass the safety interlocks. Jump the two wires at the brake switch connector. If it cranks, clean or replace the brake switch ($8).
- Check 3: Jump the solenoid. Use a heavy-gauge jumper wire to bridge the two large posts on the solenoid. If the starter spins, the solenoid or start button is faulty. Reference this multimeter testing guide to verify coil and solenoid continuity.
Scenario B: Cranks, But No Spark (Engine Won't Fire)
- Check 1: The Kill Circuit. Chinese ATVs use a "normally closed to ground" kill system. If the black/white wire is chafed and touching the frame, it will ground out the CDI, killing the spark. Unplug the kill switch to test.
- Check 2: AC vs. DC CDI Mismatch. If you recently replaced the CDI, you may have installed the wrong type. An AC CDI relies on the stator for power; a DC CDI relies on the battery. Look at the wiring harness: If the CDI receives 12V from the ignition switch on a dedicated pin, it is a DC CDI. If it receives power directly from the stator's lighting coil, it is AC.
- Check 3: Stator Trigger Coil Resistance. Set your multimeter to Ohms (Ω). Measure between the Blue/Yellow trigger wire and the Green ground wire. A healthy 110cc stator trigger coil should read between 100Ω and 190Ω. If it reads OL (Open Line), the internal winding is broken, and the stator ($35-$45) must be replaced.
5-Pin vs. 6-Pin CDI Pinout Reference
One of the most common upgrade paths and repair hurdles is identifying the correct CDI. Most Chinese 110cc ATVs use a 5-pin or 6-pin configuration. Miswiring these will instantly fry the internal thyristor.
Standard 5-Pin AC CDI Layout
- Pin 1: Trigger Coil (Blue/Yellow)
- Pin 2: Ground (Green)
- Pin 3: Engine Kill (Black/White)
- Pin 4: AC Power from Stator (Black/Red or Pink)
- Pin 5: Output to Ignition Coil (Black/Yellow)
Standard 6-Pin DC CDI Layout
- Pin 1: Trigger Coil (Blue/Yellow)
- Pin 2: Ground (Green)
- Pin 3: Engine Kill (Black/White)
- Pin 4: 12V DC Power from Ignition Switch (Red or Black)
- Pin 5: Output to Ignition Coil (Black/Yellow)
- Pin 6: Tachometer Signal (Usually Pink or Light Green)
Expert Tip: If your 110cc ATV struggles to start when the battery is dead, consider upgrading to a DC-fired CDI (approx. $18 online). DC CDIs provide a hotter, more consistent spark at low cranking RPMs because they draw from the battery's stabilized voltage rather than the stator's weak, low-RPM AC output. However, this requires rewiring the harness to supply 12V switched power to the CDI.
Safety and Compliance Considerations
When modifying or repairing the wiring on imported powersports vehicles, safety must remain a priority. The National Highway Traffic Safety Administration (NHTSA) strictly regulates the importation and safety standards of ATVs. Bypassing factory safety interlocks (like the neutral switch or brake-start interlock) to force a bike to crank violates ANSI/OPEI safety standards and creates a severe hazard, especially for youth riders. Always repair interlocks using OEM-specification microswitches rather than jumpering the harness permanently.
By methodically tracing the 12V DC starter circuit and verifying the stator's AC output with a multimeter, you can conquer the notoriously chaotic electric start Chinese 110cc ATV wiring diagram. Keep a wiring schematic printed and laminated in your toolbox, and always trust your multimeter over the factory wire colors.