
Why Guessing Fails: The Power of the Schematic
When you turn the key and hear nothing but a hollow click—or worse, absolute silence—your first instinct might be to replace the starter. But throwing a $200 part at a $2 broken wire is a classic DIY mistake. To accurately diagnose a no-crank condition, you need a reliable wiring diagram for Chevy starter circuits and a digital multimeter. Whether you are wrenching on a classic 1969 small-block Chevy (SBC) or a modern 2015 LS3 crate engine, the electrical architecture dictates exactly how voltage travels from the battery to the solenoid.
In this guide, we will break down the two most common Chevrolet starter architectures, teach you how to perform military-spec voltage drop testing, and identify the hidden edge cases that leave vehicles stranded in driveways.
Decoding the Classic Chevy V8 Starter Circuit (1968–1990s)
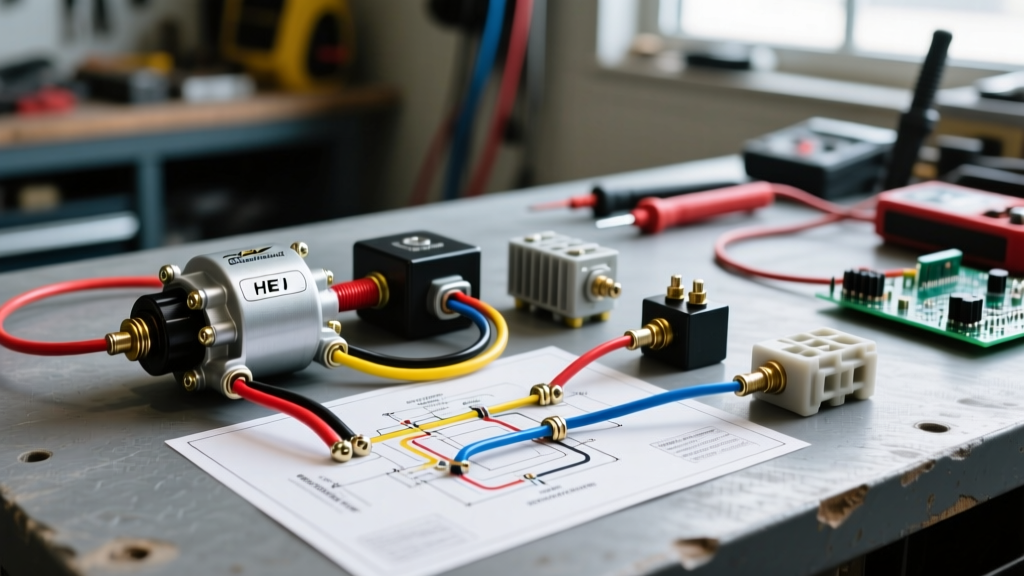
The classic GM V8 utilizes the legendary Delco-Remy 10MT or 15MT external solenoid starter. If you are looking at a wiring diagram for Chevy starter systems from this era, you will notice three critical terminals on the solenoid cap:
- BAT Terminal (Large Stud): Receives constant 12V+ directly from the battery via a heavy-gauge (usually 4 AWG or 2 AWG) red cable.
- "S" Terminal (Small Inner Stud): The "Start" trigger. This receives 12V+ only when the ignition switch is turned to the crank position. In classic Chevys, this is almost always a purple wire.
- "I" or "R" Terminal (Small Outer Stud): The "Ignition Bypass" terminal. This is the most misunderstood terminal on the entire vehicle.
The "I" Terminal Mystery: Why Your Chevy Dies When Cranking
Older points-based ignition systems required full 12V to create a hot spark during cranking, but ran through a ballast resistor wire during normal operation to prevent burning out the points. When you turn the key to "Start," the ignition switch cuts power to the coil's primary resistor circuit. The "I" terminal on the starter solenoid bridges the gap, sending raw battery voltage directly to the coil's positive terminal only while the starter is engaged.
Expert Troubleshooting Tip: If your classic Chevy starts perfectly but immediately dies the second you release the key from the "Start" position to the "Run" position, check the wiring diagram for your Chevy starter's "I" terminal. A broken yellow or orange wire between the "I" terminal and the coil positive is the culprit 90% of the time.
Modern LS-Series Starter Wiring (1997–Present)
With the introduction of the Gen III LS1 in 1997, GM moved to internal solenoid, gear-reduction starters (primarily manufactured by Denso or Delco's 39MT series). The wiring diagram for Chevy starter circuits on LS engines is vastly different because the ignition switch no longer directly powers the starter solenoid.
Instead, the circuit follows this logic path:
- Ignition Switch / Push Button: Sends a 12V "Crank Request" signal to the Body Control Module (BCM) or Engine Control Module (ECM).
- PCM Verification: The computer checks the PRNDL (Park/Neutral) sensor and the VATS/Passlock anti-theft system.
- Starter Relay: If conditions are met, the PCM grounds the control coil of the Starter Relay (usually located in the underhood fuse block).
- Solenoid Engagement: The relay closes, sending battery voltage down a purple/white or yellow/black wire to the starter's single "S" terminal.
When troubleshooting an LS no-crank, bypassing the ignition switch won't work if the PCM is inhibiting the relay due to a faulty neutral safety switch or a Passlock security lockout. You must use the wiring diagram to locate the starter relay in the fuse block and jump terminals 30 and 87 to verify the starter itself is functional.
Voltage Drop Testing: The Ultimate Diagnostic Tool
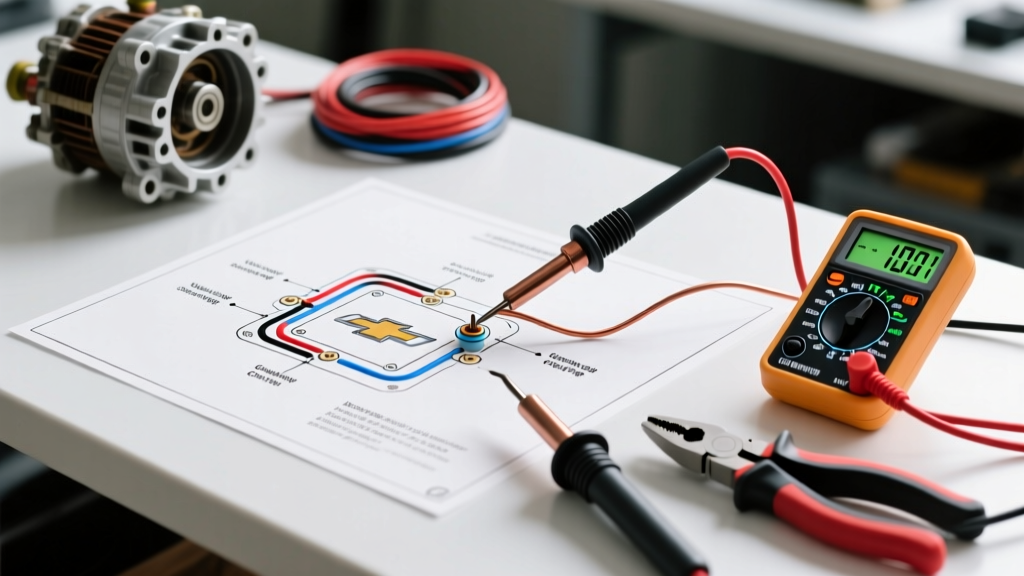
A wiring diagram tells you where the voltage should go, but a voltage drop test tells you where it is actually going. According to Fluke's official automotive testing guidelines, measuring voltage drop across a live circuit is the only accurate way to find hidden corrosion inside wire insulation or at terminal crimps.
| Circuit Segment | Maximum Acceptable Voltage Drop | Common Failure Point |
|---|---|---|
| Battery (+) Post to Starter BAT Stud | 0.20V DC | Corroded battery terminals or frayed main cable |
| Battery (-) Post to Engine Block | 0.10V DC | Paint or rust under the ground strap bolt |
| Entire Starter Control Circuit (Ignition to "S" Terminal) | 0.50V DC | Worn ignition switch contacts or NSS corrosion |
| Single Switch / Relay Connection | 0.15V DC | Pitted relay contacts or bulkhead connector |
Step-by-Step Troubleshooting Flowchart
Follow this sequence while referencing your specific year's wiring diagram for Chevy starter circuits to isolate the fault in under 15 minutes.
Step 1: The Load Test (Eliminate the Battery)
Set your multimeter to DC Volts. Place the probes directly on the battery posts (not the clamps). Have an assistant crank the engine. If the voltage drops below 9.6V, the battery is sulfated or has a dead cell. No starter will pull the required 150+ amps at that voltage.
Step 2: The Ground Path Verification
Keep the multimeter in DC Volts. Place the red probe on the battery negative post and the black probe on a clean, bare metal spot on the engine block. Crank the engine. If you read more than 0.10V, your engine ground strap is compromised. Fix this before replacing the starter.
Step 3: The "S" Terminal Trigger Check
Move the black probe to the starter case (ground) and the red probe to the small "S" terminal wire. Turn the key to "Start." You must see a minimum of 10.5V at this terminal while cranking. If you see 0V, trace the purple wire backward through the neutral safety switch and ignition switch using your schematic.
Common Edge Cases & Failure Modes
1. Heat Soak from Exhaust Headers
On classic Chevys with aftermarket shorty headers, the starter solenoid sits inches from 800°F exhaust pipes. Heat increases electrical resistance. A solenoid that tests fine cold will draw excessive amperage and fail to engage when hot. The Fix: Install a high-torque mini starter like the Powermaster 9100 (which positions the solenoid higher and further from the heat) or wrap the headers in ceramic coating.
2. The Firewall Bulkhead Connector
1970s and 1980s GM A-bodies and F-bodies route the starter trigger wire through a multi-pin bulkhead connector on the firewall. These connectors are notorious for filling with moisture and developing green copper oxide corrosion, causing a massive voltage drop. Bypassing this connector with a dedicated relay harness is a common and highly recommended upgrade.
3. Flywheel Gear Hang-Up (The Shimming Debate)
If your starter engages but produces a horrific grinding noise, the pinion gear isn't meshing correctly with the flexplate. According to Delco Remy technical service documentation, GM starters require specific knurled bolts to center the starter nose cone in the block. If you use standard smooth bolts, the starter will shift under load. Never use shims on a classic Chevy starter unless you have verified the gear clearance with a paperclip gauge; incorrect shimming will destroy your flexplate.
2026 Replacement Parts & Pricing Guide
When your diagnostic confirms a dead solenoid or worn brushes, here is what you should expect to pay for quality replacements in the current market:
- AC Delco Professional 330-51110 (Classic 10MT/15MT): $115 – $140. The OEM standard for restorations. Heavy, but bulletproof.
- Powermaster 9100 High-Torque Mini Starter: $210 – $235. The premier choice for high-compression engines and tight header clearances. Features a 3.25 kW motor and gear reduction.
- AC Delco 337-1134 (LS1/LS2/LS6 Gear Reduction): $175 – $195. Direct OEM replacement for 1997-2006 LS applications. Ensure you transfer the original heat shield if equipped.
Final Thoughts on Schematics
A wiring diagram for Chevy starter circuits is not just a map; it is a diagnostic contract. It tells you exactly which switches, relays, and wires must perform their duty for the engine to turn over. By combining a factory-accurate schematic with rigorous voltage drop testing—as recommended by AAA's automotive electrical repair standards—you will stop guessing, stop throwing unnecessary parts at the car, and solve the no-crank condition like a seasoned master technician.