
The Anatomy of a 5-Channel Car Audio System
Upgrading your vehicle's sound system with a multi-channel amplifier is one of the most impactful modifications you can make. A 5-channel amplifier is the undisputed king of efficiency for daily-driven vehicles, combining the power for four full-range door speakers and a dedicated subwoofer channel into a single chassis. This eliminates the need to run separate power wires for multiple amps, saving space, reducing voltage drop, and simplifying the overall harness.
However, improper installation can lead to alternator whine, thermal shutdown, or catastrophic electrical failure. This comprehensive vehicle wiring diagram for 5 channel amp configurations provides the exact specifications, wire gauges, and routing protocols required for a flawless 2026 installation. Whether you are running a budget-friendly Class D amp or a premium DSP-integrated model, the electrical principles remain identical.
Pre-Install: Wire Gauge and Component Sizing Matrix
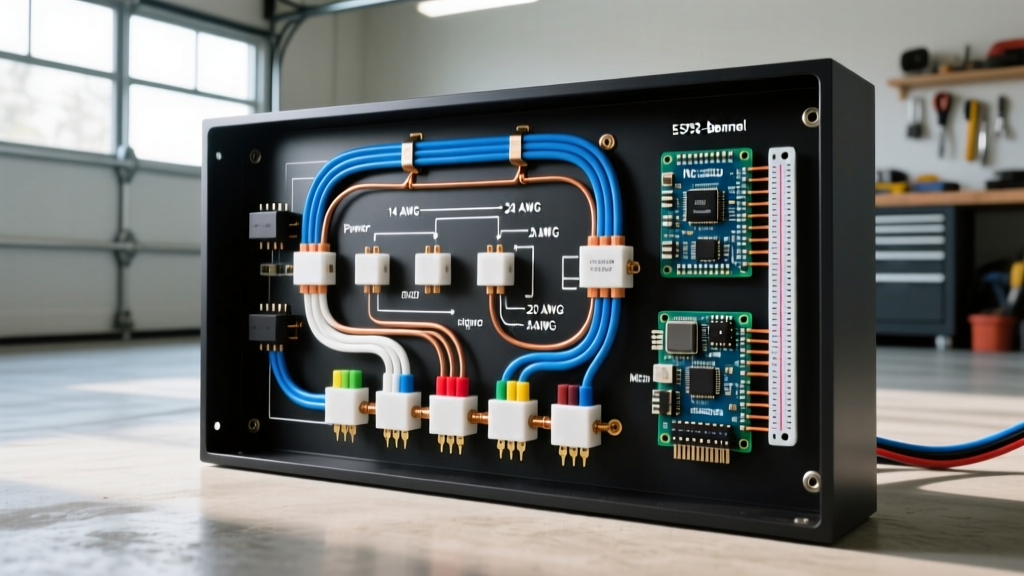
Before pulling panels, you must calculate your total system current draw. The Consumer Technology Association (CTA) established the CTA-2006 standard to ensure amplifier wattage ratings are truthful, but you must still size your wiring based on the maximum current draw, not just the RMS output. Below is the definitive sizing matrix for modern 5-channel amplifiers.
| Component | Recommended Gauge (OFC) | Max System Wattage (RMS) | Primary Function |
|---|---|---|---|
| Main Power Wire | 4 AWG | Up to 800W | Delivers primary current from battery to amp |
| Main Power Wire | 1/0 AWG | 800W - 1500W+ | High-current delivery for heavy bass loads |
| Ground Wire | Match Power Wire | N/A | Completes circuit to vehicle chassis |
| Remote Turn-On | 18 AWG | N/A | Triggers internal relay to power the amp |
| Speaker Outputs | 14 AWG to 12 AWG | 50W - 150W per ch | Delivers amplified audio to door speakers |
| Subwoofer Output | 12 AWG to 10 AWG | 300W - 600W | Delivers high-current bass frequencies |
Note: Always use Oxygen-Free Copper (OFC) wiring. Copper-Clad Aluminum (CCA) wire has higher resistance and can overheat, posing a severe fire risk in high-draw 5-channel setups. For exact resistance metrics, refer to the Engineering Toolbox AWG Wire Size guide.
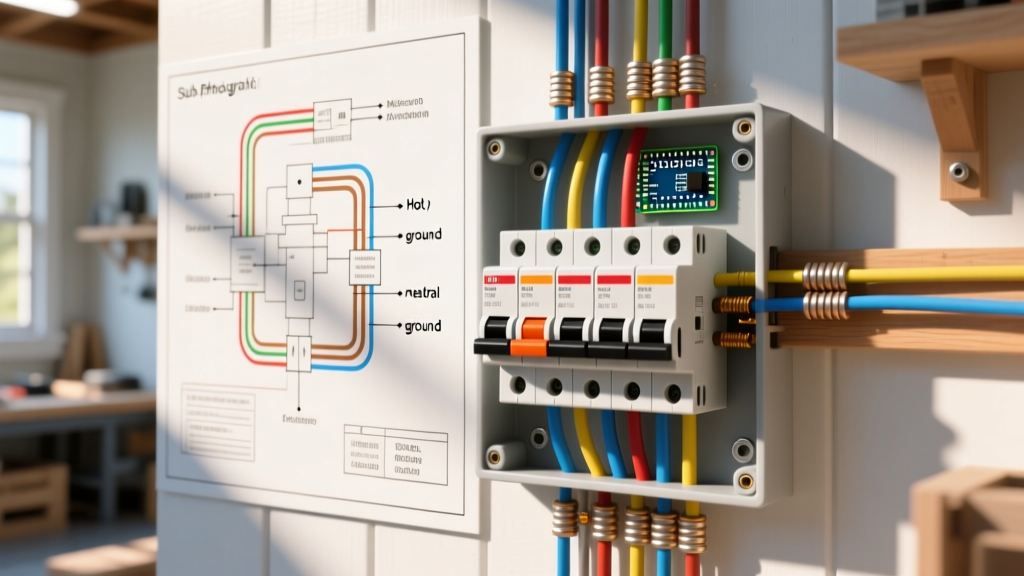
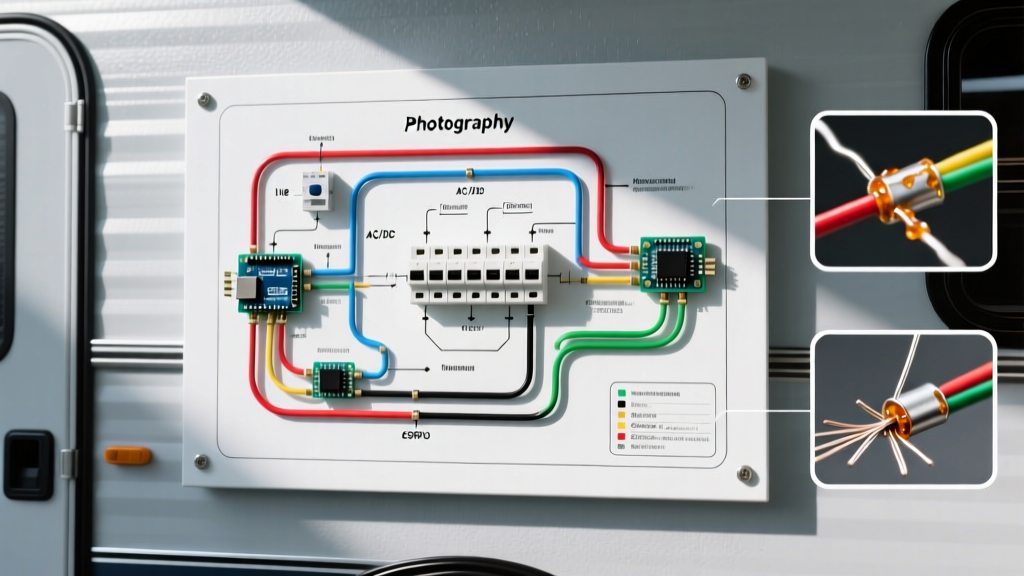
Logical Signal & Power Flow Diagram
Vehicle Wiring Schematic Flow:[12V Battery +] ──(4 AWG OFC)──> [ANL Fuse Holder] ──> [Amp +12V BATT Terminal]
[Vehicle Chassis] ──(4 AWG OFC)──> [Amp GND Terminal] (Max 3 ft length)
[Head Unit Remote] ──(18 AWG Blue/White)──> [Amp REM Terminal]
[Head Unit Pre-Outs] ──(Shielded Twisted-Pair RCA)──> [Amp CH1-4 & SUB Inputs]
[Amp CH1-4 Speaker Out] ──(14 AWG)──> [Front & Rear Door Speakers]
[Amp SUB Pre-Out/Speaker] ──(12 AWG)──> [Subwoofer Enclosure]
Step-by-Step Wiring Diagram Execution
Phase 1: Power, Ground, and Fusing
The power wire is the lifeline of your 5-channel amp. Route the 4 AWG OFC power cable from the positive battery terminal through the firewall using an existing rubber grommet. Never drill a new hole through the firewall without a rubber grommet and a plastic firewall pass-through to prevent the wire from shorting against bare metal.
- Fusing: Install an ANL or Mini-ANL fuse holder within 18 inches of the battery positive terminal. For a typical 500W RMS 5-channel amp (like the Rockford Fosgate R2-500X5), an 80-Amp fuse is appropriate.
- Grounding: The ground wire must be the exact same length and gauge as the power wire, kept under 3 feet. Locate a structural bolt on the vehicle chassis. Remove the bolt, sand away all paint and primer down to bare, shiny metal using 80-grit sandpaper, and secure the 5/16" ring terminal. Coat the connection with dielectric grease to prevent oxidation.
Phase 2: Signal Input and Remote Turn-On
The remote turn-on lead (REM) tells the amplifier's internal power supply to engage. Connect an 18 AWG wire to the blue/white "System Remote Control" wire on your aftermarket head unit's wiring harness. Route this wire alongside your RCA signal cables.
OEM Integration Edge Case: If you are retaining the factory 2026 infotainment system, you likely lack RCA pre-outs and a remote turn-on wire. You must use a Line Output Converter (LOC) with a built-in remote out feature, such as the PAC LP7-4, or tap into a 12V accessory fuse in the cabin using an add-a-circuit fuse tap to trigger the REM terminal.
Phase 3: Speaker and Subwoofer Output Routing
Run your speaker wires (14 AWG) from the amplifier's Channel 1 through 4 terminals to the respective doors. Use fishing tape or a stiff wire hanger to pull the wires through the rubber door jamb boots. Do not pinch the wires in the door hinge mechanism, as repeated opening and closing will eventually sever the copper strands, causing intermittent audio dropouts.
For the subwoofer channel (Channel 5), run a dedicated 12 AWG wire pair to the rear cargo area or trunk. If your subwoofer enclosure uses binding post terminals, ensure the wire is tightly secured and sealed with hot glue or silicone to prevent air leaks that ruin bass response.
Advanced Impedance Matching and Load Stability
A critical aspect of the wiring diagram for 5 channel amp setups is understanding impedance (measured in Ohms). Amplifiers are designed to operate within specific electrical resistance parameters. Pushing an amp below its stable impedance will trigger its internal protection mode or melt the output transistors.
⚠️ Impedance Warning: Most modern 5-channel amplifiers are stable at 2 Ohms on the four main speaker channels, and either 1 Ohm or 2 Ohms on the dedicated subwoofer channel. Always check the manufacturer's spec sheet before wiring Dual Voice Coil (DVC) subwoofers.Wiring a DVC 4-Ohm Subwoofer to the 5th Channel:
- Parallel Wiring (Result: 2 Ohms): Connect the positive terminal of Voice Coil 1 to the positive of Voice Coil 2. Connect the negative of Coil 1 to the negative of Coil 2. Run a single positive and negative from the coils to the amp's Sub + and Sub - terminals. This is ideal for amps rated at 2-Ohm stable on the sub channel.
- Series Wiring (Result: 8 Ohms): Connect the positive of Coil 1 to the amp's Sub +. Connect the negative of Coil 1 to the positive of Coil 2. Connect the negative of Coil 2 to the amp's Sub -. This halves your output power but is necessary if the amp is only 4-Ohm stable on the sub channel.
Troubleshooting Common 5-Channel Amp Failure Modes
Even with a perfect wiring diagram, real-world vehicle environments introduce variables. Here is how to diagnose the most common issues:
- Alternator Whine (Engine Noise): A high-pitched whine that increases with engine RPM. Cause: Electromagnetic Interference (EMI). Fix: Ensure your RCA cables are routed down the opposite side of the vehicle's center console from the main power wire. If they must cross, they should do so at a strict 90-degree angle.
- Thermal Shutdown (Protect Mode): The amp turns off after 15-20 minutes of heavy use. Cause: Inadequate grounding or charging system voltage drop. Fix: Test the voltage at the amp's +12V and GND terminals while the bass hits. If it drops below 11.5V, upgrade your alternator or add a lithium car audio battery (like a XS Power or Northstar AGM) near the amplifier.
- Clipping / Distortion at High Volume: Cause: Improper gain staging, not necessarily a wiring fault. Fix: Use an oscilloscope or a digital multimeter to set the amplifier's input sensitivity (gain) to match your head unit's pre-out voltage (typically 2V to 4V RMS).
2026 Market Pricing and Recommended Amplifier Models
The car audio market in 2026 has seen a massive shift toward DSP-integrated amplifiers, which allow for precise time-alignment and crossover tuning via laptop software. Here are three top-tier 5-channel models that fit the wiring parameters outlined above:
- JL Audio VX500/5i (Premium DSP Tier): Priced around $650, this amp features a built-in 10-channel DSP processor. It requires a specific USB tuning cable and relies heavily on high-quality, shielded RCA inputs to maintain its ultra-low noise floor. (View JL Audio Amplifier Lineup)
- Rockford Fosgate R2-500X5 (Value Tier): Priced around $320, this is a workhorse Class D amplifier. It features high-level inputs with auto-turn-on, making it the easiest wiring diagram to execute for factory radio retention.
- Kicker CXA800.5 (High-Power Tier): Priced around $550, this amp pushes serious wattage, requiring a strict adherence to the 4 AWG OFC and 80A+ fusing rules detailed in our matrix.
By strictly following this vehicle wiring diagram for 5 channel amp configurations, you ensure clean power delivery, optimal signal integrity, and a soundstage that transforms your daily commute into a concert hall experience.