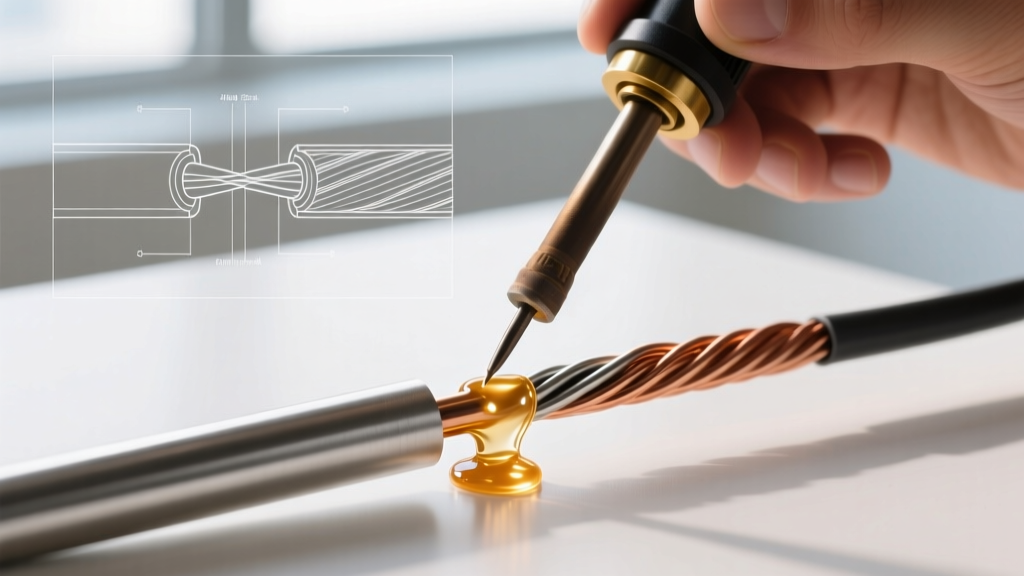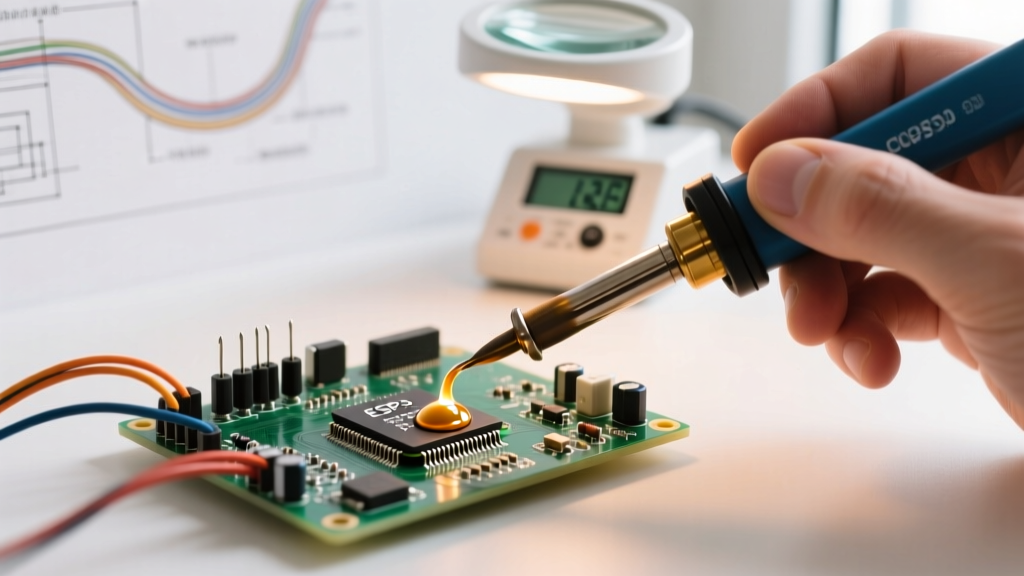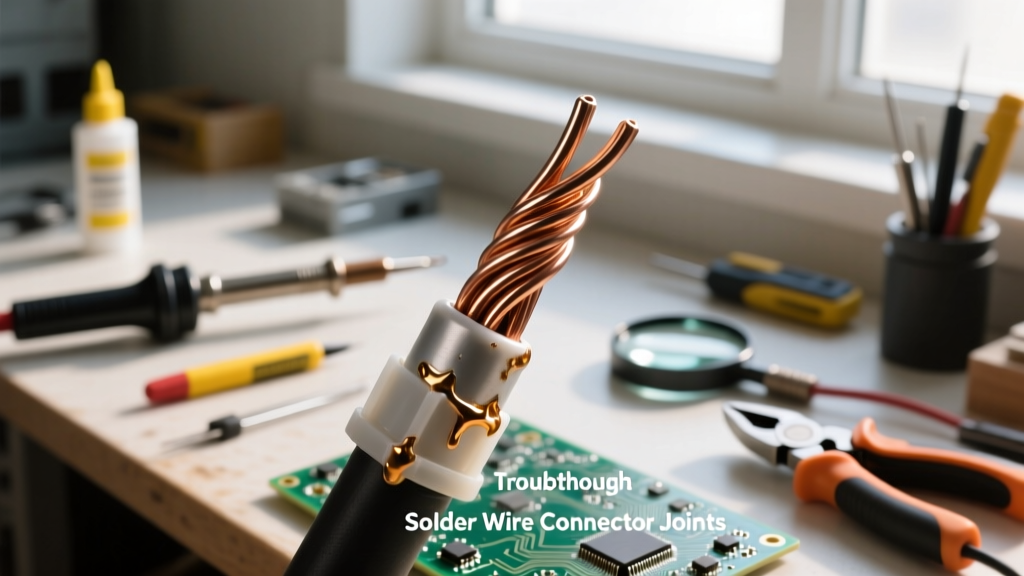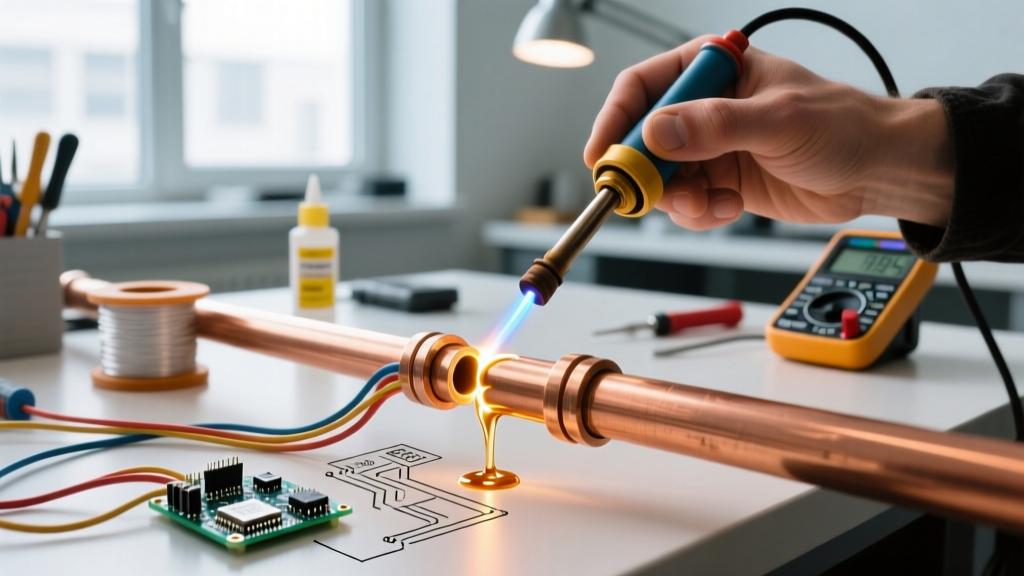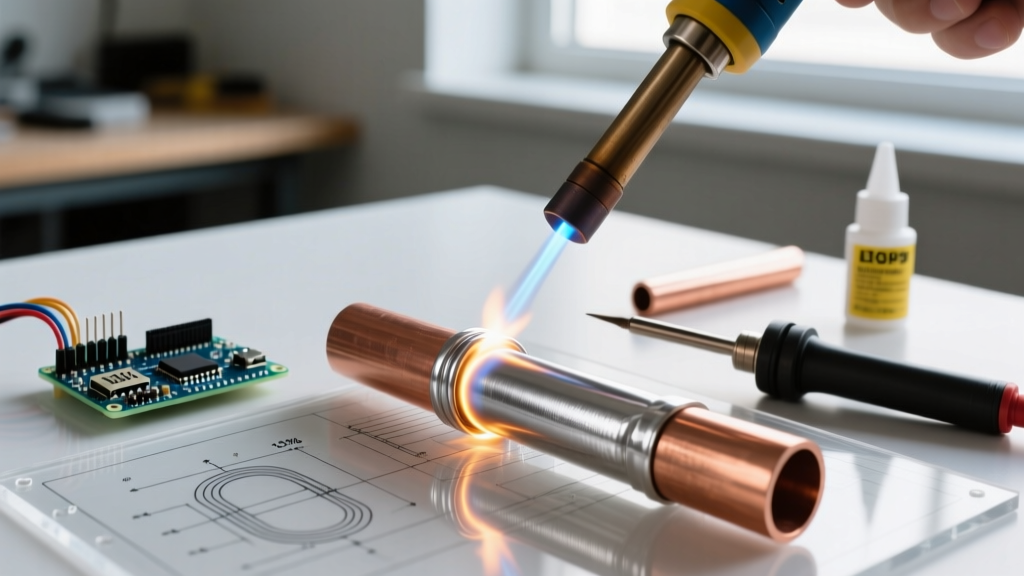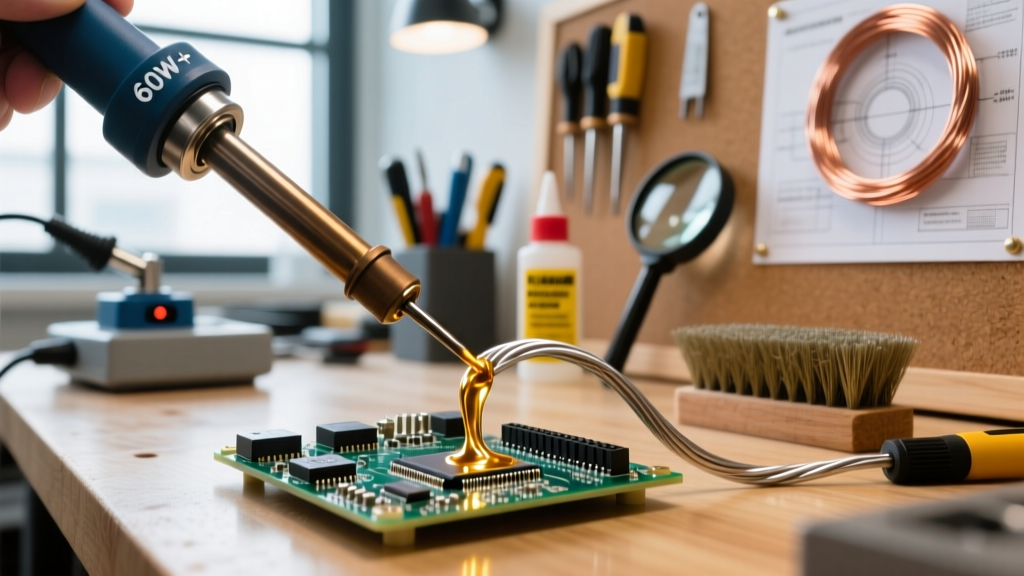

The Metallurgical Barrier: Why Standard Soldering Fails on Stainless
Working with stainless steel components—whether you are joining stainless steel wire mesh, fabricating 304/316 alloy enclosures, or using specialized stainless soldering wire (solder alloys formulated specifically for stainless substrates)—presents a unique metallurgical challenge. Unlike copper or brass, stainless steel relies on a microscopic chromium oxide passivation layer to resist corrosion. This layer is only 1 to 3 nanometers thick, but it is entirely impenetrable to standard rosin-based fluxes.
If you attempt to use a standard 60/40 tin-lead solder wire with a rosin core on a stainless steel surface, the solder will simply ball up and roll off. To achieve a true metallurgical bond, you must pair the correct aggressive flux chemistry, high-thermal-mass tools, and specialized silver-bearing solder alloys. In 2026, the DIY and professional electronics markets have seen a surge in micro-torch and high-wattage station availability, making these once-difficult techniques highly accessible.
Selecting the Right Alloy and Flux Chemistry
The term "stainless soldering wire" is frequently used by makers to describe two distinct things: the actual stainless steel wire being joined, and the specialized solder wire used to join it. For the latter, you must abandon standard tin-lead and move to silver-bearing alloys paired with zinc chloride or specialized organic acid (OA) fluxes.
| Application | Recommended Solder Wire | Required Flux Type | Approx. 2026 Cost |
|---|---|---|---|
| High-Strength Structural (Wire mesh, brackets) | Stay-Brite #8 (95.5% Sn, 4.5% Ag) | Stay-Clean Liquid (Zinc Chloride base) | $48.00 / Kit |
| Electronics & Sensor Housings (304 SS) | Sn96.5 / Ag3.5 (Silver-bearing, no-clean core) | Superior Flux #30 (Water-soluble OA) | $35.00 / Pint |
| Food-Grade / Marine (316 SS) | Sn95 / Sb5 (Antimony alloy for creep resistance) | Harris Stay-Clean or equivalent Acid Paste | $42.00 / Jar |
According to filler metal classification standards outlined by the American Welding Society (AWS), adding silver (Ag) to the tin matrix lowers the melting point while significantly increasing the shear strength of the joint, which is critical when soldering rigid stainless steel wires that experience high vibration.
Tool Pairings: Matching Thermal Mass to Wire Gauge
Stainless steel is a poor conductor of heat compared to copper. If your tool lacks the thermal recovery rate to maintain the solder's liquidus temperature at the joint interface, you will create a cold, crystallized joint. Here is how to pair your tools based on the gauge of the stainless wire or substrate.
Fine Gauge (AWG 30–20): Precision High-Wattage Irons
For fine stainless wire mesh or thin sensor wires, a micro-torch will melt the base metal or warp the assembly. Instead, use a high-wattage digital soldering station. The Hakko FX-951 (approx. $285 in 2026) or the Weller WE1010-NA are ideal.
- Tip Selection: Use a T15-D24 (2.4mm chisel) or equivalent. The flat surface area maximizes thermal transfer into the stainless wire.
- Temperature Setting: Set the station to 380°C (716°F). The high wattage (72W–75W) ensures the tip recovers its heat instantly when it touches the heat-sinking stainless steel.
Medium to Heavy Gauge (AWG 18–10): Micro-Torches and Induction
When soldering heavy stainless steel wire cables or thick structural brackets, soldering irons simply cannot overcome the thermal mass. You must step up to a micro-torch like the Bernzomatic TS8000 or an induction heating system like the Quick 801.
- Flame Control: Use a pinpoint flame and apply heat to the stainless steel wire itself, not the solder wire. Let the base metal's conductivity melt the stainless soldering wire.
- Pre-heating: For thick 316 stainless, pre-heat the surrounding area with a heat gun at 150°C to reduce the thermal shock and prevent the acid flux from burning off before the solder flows.
Step-by-Step Technique: The "Scratch-and-Flood" Protocol
Because the chromium oxide layer reforms almost instantly when exposed to oxygen, mechanical abrasion must happen beneath a protective pool of flux. This technique is non-negotiable for reliable stainless soldering wire joints.
- Mechanical Prep: Use a fiberglass scratch pen or a Dremel with a 400-grit sanding drum to remove gross surface contaminants from the stainless wire. Wipe with isopropyl alcohol.
- Flux Application: Apply a generous drop of zinc chloride or Superior Flux #30 to the joint area. The flux must completely cover the intended solder footprint.
- Sub-Surface Scratching: While the flux is wet, use the tip of your fiberglass pen or a dental pick to lightly scratch the stainless steel through the flux pool. The flux acts as a liquid barrier, preventing oxygen from reaching the freshly exposed bare metal.
- Thermal Transfer: Apply your pre-tinned iron tip or torch flame to the stainless wire. Wait 2–4 seconds for the base metal to reach ~230°C.
- Feed the Solder: Touch your silver-bearing stainless soldering wire to the base metal, not the iron tip. If the prep was successful, the solder will instantly wet and capillary into the stainless wire strands.
- Cool and Inspect: Remove the heat and allow the joint to cool naturally. A successful joint will appear shiny and smooth. A dull, grainy appearance indicates a cold joint caused by insufficient base metal heating.
Failure Modes & Troubleshooting Edge Cases
⚠️ Troubleshooting Callout: The "Beading" Effect
If your solder beads up and refuses to wet the stainless steel, do not add more heat. Excessive heat will boil the water and acid carriers out of your flux, leaving behind a useless, burnt rosin or salt crust. Remove the iron, clean the area with a brass wire brush and fresh alcohol, reapply liquid flux, and repeat the sub-surface scratch step.
Edge Case: Soldering 316 Marine-Grade Stainless
316 stainless contains molybdenum, which increases corrosion resistance but also makes the oxide layer slightly more stubborn than 304. When working with 316 stainless wire, increase your iron temperature by 15°C and allow an extra 1-2 seconds of dwell time during the thermal transfer phase to ensure the silver-bearing alloy achieves proper capillary action.
Safety, Fume Extraction, and Post-Solder Cleanup
The aggressive acid fluxes required for stainless soldering wire projects are highly corrosive and produce toxic fumes when vaporized. Relying on a passive desk fan is insufficient. You must use an active HEPA and carbon-filtered fume extractor, such as the Hakko FA-400, positioned within 4 inches of the joint. Always consult OSHA chemical safety guidelines regarding zinc chloride exposure and ensure your workspace has adequate cross-ventilation.
The Neutralization Protocol
Unlike rosin fluxes, acid-based fluxes will continue to eat through the stainless steel and cause galvanic corrosion if left unneutralized. Within 10 minutes of completing your solder joint, you must neutralize the residue.
- Solution: Mix 1 tablespoon of baking soda (sodium bicarbonate) per 1 cup of distilled water.
- Application: Scrub the joint with a stiff nylon brush dipped in the solution. You will see a mild fizzing reaction as the alkaline baking soda neutralizes the hydrochloric/zinc chloride acid.
- Rinse: Wipe clean with distilled water and dry immediately with compressed air to prevent water spots on the stainless finish.
By respecting the metallurgy of the chromium oxide layer and carefully pairing your high-wattage tools with aggressive fluxes and silver-bearing alloys, you can achieve structural, electrically conductive joints on stainless steel that rival professional TIG welds in shear strength.