
The Metallurgical Nightmare of Aluminum Oxide
For decades, soldering aluminum wire has been considered a fool's errand in the DIY and electronics communities. The root cause is not the aluminum itself, but its instantaneous reaction with oxygen. The moment bare aluminum is exposed to air, it forms a microscopically thin layer of aluminum oxide (Al2O3). While pure aluminum melts at a relatively low 660°C (1220°F), aluminum oxide is a stubborn ceramic that does not melt until it reaches a staggering 2072°C (3762°F). Standard rosin-core solders simply cannot penetrate this ceramic shield, resulting in cold, blob-like joints that fail under the slightest mechanical stress.
However, with the right metallurgical approach, specific zinc-tin (Zn-Sn) alloys, and aggressive fluoride-based fluxes, creating a permanent, low-resistance solder joint on aluminum is entirely achievable. As of 2026, modern flux formulations have made this process safer and more reliable, moving away from the highly corrosive legacy muriatic acid methods of the past.
Expert Insight: According to Lincoln Electric's metallurgical data on aluminum oxide, the oxide layer is not only a thermal barrier but an electrical insulator. If your flux does not chemically dissolve or mechanically displace this layer, no amount of heat will create a bond.
Essential Tools and Materials Matrix
Do not attempt this with standard 63/37 tin-lead or SAC305 lead-free solder. You must use a solder specifically engineered for aluminum, which typically relies on zinc to alloy with the aluminum substrate.
| Component | Recommended Specification | Why It Matters |
|---|---|---|
| Solder Alloy | Zn-Sn (Zinc-Tin) with Fluoride Core (e.g., SRA #5384 or La-Co 14022) | Zinc penetrates the aluminum lattice; melts at ~199°C (390°F), preventing wire melt. |
| Liquid Flux | Superior Flux #5384 or Alumi-Solder Paste | Organic fluorides chemically etch the Al2O3 layer at soldering temperatures. |
| Soldering Iron | 60W+ Station (e.g., Hakko FX-888D) set to 350°C - 380°C | High thermal recovery is needed; aluminum acts as a massive heatsink. |
| Iron Tip | Chisel Tip (e.g., Hakko T18-D24 or T18-D32) | Maximizes surface area contact for rapid heat transfer into the wire. |
| Wire Strippers | Precision Strippers (e.g., Knipex PreciStrip 16) | Prevents scoring the soft aluminum core, which causes stress fractures. |
Step-by-Step Tutorial: Tinning and Joining Aluminum
Step 1: Precision Stripping and Mechanical Prep
Aluminum wire is significantly softer and more brittle than copper. If you use standard strip-and-tear wire strippers, you will likely score the outer strands. When the wire is later bent, it will snap cleanly at the score line. Use a precision, self-adjusting wire stripper to cleanly slice the insulation without touching the metal. Once stripped, do not touch the bare wire with your bare fingers; the oils from your skin will interfere with the flux.
Step 2: The 'Under-Flux' Abrasion Technique
This is the most critical step in soldering aluminum wire. Because the oxide layer reforms in milliseconds, you must abrade the wire while it is submerged in flux to prevent oxygen from reaching the bare metal.
- Apply a generous drop of liquid fluoride flux (like Superior #5384) directly onto the stripped aluminum wire.
- Using a fiberglass scratch pen or a brass wire brush, vigorously scrub the aluminum wire through the pool of liquid flux.
- You will feel the brush biting into the raw aluminum. The flux immediately caps the freshly exposed metal, preventing oxidation.
Step 3: Thermal Transfer and Tinning
Set your soldering station to 360°C (680°F). Clean your chisel tip and apply a tiny amount of standard solder to the tip to create a thermal bridge (tinning the iron tip, not the aluminum).
- Press the flat face of the chisel tip firmly against the flux-coated aluminum wire.
- Hold for exactly 3 to 5 seconds. You will see the liquid flux boil and bubble—this is the fluoride actively dissolving the aluminum oxide.
- Feed your Zn-Sn aluminum solder directly into the joint where the iron tip meets the wire. Do not feed solder onto the iron tip itself.
- Capillary action will pull the molten zinc-tin alloy into the wire strands. Once the wire turns a dull, frosty silver, remove the heat immediately.
Warning: Holding the iron on the wire for more than 10 seconds risks melting the aluminum core or burning out the flux, leaving a dry, un-solderable joint.
Step 4: Joining to Copper (and the Galvanic Threat)
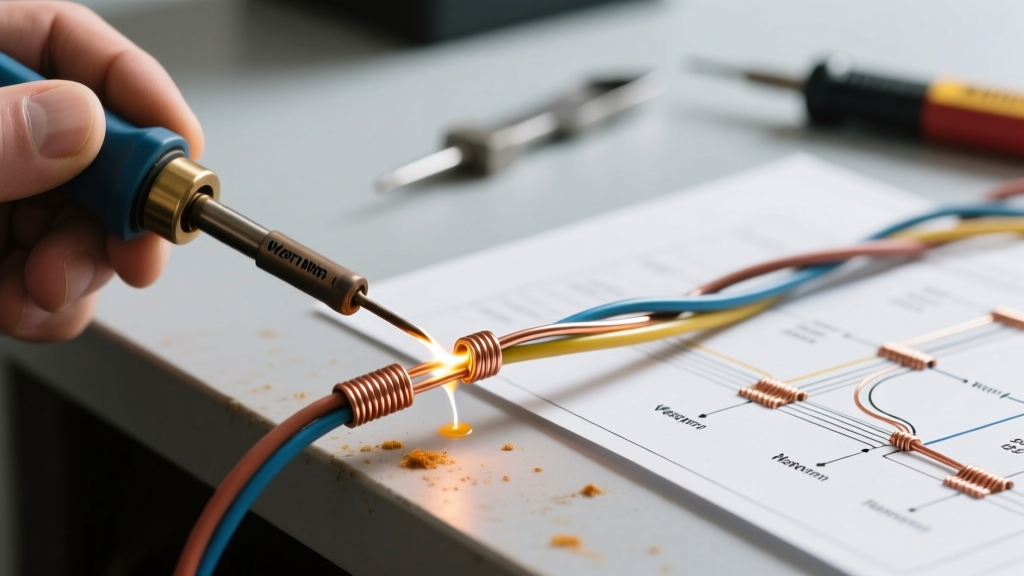
If you are splicing aluminum wire to copper wire, you face a secondary enemy: galvanic corrosion. Aluminum and copper are far apart on the galvanic series. In the presence of moisture, they form a battery that will rapidly corrode the aluminum, turning it into a white, powdery dust and creating a high-resistance fire hazard.
To join them:
- Tin the copper wire with standard rosin-core solder.
- Twist the tinned aluminum and tinned copper wires together.
- Apply a small amount of additional aluminum flux to the junction.
- Use your iron to melt the joint together, adding a touch more Zn-Sn solder to bridge the gap.
Step 5: Chemical Neutralization and Sealing
Fluoride-based aluminum fluxes are highly acidic and will eat through your solder joint over time if left untreated. Isopropyl alcohol (IPA) is insufficient for cleaning this specific chemistry.
- Mix a neutralizing solution of 1 tablespoon of baking soda (sodium bicarbonate) per 1 cup of warm distilled water.
- Scrub the soldered joint with a stiff brush dipped in the solution. You will see it fizz as the acid is neutralized.
- Rinse with clean distilled water, then dry thoroughly with compressed air or a heat gun.
- Seal the joint using dual-wall adhesive-lined heat shrink tubing (e.g., 3M MDT-A). The inner layer of hot-melt polyolefin adhesive melts and seals out all moisture, permanently preventing galvanic corrosion.
Troubleshooting Edge Cases
The Solder 'Balls Up' and Rolls Off
Diagnosis: The oxide layer was not fully broken, or the flux burned off before the solder was applied.
Solution: Let the wire cool completely. Clean off the burnt flux residue with a brass brush. Reapply fresh liquid flux, scrub through it again, and reattempt tinning with a lower iron temperature (340°C) to prevent flash-boiling the flux.
The Aluminum Wire Melts and Snaps
Diagnosis: Excessive dwell time or using an iron set above 400°C.
Solution: Thin aluminum wire (20 AWG or smaller) has very low thermal mass. Use a smaller chisel tip, reduce the temperature to 320°C, and rely on the chemical action of the flux rather than brute thermal force. As noted in Hackaday's metallurgical breakdown of aluminum soldering, patience and chemical prep will always outperform raw heat when dealing with low-melting-point substrates.
White Crust Forming Days After Soldering
Diagnosis: Incomplete flux neutralization.
Solution: The joint is actively corroding. You must desolder the joint, mechanically clean the wire, and start over. Ensure you are using the baking soda neutralization step and sealing with adhesive-lined heat shrink.
Final Thoughts on Reliability
While soldering aluminum wire is entirely possible with Zn-Sn alloys and fluoride fluxes, it should be reserved for low-current, low-voltage DIY electronics, sensors, and repair work. For high-current mains wiring (120V/240V AC), soldering aluminum is generally prohibited by modern electrical codes due to the long-term risks of thermal cycling and galvanic degradation. In those high-power scenarios, always defer to rated mechanical connectors, such as AlumiConn lug connectors or COPALUM crimps, as recommended by Superior Flux's aluminum soldering protocols for heavy-gauge applications. For PCB-level and low-voltage harnesses, however, mastering the under-flux abrasion technique will add a powerful, niche capability to your workbench.