
🎬 Introduction: The Physics of a Perfect Sweat Joint
Welcome to the ElectricalFlux visual masterclass. When it comes to soldering copper fittings, most DIYers treat the process like gluing—melting metal and smearing it over a gap. This is fundamentally wrong and guarantees eventual pinhole leaks. True plumbing soldering, often called 'sweating,' relies entirely on capillary action. The molten solder must be drawn into the microscopic clearance between the pipe and the fitting, not just layered on top.
In this video-style visual guide, we break down the exact metallurgical steps, tool selections, and thermal management techniques required to create permanent, leak-proof copper joints. Grab your safety glasses; we are rolling the camera.
🎥 Scene 1: Tool Selection & The Thermal Equation
👁️ Camera Focus: Close-up on a workbench showing two torches: a standard yellow Bernzomatic TS4000 (Propane) and a heavy-duty Bernzomatic TS8000 (MAP-Pro). The camera pans to a cylinder of MAP-Pro fuel.
The most common failure point in soldering copper fittings is under-heating. If the copper mass does not reach the solder's flow temperature before the flux burns off, the joint will fail. As of 2026, the Bernzomatic TS8000 (retailing around $75) remains the gold standard for residential and light commercial copper work.
Fuel Gas Comparison Matrix
| Fuel Type | Max Flame Temp | BTU Output | Best Application |
|---|---|---|---|
| Standard Propane | 3,600°F (1,982°C) | ~15,000 BTU | 1/2' pipe, quick repairs, thin gauge |
| MAP-Pro (Propylene) | 3,730°F (2,054°C) | ~20,000 BTU | 3/4' to 1-1/4' pipe, continuous joints |
| Acetylene | 4,500°F (2,482°C) | ~25,000+ BTU | 2'+ mains, HVAC refrigerant lines |
Expert Insight: For standard 1/2' and 3/4' residential water lines, MAP-Pro is the sweet spot. It provides the thermal mass necessary to heat a 3/4' brass ball valve in under 15 seconds without scorching the surrounding drywall.
🎥 Scene 2: Surface Prep & The 'Mirror' Standard
👁️ Camera Focus: Macro shot of a copper pipe end. The first half is dull and oxidized. A wire brush spins across it, revealing a brilliant, mirror-like finish. The camera flashes a light off the shiny surface.
Capillary action requires absolute metallic intimacy. Oxidation (the dull brown patina on copper) acts as a physical barrier that molten solder will not wet.
- Cut Square: Use a rotary tube cutter, not a hacksaw. A skewed cut reduces the bonding surface area by up to 30%.
- Ream the Inside: The internal cutting blade leaves a burr. If left un-reamed, this burr creates localized turbulence in water flow, leading to erosive corrosion (pinhole leaks) years down the line.
- Abrade to a Mirror: Use 120-grit emery cloth on the outside of the pipe and a dedicated wire fitting brush on the inside of the fitting. Visual Rule: If you cannot see your reflection in the copper, it is not clean enough.
🎥 Scene 3: Flux Chemistry & Assembly
👁️ Camera Focus: A brush applying a thin, even layer of amber paste to the pipe. The pipe is inserted into the fitting, and a tiny bead of flux squeezes out the edge. A gloved finger wipes it away.
Flux is a chemical cleaner, not an adhesive. When heated, the rosin or petroleum base in the flux becomes mildly acidic, stripping away micro-oxidation that sandpaper missed. We recommend Oatey No. 95 Tinning Flux (approx. $9 for 1.7oz). This specific formulation contains microscopic powdered solder suspended in the paste, which helps bridge micro-gaps and provides a visual indicator when the joint reaches the correct temperature.
The Assembly Step: Push the pipe into the fitting until it bottoms out. Give it a quarter-turn to distribute the flux evenly. Wipe away excess flux on the exterior with a rag; leaving it will cause green corrosive buildup (verdigris) over time.
🎥 Scene 4: The Heat & Capillary Draw (The Climax)
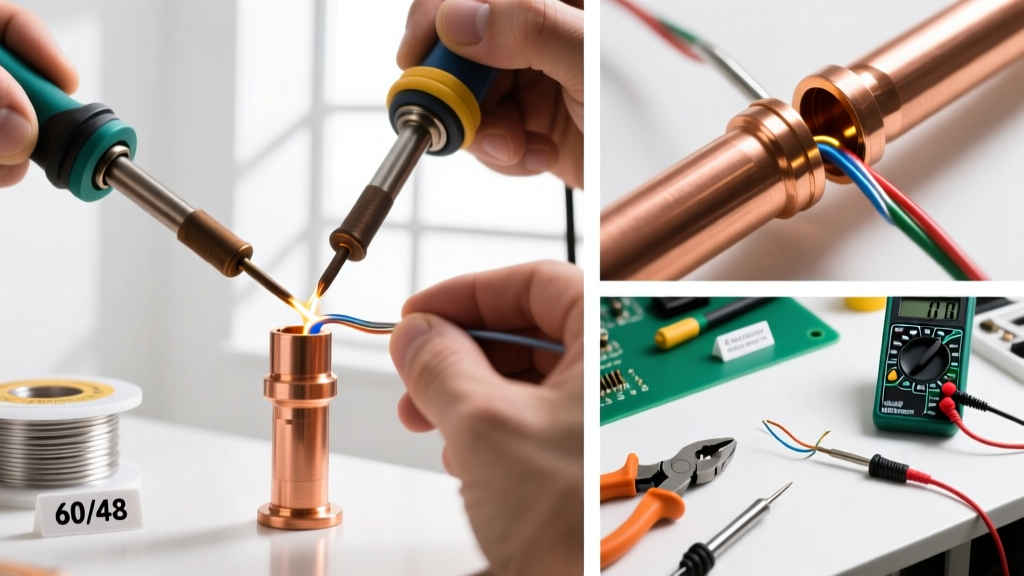
👁️ Camera Focus: The blue inner cone of the TS8000 torch flame dances across the copper fitting. The camera switches to a thermal imaging overlay, showing the heat spreading evenly through the brass fitting body, not just the pipe.
This is where amateurs fail. They heat the pipe, melt the solder onto the pipe, and let it drip down into the fitting. Heat the fitting, not the pipe. The fitting has more mass and needs more time to reach the thermal threshold.
Step-by-Step Heating Choreography
- 0:00 - 0:03 (The Sweep): Keep the torch moving in a circular motion around the middle of the fitting. Never hold the flame static, or you will melt the copper (melting point: 1,984°F).
- 0:03 - 0:05 (The Touch): Remove the flame and touch your lead-free solder wire to the joint at the 12 o'clock position. Do not melt the solder with the torch.
- 0:05 - 0:07 (The Flash): If the fitting is at the correct temperature (approx. 450°F to 500°F), the solder will instantly liquefy and be sucked into the joint via capillary action. You will see a shiny silver ring 'flash' completely around the seam in 1 to 2 seconds.
Note on Solder Alloys: Following the EPA's Safe Drinking Water Act guidelines, all potable water lines must use lead-free solder (less than 0.2% lead). We use Oatey Safe Flo (95% Tin / 5% Antimony), which flows beautifully at 452°F and provides excellent shear strength.
🎥 Scene 5: Solder Consumption Data
How much solder should you use? Overfeeding causes internal drips that restrict water flow; underfeeding starves the bottom of the joint. The Copper Development Association (CDA) provides standard consumption metrics based on joint depth and capillary volume.
| Pipe Diameter | Fitting Depth | Required Solder Length (Approx) | Estimated Heat Time (MAP-Pro) |
|---|---|---|---|
| 1/2 inch | 0.5 inches | 1/2 to 3/4 inch | 3 - 5 seconds |
| 3/4 inch | 0.625 inches | 3/4 to 1 inch | 5 - 8 seconds |
| 1 inch | 0.75 inches | 1 to 1-1/4 inches | 8 - 12 seconds |
🎥 Scene 6: Troubleshooting & Failure Mode Analysis
👁️ Camera Focus: Split screen showing three different joints: one with a perfect silver ring, one with black crusty residue, and one where the solder is balled up like a water droplet on a waxed car.
Let's review the tape and analyze what happens when soldering copper fittings goes wrong.
Failure Mode 1: The 'Balled Up' Solder (Cold Joint)
- Visual Symptom: Solder melts but refuses to enter the joint, forming a bead on the outside.
- Root Cause: The fitting did not reach the flow temperature, or the copper was oxidized/contaminated with oil from your fingers.
- The Fix: Let it cool, disassemble with a heat gun, re-sand, and start over. You cannot force a cold joint.
Failure Mode 2: The Black Crust (Burned Flux)
- Visual Symptom: A thick, black, carbonized crust around the fitting. The solder looks dull and grainy.
- Root Cause: Overheating. Flux vaporizes and loses its chemical cleaning properties above 700°F. Once the flux burns, oxidation instantly reforms on the hot copper, blocking capillary action.
- The Fix: Quench the joint with a damp rag immediately after the solder flashes to stop the thermal cascade.
Failure Mode 3: The Pinhole Leak (Water in the Line)
- Visual Symptom: The joint looks perfect, but a tiny drop of water forms when the system is pressurized.
- Root Cause: Even a single drop of water inside the pipe will turn to steam when heated. The expanding steam blows microscopic holes in the molten solder before it solidifies.
- The Fix: Always use pipe plugs, or push a piece of white bread into the line upstream to absorb the water (the bread will dissolve harmlessly when the water is turned back on).
🎬 Wrap-Up: The Wipe & Cool Down
👁️ Camera Focus: The torch is set down. A damp, heavy cotton rag is briefly touched to the hot joint, producing a sharp hiss and a puff of steam. The joint turns a dull, matte silver.
Once the solder ring flashes completely, remove the heat. Wait exactly 3 seconds, then wipe the joint with a damp cotton rag. This serves two purposes: it cleans away the acidic flux residue before it can etch the copper, and it rapidly drops the temperature, locking the crystalline structure of the lead-free solder for maximum shear strength.
Mastering the art of soldering copper fittings isn't about having the hottest torch; it is about respecting the physics of capillary action, maintaining pristine metallurgy, and controlling your thermal inputs. Keep this visual guide bookmarked for your next rough-in, and remember: let the fitting draw the solder, not the flame.