
🎬 Scene 1: The Gas Lineup – What Fuel Fits the Job?
🎥 Camera Angle: Wide shot of a workbench lined with three distinct fuel cylinders: a blue propane tank, a yellow MAP-Pro cylinder, and a red acetylene tank. The camera slowly pans across each as on-screen text highlights their core chemical differences.
🎙️ Narrator: "If you are asking what gas is used for soldering copper pipe, the answer depends entirely on the diameter of your pipe and the ambient temperature of your workspace. Soldering, or 'sweating,' copper requires heating the joint to roughly 450°F to 500°F so the solder can melt and wick via capillary action. But not all gases deliver heat at the same rate."
The Fuel Gas Comparison Matrix (2026 Pricing & Specs)
| Fuel Gas | Max Flame Temp | Best Pipe Diameter | Avg. Cylinder Cost | Verdict |
|---|---|---|---|---|
| Propane (C3H8) | ~3,600°F | 1/2" or smaller | $5.00 - $8.00 | Budget-friendly but struggles with thermal mass on larger pipes. |
| MAP-Pro (Propylene) | ~3,730°F | 1/2" to 1-1/4" | $13.00 - $16.00 | The undisputed champion for residential DIY and pro plumbing. |
| Acetylene | ~5,720°F | 2"+ (or Brazing) | $40.00+ (Rental/Refill) | Overkill for standard soldering; reserved for heavy commercial brazing. |
| Butane | ~2,400°F | N/A (Electronics only) | $4.00 - $6.00 | Too weak for copper plumbing; fails to overcome heat dissipation. |
💡 Pro-Tip from the Bench: Never use standard propane on 3/4" or larger copper lines in unheated spaces (like winter crawlspaces). The thermal mass of the larger pipe and the cold ambient air will dissipate the heat faster than the propane torch can apply it, resulting in a burnt flux joint before the copper ever reaches 450°F. Always upgrade to MAP-Pro for these scenarios.
🎬 Scene 2: Joint Prep – The Secret to Capillary Action
🎥 Camera Angle: Extreme macro close-up of a copper pipe end. We see the dull, oxidized surface being polished to a bright, mirror-like finish using emery cloth.
🎙️ Narrator: "Before we even touch the torch, we must prep the joint. Solder does not stick to copper; it sticks to clean, bare copper. Oxidation is the enemy of capillary action."
Step-by-Step Visual Prep Flow
- Cut & Ream: Use a tubing cutter for a perfectly square edge. Visual Cue: Camera shows the internal reaming blade removing the copper burr. A burr restricts water flow and creates turbulence that can cause pinhole leaks years later.
- Abrasive Cleaning: Wrap 120-grit emery cloth around the pipe end. Twist until the copper shines. Do not touch it with your bare fingers afterward—the oils from your skin will compromise the flux.
- Flux Application: Apply Oatey No. 95 Tinning Flux ($12 for an 8oz tub). This specific flux contains a mild solder powder that pre-tins the joint, dramatically improving capillary draw. Use a dedicated flux brush to coat the outside of the pipe and the inside of the fitting evenly.
- Assembly: Push the fitting onto the pipe and give it a quarter-turn twist to spread the flux and eliminate air pockets.
🎬 Scene 3: The Heat Application – Torch Technique
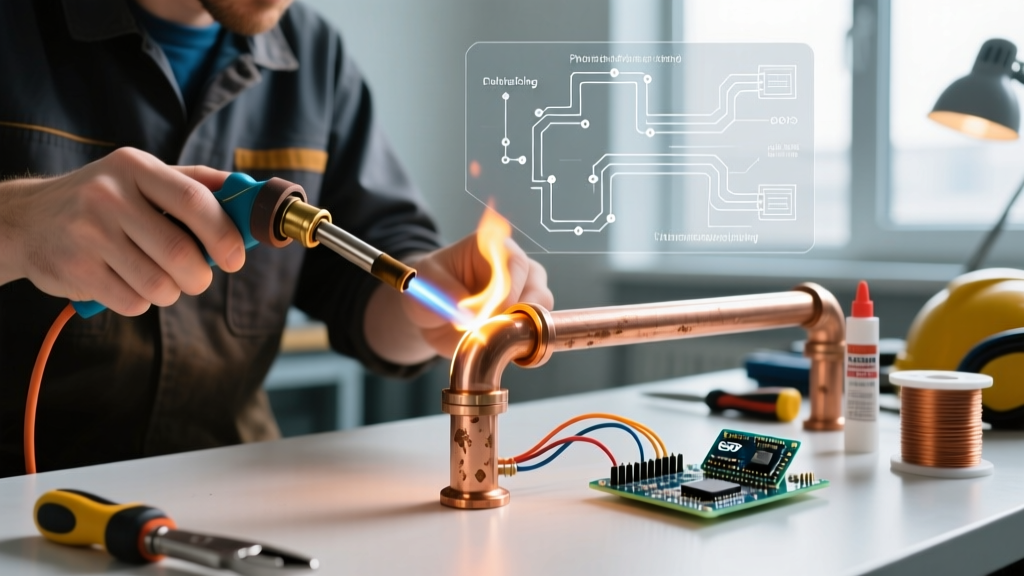
🎥 Camera Angle: Over-the-shoulder shot. The operator is holding a Bernzomatic TS8000 trigger-start torch (retailing around $60 in 2026) connected to a yellow MAP-Pro cylinder.
🎙️ Narrator: "The TS8000 features an ultra-swirl flame that wraps around the fitting, ensuring even heat distribution. Watch where we place the flame."
The Physics of Heating the Fitting
The most common beginner mistake is pointing the flame directly at the solder wire or the middle of the pipe. You must heat the fitting (the female cup), not the pipe.
- The Blue Cone: Keep the tip of the inner blue cone roughly 1/4-inch away from the copper fitting. This is the hottest part of the flame envelope.
- The Touch Test: Heat the fitting for 5 to 8 seconds (for 1/2" pipe). Remove the flame and touch the Oatey Safe Flo Silver Lead-Free Solder to the seam where the pipe enters the fitting. If it melts instantly and wicks in, the joint is ready. If it bends like a wire, keep heating.
- Lead-Free Compliance: Under the EPA Safe Drinking Water Act (SDWA) Section 1417, all solder used on potable water lines must contain less than 0.2% lead. 95/5 (Tin/Antimony) or Silver-bearing alloys are the 2026 standard, melting at roughly 450°F to 490°F.
🎬 Scene 4: The Solder Flash & Failure Mode Troubleshooting
🎥 Camera Angle: Slow-motion close-up. The silver solder wire touches the joint and instantly vanishes into the seam, reappearing as a shiny silver ring on the opposite side.
🎙️ Narrator: "That shiny ring is called the 'solder flash.' It confirms that capillary action has pulled the molten alloy completely through the joint cavity. But what happens when things go wrong?"
Troubleshooting Matrix: Visual Cues & Fixes
| Visual Symptom | Root Cause | The Fix |
|---|---|---|
| Solder balls up and rolls off | Cold Joint / Oxidation. The pipe didn't reach 450°F, or flux was skipped. | Disassemble, clean with emery cloth, re-flux, and re-heat using MAP-Pro. |
| Black, crusty residue | Burnt Flux. The torch was held on the joint for too long, carbonizing the chemicals. | Stop heating immediately. Let it cool, disassemble, and use a wire brush to remove the carbon. |
| Solder wicks halfway, then stops | Thermal Gradient. The far side of the fitting is too cold. | Move the flame to the opposite side of the fitting to balance the thermal mass before applying solder. |
| Copper turns dark cherry red | Overheating / Annealing. You are dangerously close to melting the copper itself (1,984°F). | Remove heat immediately. Overheated copper loses its structural rigidity and can burst under 80 PSI water pressure. |
🎬 Outro: Cool Down & Pressure Testing
🎥 Camera Angle: The operator wipes the warm joint with a damp rag to remove excess, acidic flux residue, which can cause green corrosion (verdigris) over time. The camera fades to a pressure gauge on a manifold reading 80 PSI.
🎙️ Narrator: "Always wipe your joints while they are warm to neutralize the flux. Once the system cools, pressurize it to 80-100 PSI and check for weeping. For a comprehensive breakdown of copper metallurgy and joint tolerances, always refer to the Copper Development Association (CDA) Copper Tube Handbook. By selecting the right gas—specifically MAP-Pro for anything larger than 1/2 inch—and respecting the physics of capillary action, your soldered joints will easily outlast the 50-year lifespan of the piping itself."
[SCENE END - Fade to Electrical Flux Logo]