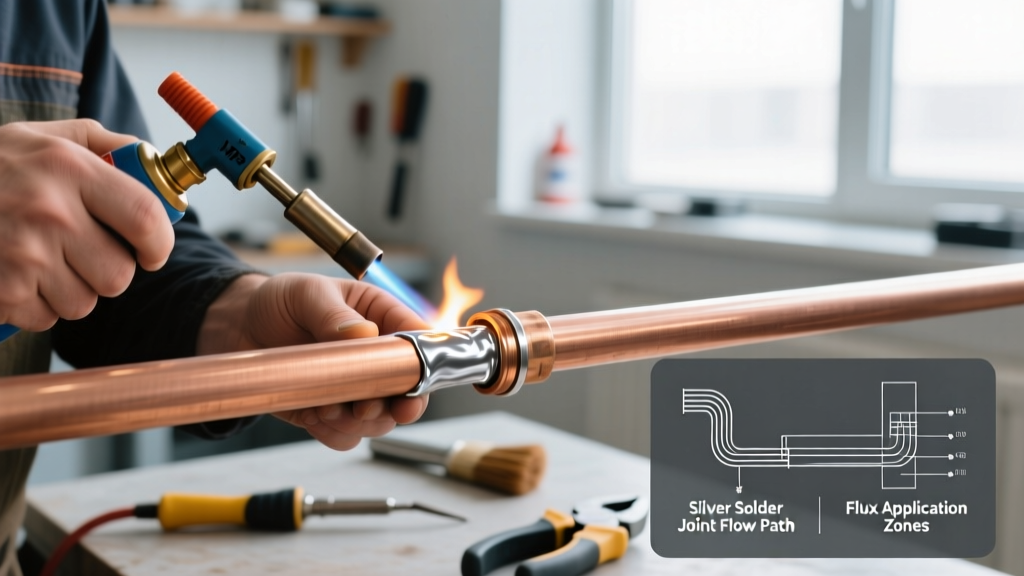

The Metallurgy: Clarifying 'Silver Solder' vs. Brazing
In the plumbing, HVAC, and refrigeration trades, the phrase 'silver soldering' is ubiquitous, yet metallurgically imprecise. When professionals talk about soldering copper pipes with silver solder, they are almost always referring to brazing or hard soldering. According to the American Welding Society (AWS), the technical dividing line is temperature: processes occurring below 840°F (450°C) are soldering, while those above 840°F are brazing. Silver-bearing alloys used for high-pressure copper joints typically melt between 1,100°F and 1,500°F.
Why use silver? Standard lead-free soft solder (like 95/5 tin-antimony) lacks the tensile strength and vibration resistance required for refrigeration lines, compressed air systems, or high-pressure medical gas lines. Silver alloys penetrate the copper grain structure via capillary action, creating a joint that is often stronger than the base copper pipe itself. As of 2026, the surging spot price of silver means a single ounce of 15% silver alloy (like Harris Stay-Silv 15) costs between $55 and $70, making precision and waste-reduction critical for your bottom line.
The 2026 Alloy & Tool Pairing Matrix
The most frequent cause of joint failure is a mismatch between the heat source, the gas mixture, and the pipe diameter. An Oxy-Acetylene torch with a #5 multi-hole tip will melt a 3/8-inch HVAC line in seconds, while a standard MAP-Pro torch will fail to bring a 1-5/8-inch chilled water line to the necessary flow temperature.
| Pipe Diameter | Recommended Gas Mix | Ideal Torch & Tip | Optimal Silver Alloy |
|---|---|---|---|
| 1/4' to 3/8' (HVAC/Refrigeration) | MAP-Pro / Air | Bernzomatic TS8000 (Swirl Tip) | Sil-Fos 5 (5% Ag, Self-Fluxing) |
| 1/2' to 1-1/8' (Commercial Plumbing) | Oxy-Acetylene or Oxy-Propane | Victor Journeyman 250 (#3 or #4 Tip) | Stay-Silv 15 (15% Ag + White Flux) |
| 1-3/8' to 2'+ (Industrial/Chilled Water) | Oxy-Propane (for broader heat) | Smith AW-1A (Large Heating Nozzle) | Stay-Silv 45 (45% Ag + White Flux) |
Flux Selection & Chemistry
Not all silver solders require flux, and understanding the chemistry is a hallmark of a master technician. The Harris Products Group categorizes silver alloys into two primary families for copper work:
- Copper-Phosphorus-Silver (e.g., Sil-Fos): The phosphorus acts as a built-in deoxidizer. When joining copper-to-copper, these alloys are self-fluxing. Adding external flux to a copper-to-copper Sil-Fos joint will actually trap slag and cause pinhole leaks. However, Sil-Fos cannot be used on copper-to-steel or copper-to-brass joints, as the phosphorus forms brittle compounds with iron and nickel.
- Copper-Zinc-Silver (e.g., Stay-Silv): These contain no phosphorus and require a white fluoride-based flux (like Stay-Silv White Flux) even on copper-to-copper joints. They are mandatory for dissimilar metal joints (copper-to-steel) and offer superior ductility and vibration resistance.
Step-by-Step: The Capillary Draw Technique
When soldering copper pipes with silver solder, the goal is to let thermodynamics do the work. You are not 'melting the rod into the gap'; you are heating the base metal so the joint acts as a sponge, wicking the molten alloy inward.
1. Cut, Ream, and Measure Clearance
Cut the pipe square using a tubing cutter. Crucially, you must ream the inside edge to remove the burr. According to the Copper Development Association (CDA), the optimal joint clearance for silver brazing is between 0.0015 and 0.005 inches. If the gap is wider than 0.008 inches, capillary action fails, and the alloy will simply puddle on the outside.
2. Mechanical Cleaning
Use a dedicated copper wire brush or Scotch-Brite pad to polish the outside of the tube and the inside of the fitting until it shines. Never use standard steel wool or sandpaper, as they leave behind silica and iron particles that will contaminate the silver joint and cause galvanic corrosion.
3. Flux Application (If Required)
If using Stay-Silv, apply a thin, even coat of white flux to both the tube and the fitting. The flux should melt and turn clear at around 1,100°F, signaling that the copper is approaching the correct brazing temperature.
4. The Heat Sweep
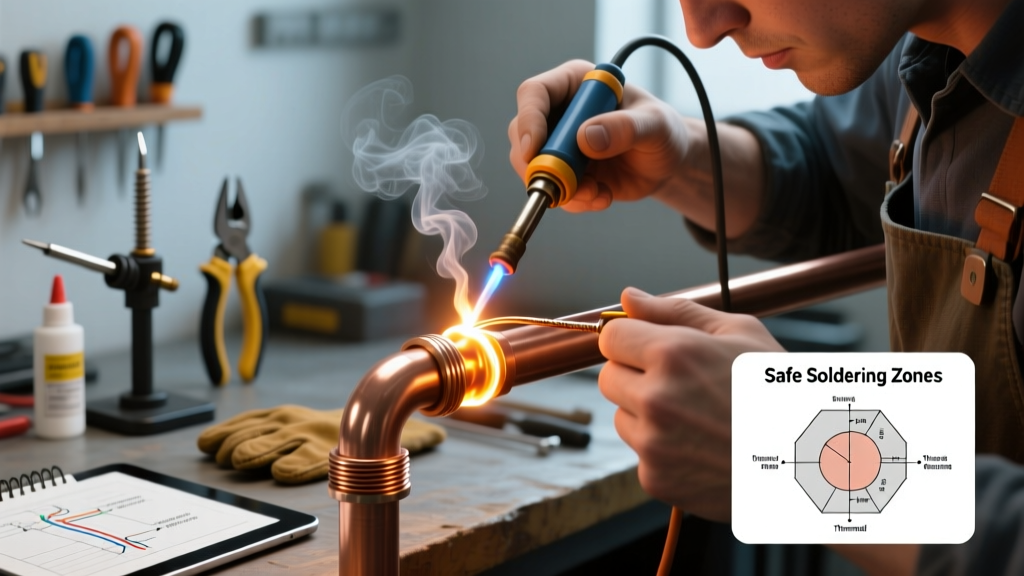
Do not point the inner blue cone of the flame directly at the joint. Keep the flame moving in a sweeping, figure-eight pattern around the base of the fitting. The massive thermal conductivity of copper means you must heat the entire fitting evenly. If you heat only one side, the silver will flow only toward the heat source, leaving the opposite side of the joint dry.
5. Apply the Alloy
Remove the flame and touch the silver rod to the joint seam, not the torch tip. If the copper is at the correct temperature (1,150°F - 1,300°F depending on the alloy), the rod will instantly melt and flash into the joint via capillary action. Watch for a continuous silver 'ring' to appear around the entire perimeter of the fitting.
Pro-Tip for Vertical Joints: When brazing vertical copper pipes, always apply heat to the lower half of the fitting and feed the silver solder into the top seam. Heat rises, and this technique forces the molten alloy to travel upward against gravity, ensuring complete joint penetration.
Advanced Edge Cases & Failure Modes
Even experienced technicians encounter edge cases when working with high-temperature silver alloys. Here is how to diagnose and prevent the most common failures:
Failure Mode: Flux Inclusions and Pinhole Leaks
The Symptom: The joint looks perfect on the outside, but pressure testing reveals micro-leaks, or the joint fails months later due to internal corrosion.
The Cause: Overheating the flux causes it to boil and become trapped inside the joint cavity as the silver flows over it. Alternatively, using external flux on a self-fluxing Sil-Fos alloy creates excess slag.
The Fix: Use the minimum amount of flux required. If brazing copper-to-copper, switch to a phosphorus-bearing alloy and skip the external flux entirely.
Failure Mode: Base Metal Melt-Through
The Symptom: The copper pipe wall collapses or melts before the silver alloy flows.
The Cause: Using an Oxy-Acetylene rig on thin-walled ACR (Air Conditioning and Refrigeration) tubing without adjusting the gas ratio or tip size.
The Fix: Switch to Oxy-Propane or an Air-MAP-Pro setup for pipes under 1/2 inch. Propane burns cooler and provides a broader, softer heating envelope that is vastly superior for delicate HVAC linesets.
Failure Mode: The 'Cold Joint' Puddle
The Symptom: The silver melts but balls up on the surface of the fitting like water on a hot skillet, refusing to enter the joint.
The Cause: The base metal has not reached the flow temperature of the alloy, or the copper surface was oxidized during heating due to a lack of flux or a highly oxidizing flame.
The Fix: Adjust your torch to a slightly carburizing (excess fuel) flame to reduce surface oxidation, and continue heating the base metal until the flux turns completely clear and watery before applying the rod.
Post-Joint Cleanup & Inspection
Unlike soft soldering, silver brazing fluxes (particularly white and black fluoride fluxes) are highly corrosive if left on the pipe. Once the joint has cooled to a dull black (never quench a silver-brazed joint in water, as the thermal shock can crack the alloy), scrub the joint with a wet wire brush and a mild alkaline solution to neutralize and remove the flux residue.
Finally, perform a visual inspection. A successful silver-soldered copper joint should show a smooth, continuous fillet of silver at the seam. If you see a thick, bulbous bead of silver resting on the outside of the fitting, it indicates poor capillary draw—likely due to an oversized joint gap or insufficient base metal heating. In high-pressure HVAC systems, this joint should be cut out and redone rather than risking a catastrophic field failure.
By pairing the correct torch dynamics with the precise metallurgical properties of silver-bearing alloys, you transform a simple pipe connection into a permanent, high-pressure-rated assembly capable of withstanding decades of thermal cycling and vibration.