
The 840°F Thermal Boundary: Where Soldering Ends and Brazing Begins
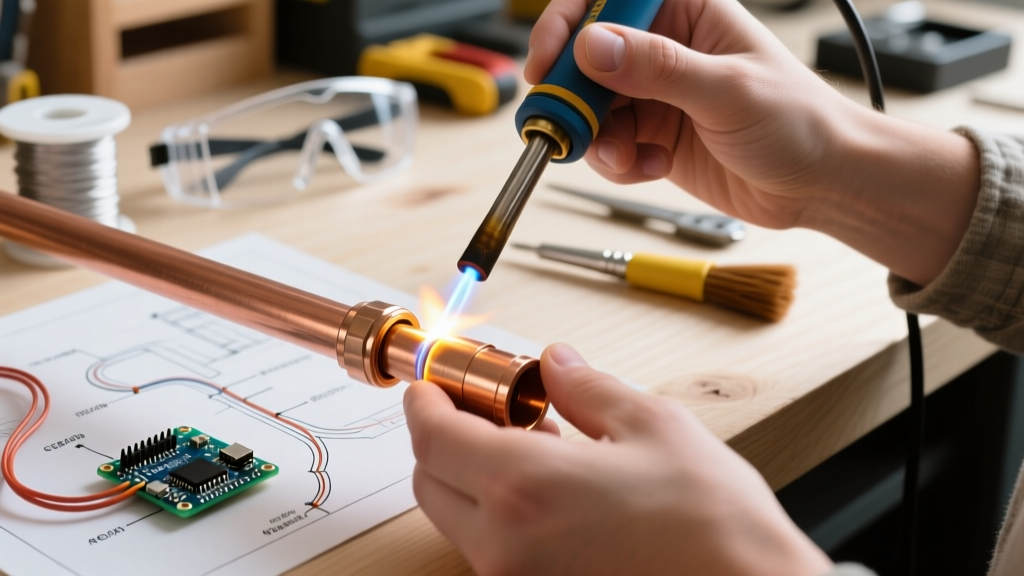
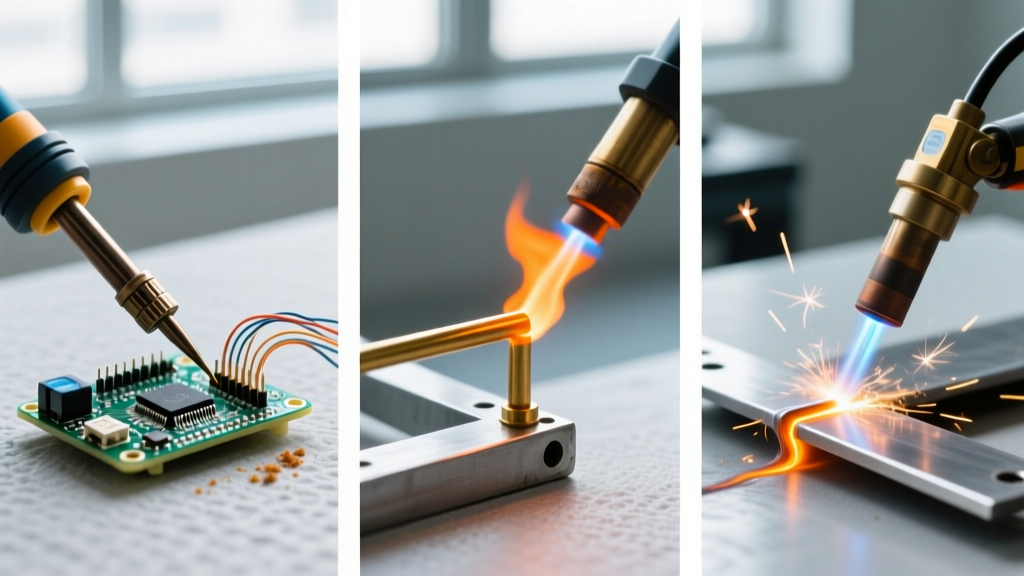
When joining metals, the line between success and catastrophic failure often comes down to a single thermal threshold. According to the American Welding Society (AWS), the fundamental way to differentiate between soldering and brazing is the melting point of the filler metal. If the filler melts below 840°F (450°C), you are soldering. If it melts above 840°F (450°C), you are brazing. In both processes, the base metals do not melt; instead, the filler metal is drawn into the joint via capillary action.
Despite this clear metallurgical boundary, DIYers and even junior technicians frequently confuse the two. This confusion leads to leaking HVAC refrigerant lines, shattered printed circuit boards (PCBs), and structural joint failures. In this guide, we break down the most common mistakes made when selecting between these processes and provide actionable, expert-level solutions.
Mistake #1: Using Solder on High-Stress or High-Temperature Joints
The Scenario
A common error in plumbing and HVAC repair is using standard tin-lead (Sn60Pb40) or lead-free plumbing solder (95/5 Tin/Antimony) on copper refrigerant lines or high-pressure water mains. The technician assumes that because the solder flows easily and looks shiny, the joint is secure.
The Failure Mode
Soldered joints typically exhibit a shear strength of less than 10,000 PSI. More critically, standard plumbing solder begins to lose structural integrity and experiences 'creep' at temperatures as low as 250°F. In an HVAC system where compressor discharge lines can exceed 220°F under heavy load, a soldered joint will eventually weep refrigerant or burst under vibration.
The Expert Solution
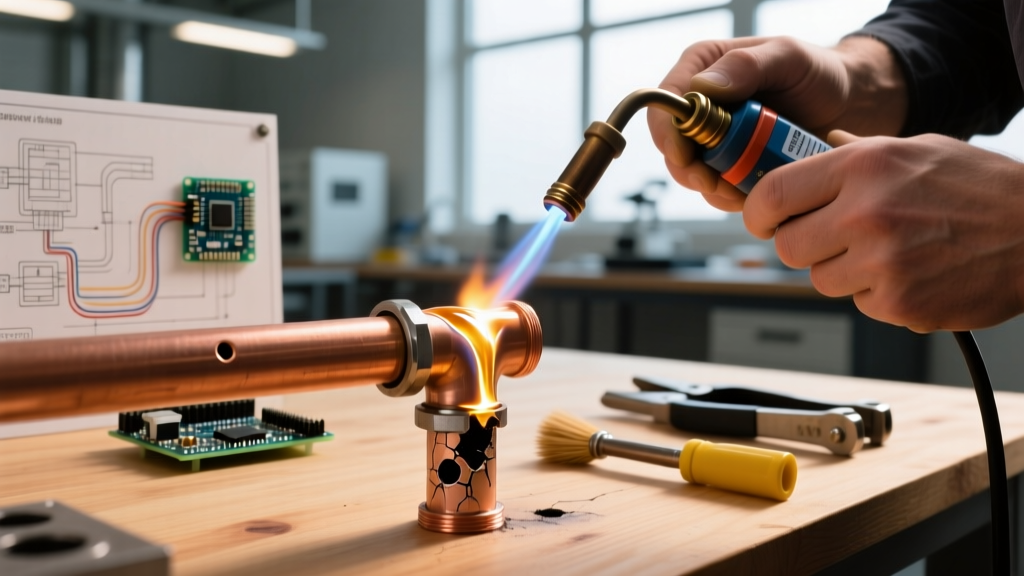
Switch to brazing using a BCuP-5 (Copper-Phosphorus with 15% Silver) filler metal, such as Harris Safety-Silv 5 or Lucas-Milhaupt Sil-Fos 5. BCuP-5 melts between 1,190°F and 1,495°F and yields joints with shear strengths exceeding 45,000 PSI.
- Tooling: Ditch the standard propane torch. Use a Bernzomatic TS8000 (running on MAP-Pro gas) which burns at 3,730°F, or an Oxy-Acetylene setup like the Victor Journeyman for thicker copper busbars.
- Cost Note (2026): Silver prices have driven up the cost of high-silver brazing alloys. BAg-24 (50% silver) can exceed $350/lb. Stick to BCuP-5 (~$130/lb) for copper-to-copper joints, as the phosphorus acts as a self-fluxing agent, eliminating the need for separate flux.
Mistake #2: Applying Brazing Heat to Electronics and PCBs
The Scenario
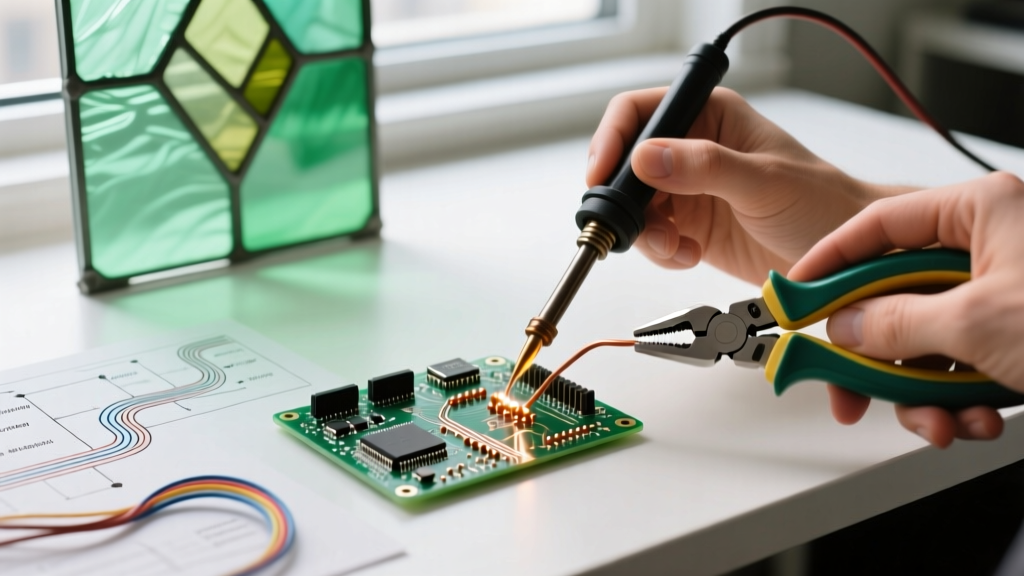
Makers and electronics repair technicians sometimes attempt to join heavy-gauge wires (e.g., 8 AWG silicone wire) to thick copper ground planes on a PCB. Frustrated that their 40W soldering iron won't melt the solder fast enough, they grab a butane micro-torch or a heat gun, mistakenly treating the process like micro-brazing.
The Failure Mode
Applying 1,200°F+ localized heat to an FR4 fiberglass PCB causes immediate delamination. The copper pads lift off the board, the solder mask blisters, and adjacent surface-mount devices (SMDs) are destroyed by thermal shock. Furthermore, standard SAC305 lead-free solder (melting point 424°F) will oxidize instantly into a useless, crusty slag under a torch flame.
The Expert Solution
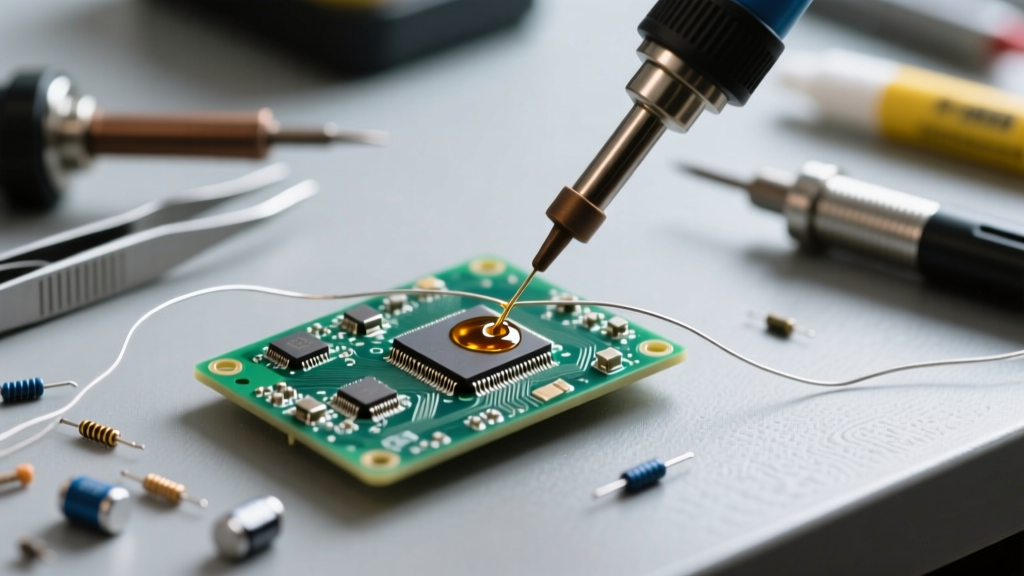
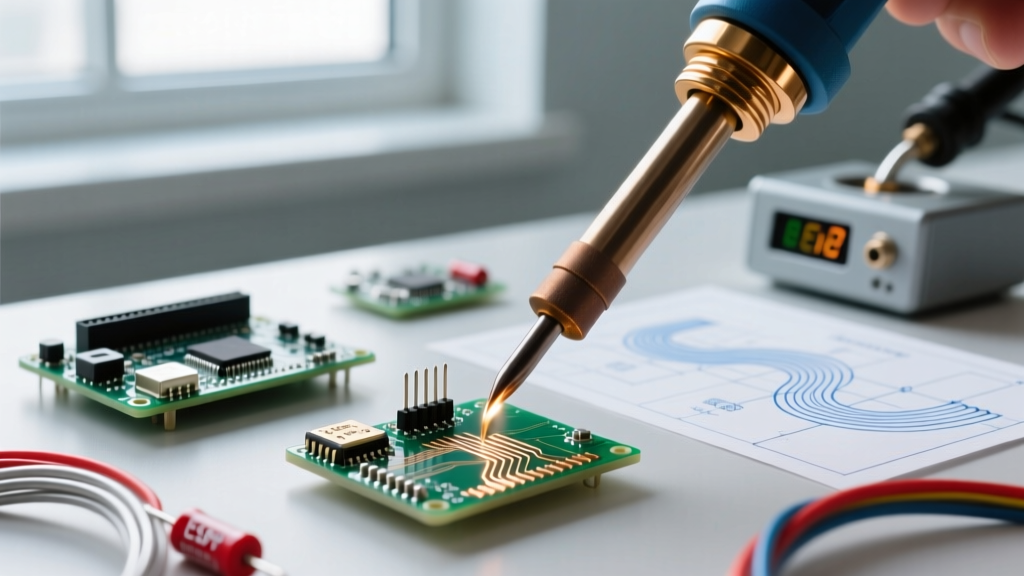
Never use an open flame on a PCB. Instead, solve the thermal mass problem with high-wattage conductive heating and board preheating.
- Upgrade the Iron: Use a high-thermal-recovery station like the Weller WEP90 (90W) or Hakko FX-951 (70W) equipped with a heavy bevel or chisel tip (e.g., Hakko T12-D24) to maximize surface contact.
- Preheat the Board: Place the PCB on a preheater like the Hakko FR-830 set to 150°C (302°F). This reduces the thermal delta, allowing your iron to flow SAC305 solder in seconds without lingering and damaging the pad.
- Use Proper Flux: Apply a no-clean liquid flux like Kester 951 to the heavy wire before tinning. This prevents oxidation during the longer heating time required for high-mass joints.
Mistake #3: Flux Mismatch and Carbon Inclusion
Flux is designed to operate within a specific thermal window. A pervasive mistake is using electronics rosin flux for brazing, or using aggressive brazing flux on delicate electrical connections.
Rule of Thumb: If the flux turns black and crusty before the filler metal melts, your thermal window is mismatched. The flux has burned to carbon, which actively blocks capillary action.
Brazing Flux Solutions
For brazing copper, brass, or steel at 1,200°F+, you need a high-temperature white flux paste like Harris Stay-Clean. It is formulated to remain active and dissolve oxides between 1,050°F and 1,600°F. Apply it sparingly; excess flux gets trapped inside the joint capillary, creating a 'flux inclusion' void that weakens the joint and causes micro-leaks in refrigerant systems.
Soldering Flux Solutions
For electronics, never use plumbing acid flux (zinc chloride). It is highly corrosive and will eat through copper traces within weeks. Use a mildly activated rosin (RMA) flux like MG Chemicals 8341 or a no-clean synthetic flux. For plumbing solder (95/5), a mild tinning flux like Oatey No. 95 is appropriate, but it must be wiped clean after cooling to prevent long-term galvanic corrosion.
Comparison Matrix: Soldering vs. Brazing
To quickly differentiate between soldering and brazing for your specific project, refer to this technical comparison matrix:
| Parameter | Soldering | Brazing |
|---|---|---|
| Thermal Threshold | Below 840°F (450°C) | Above 840°F (450°C) |
| Common Filler Alloys | Sn63Pb37, SAC305, 95/5 Sn/Sb | BCuP-5, BAg-24, Brass (Cu/Zn) |
| Typical Heat Source | Iron (Weller, Hakko), Hot Air | Oxy-Acetylene, MAP-Pro Torch, Induction |
| Joint Shear Strength | Low to Medium (< 10,000 PSI) | High (30,000 - 60,000+ PSI) |
| Primary Applications | PCBs, low-pressure plumbing, stained glass | HVAC, structural steel, automotive, aerospace |
| Base Metal Alteration | None (strictly surface wetting) | Minimal (some grain growth in heat-affected zone) |
Troubleshooting Failed Joints: Cold Laps and Pinholes
Whether you are soldering a microchip or brazing a steel bicycle frame, poor technique yields similar visual defects. Here is how to diagnose and fix them:
1. The 'Cold Lap' (Soldering) or 'Cold Joint' (Brazing)
Symptom: The filler metal balls up on the surface instead of flowing into the joint. It looks dull, grainy, or frosty.
Cause: The base metal did not reach the melting temperature of the filler alloy. The heat was applied to the filler rod instead of the joint.
Fix: Heat the base metals until they are hot enough to melt the filler rod on contact. For brazing copper, heat the pipe until a piece of BCuP-5 rod melts instantly when touched to the joint (around 1,300°F). For PCB soldering, touch the iron to the pad and lead simultaneously for 2 seconds before feeding the SAC305 wire.
2. Capillary Starvation and Pinholes
Symptom: The joint looks full on the outside, but leaks under pressure. X-ray or dye penetrant testing reveals internal voids.
Cause: Improper joint clearance or uneven heating. Capillary action requires a precise gap. For brazing, the optimal radial clearance is 0.001 to 0.005 inches. If the gap is too wide, capillary force fails; if it's too tight, flux and gas cannot escape.
Fix: Use proper tube reamers and sizing tools before assembly. When heating, play the torch flame evenly around the entire circumference of the joint. Apply the filler metal at the top of the joint and let gravity and capillary action pull it downward through the heated fitting.
Final Thoughts on Process Selection
Understanding how to differentiate between soldering and brazing is not just academic; it dictates the safety, longevity, and reliability of your work. As noted by industry authorities like Lucas-Milhaupt and the Copper Development Association, respecting the 840°F boundary and matching your filler metal, flux, and heat source to the mechanical demands of the joint is the hallmark of a true professional. Stop guessing, respect the metallurgy, and your joints will hold for decades.