
The Appeal and the Agony of Solder Sleeves
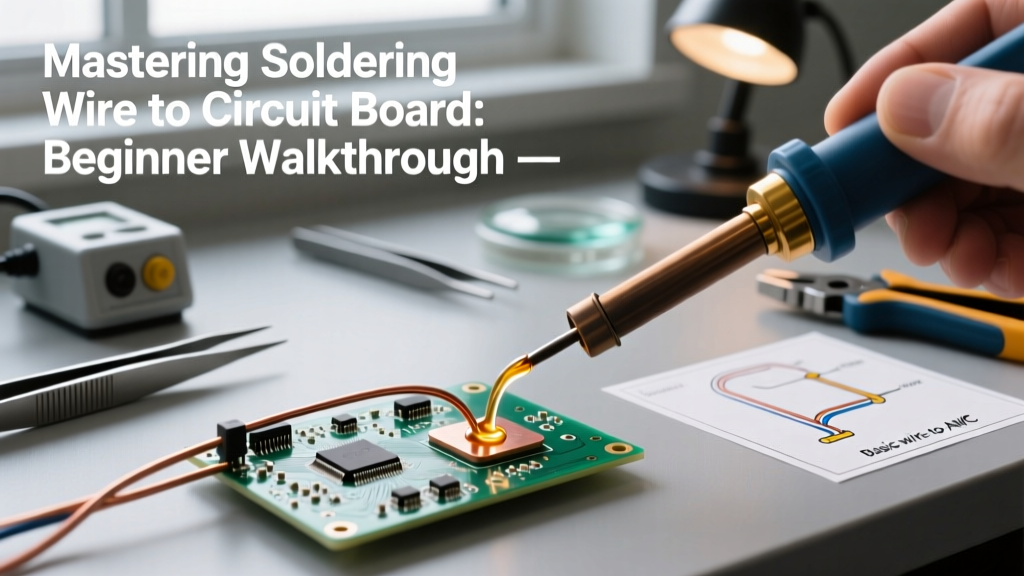
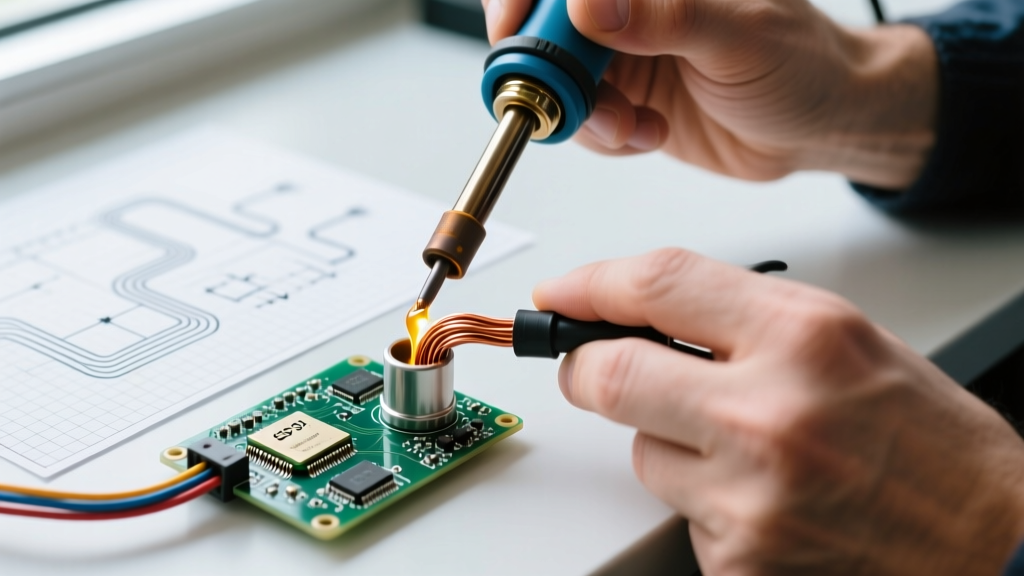
Learning how to use self soldering wire connectors (commonly known as solder sleeves or solder seal connectors) feels like discovering a cheat code for wiring. You slide them on, apply heat, and watch the polyolefin shrink while the preform solder ring melts into a perfect, waterproof joint. But the reality is often frustrating: the solder beads up, the tubing scorches, or the adhesive seal fails, leaving you with a connection that is neither mechanically sound nor waterproof.
As a troubleshooting guide, this article moves beyond the basic instructions printed on the back of a $15 Amazon kit. We will dissect the thermal dynamics, flux chemistry, and common failure modes of self-soldering connectors, providing actionable fixes for the most persistent issues encountered in automotive, marine, and aerospace wiring harnesses.
The Anatomy of a Solder Seal Connector
To troubleshoot a failure, you must understand the three distinct chemical and thermal layers at play within a single connector:
- The Outer Jacket: Made of cross-linked polyolefin. It has a shrink initiation temperature of roughly 120°C (250°F) and a melting/degradation point around 135°C to 150°C.
- The Solder Preform Ring: A band of flux-core solder. In 2026, most RoHS-compliant kits use SAC305 (Tin/Silver/Copper) which melts at 217°C (423°F), though leaded Sn63/Pb37 variants (melting at 183°C / 361°F) are still sold for non-commercial automotive use.
- The Adhesive Linings: Thermoplastic hot-melt adhesive rings located at both extreme ends of the sleeve, designed to melt and extrude slightly to create a waterproof environmental seal.
Expert Insight: The fundamental paradox of the solder sleeve is that the solder ring requires a significantly higher temperature to melt (217°C) than the outer polyolefin tubing can comfortably withstand without scorching or becoming brittle. Managing this thermal gap is the secret to a perfect joint.
Baseline Procedure: How to Use Self Soldering Wire Connectors Correctly
Before diagnosing failures, ensure your baseline technique aligns with NASA Workmanship Standards for heat-shrink solder devices. Deviations here cause 90% of field failures.
- Prep the Wire: Strip exactly 1/4" to 5/16" of insulation. Clean the copper with a fiberglass scratch pen or 600-grit sandpaper to remove oxidation. The flux in the ring is aggressive, but it cannot penetrate heavy corrosion.
- Pre-Twist (Optional but Recommended): For stranded wire, gently twist the strands to prevent splaying. Do not tin the wire beforehand; pre-tinning defeats the capillary action the sleeve relies on.
- Insert and Align: Slide the connector over the joint. Ensure the solder ring is perfectly centered over the exposed copper, and the wires are butted or overlapped cleanly inside the ring.
- Apply Heat: Using a heat gun set to 250°C (480°F), apply heat to the solder ring first. Keep the gun moving in a circular motion. Once the solder flows through the inspection window, move the heat to the ends to activate the adhesive.
Troubleshooting Matrix: Diagnosing Solder Sleeve Failures
When a joint fails inspection, use this matrix to identify the root cause and apply the correct fix.
| Symptom / Failure Mode | Root Cause | The Expert Fix |
|---|---|---|
| Cold Joint / Solder Beading (Solder melts but refuses to wet the copper wire) |
Oxidized wire surface, or insufficient heat reaching the copper core due to the wire acting as a heat sink. | Clean wire with a fiberglass pen. If using high-AWG wire (e.g., 10 AWG), pre-heat the wire slightly before focusing on the solder ring to reduce the thermal mass delta. |
| Scorched or Melted Polyolefin (Tubing is brown, black, or split open) |
Heat gun set too high (e.g., 500°C setting) or holding the nozzle stationary on one spot. | Switch to the lower heat gun setting (250°C). Wrap adjacent wires in 3M aluminum foil tape to reflect ambient heat and protect the sleeve from localized hot spots. |
| Adhesive Blowout / No Seal (Adhesive melts and runs out before the solder flows) |
Heating the ends of the connector before the center solder ring has reached flow temperature. | Always heat the center solder ring first. The thermal conductivity of the copper wire will naturally transfer heat outward to the adhesive rings, activating them at the perfect moment. |
| Solder Wick-Out (Solder flows away from the joint and under the insulation) |
Wire stripped too far, or excessive heat applied to the insulated portion of the wire. | Limit wire strip length to 1/4". Ensure the solder ring is strictly over the bare copper, not overlapping the wire insulation. |
Deep Dive: The Heat Sink Effect in High-AWG Wires
The most common complaint when learning how to use self soldering wire connectors on thicker wires (Yellow sleeves, 10-12 AWG) is that the solder melts but immediately freezes, forming a dull, grainy cold joint. This is the heat sink effect. Thick copper wires rapidly conduct heat away from the joint. By the time the polyolefin shrinks, the copper has stolen the thermal energy required to keep the solder in a liquid state for capillary wetting.
The Fix: Use a hot air rework station rather than a standard hardware store heat gun. Set the station to 300°C (572°F) with a high airflow rate. The high volume of air transfers heat into the copper mass faster than a low-airflow heat gun, allowing the solder to remain liquid long enough to wick into the stranded wire.
Thermal Profiling: Why Your Heat Source Matters
Not all heat sources are created equal. The choice of tool dictates the success rate of your solder seals.
- Standard Dual-Temp Heat Gun (e.g., Wagner, DeWalt): Usually fixed at 250°C and 500°C. You must use the 250°C setting. It requires patience (15-25 seconds of continuous circular heating), but it prevents polyolefin degradation.
- Butane Lighter / Torch: Highly discouraged. Open flames exceed 1000°C, instantly destroying the flux chemistry before it can activate, and scorching the tubing. If you are in a field emergency and must use a lighter, keep the flame 2 inches away and use the ambient hot air, not the direct flame.
- Digital Hot Air Rework Station (e.g., Hakko, Quick 861DW): The professional choice. Setting the temperature to 280°C with 50% fan speed provides the perfect balance of thermal penetration and material safety.
2026 Market Breakdown: Top Brands and Pricing
The market is flooded with cheap, unbranded kits where the solder rings contain insufficient flux or the polyolefin is low-grade PVC that cracks in cold weather. When sourcing connectors, stick to verified brands:
- Solder Seal (Original): The pioneer of the technology. Expect to pay ~$35-$45 for a 50-piece kit. Best for marine and aerospace applications where MIL-SPEC compliance is required.
- Wirefy Heat Shrink Connectors: Excellent mid-tier option. A 250-piece kit retails for $22-$28. Their polyolefin is highly durable, and the SAC305 solder rings flow consistently.
- Glarks / Awplink: Budget-friendly kits ($15-$18 for 100-120pcs). Adequate for low-stakes automotive interior wiring, but the adhesive rings are often thinner, requiring careful heat management to ensure a waterproof seal.
Code Compliance: Are Solder Sleeves NEC Approved?
A critical troubleshooting point isn't just about the physical joint, but its legal and safety compliance. According to the National Fire Protection Association (NFPA) and the National Electrical Code (NEC), solder-only splices are generally prohibited for 120V/240V AC branch circuit wiring inside walls unless the splice is mechanically secured first (e.g., a Western Union splice) and housed in an accessible junction box.
Self-soldering wire connectors are designed and rated for low-voltage DC applications (automotive, marine, solar, telecommunications, and aerospace). Do not use them to splice Romex or THHN wire inside your home's walls. For AC mains, always use UL-listed wire nuts (Wago Lever-Nuts or standard twist-on connectors) in compliance with IPC and local electrical codes.
Frequently Asked Questions
Can I use self-soldering connectors on solid core wire?
Yes, but with caveats. Solder sleeves rely on capillary action, which is naturally superior in stranded wire. When using solid core wire, you must overlap the two stripped ends inside the solder ring rather than just butting them together. This increases the surface area for the solder to wet, ensuring a mechanically sound joint.
Why did my solder ring turn into a hard, grey lump that moves freely inside the tube?
This is a classic "cold flow" failure caused by under-heating. The polyolefin shrank and trapped the solder ring against the wire, but the temperature never reached the solder's liquidus point (217°C for SAC305). The flux burned off without activating, and the solder merely softened and re-hardened without metallurgically bonding to the copper. You must cut the sleeve off and start over; you cannot re-heat it once the polyolefin has fully shrunk and set.
How do I color-code my solder sleeves?
Standard AWG color coding applies: White/Clear for 24-26 AWG, Red for 18-22 AWG, Blue for 14-16 AWG, and Yellow for 10-12 AWG. Using a red sleeve on a 14 AWG wire will result in a loose fit, preventing the tubing from applying the necessary mechanical pressure to force the molten solder into the wire strands.