
The Science of Capillary Action in Plumbing
Successfully soldering pipe joints in copper plumbing systems is less about melting metal and entirely about managing capillary action. When executed correctly, the molten solder is drawn into the microscopic gap between the pipe and the fitting, creating a metallurgical bond that can withstand pressures exceeding 1,000 PSI. However, a single error in surface preparation or thermal management will result in pinhole leaks, joint blowouts, or internal corrosion. This comprehensive 2026 tutorial breaks down the exact methodology professional plumbers use to achieve flawless, leak-free copper solder joints every time.
Essential Tool and Material Matrix
Using the correct consumables is non-negotiable. Modern plumbing codes strictly mandate lead-free materials for potable water lines. Below is the professional-grade loadout required for standard 1/2-inch to 1-inch Type L or Type M copper pipe.
| Category | Recommended Product (2026) | Approx. Cost | Purpose & Pro-Tip |
|---|---|---|---|
| Torch | Bernzomatic TS8000 Trigger-Start | $65.00 | High-heat swirl flame; trigger-start prevents accidental burns and saves gas. |
| Fuel | Worthington MAP-Pro (Propylene) | $15.00 | Burns at 3,730°F. Essential for 3/4' and 1' joints where standard propane (3,600°F) struggles to overcome heat dissipation. |
| Flux | Oatey No. 95 Tinning Flux | $9.50 | Contains 2% silver solder powder to pre-tin the joint and enhance capillary draw. |
| Solder | Hercules 95/5 Lead-Free Silver Bearing | $38.00/lb | 95% Tin, 5% Antimony. Meets all NSF/ANSI 61 standards for potable water. |
| Abrasive | Milwaukee ProPEX/Copper Tube Cleaner | $12.00 | Wire brush attachment that perfectly matches the inner diameter of fittings and outer diameter of pipes. |
Step-by-Step Tutorial: Soldering Copper Pipe Joints
Phase 1: Precision Cutting and Reaming
Cut the copper tube squarely using a rigid tube cutter. A hacksaw introduces burrs and uneven edges that compromise the capillary gap. After cutting, you must ream the inside of the pipe. Failure to remove the internal burr creates turbulence in the water flow, leading to erosion-corrosion—a common failure mode where pinhole leaks develop just downstream of the joint years later. Use the reaming attachment on your tube cutter to smooth the inner edge completely.
Phase 2: Surface Preparation (The Make-or-Break Step)
Solder will not adhere to copper oxide. Clean the outside of the pipe and the inside of the fitting until both surfaces shine like a new penny. Use a dedicated copper wire brush or emery cloth. Do not touch the cleaned surfaces with your bare hands; the oils from your skin are enough to prevent the solder from flowing. Wipe both surfaces with a clean, dry rag immediately before fluxing.
Phase 3: Flux Application and Assembly
Apply a thin, even layer of Oatey No. 95 flux to the outside of the pipe using a flux brush. Insert the pipe into the fitting and give it a quarter-turn twist. This distributes the flux evenly and pushes out air pockets. Wipe away any excess flux that squeezes out of the joint with a rag. Excess flux left on the exterior will corrode the copper over time, while excess flux inside the pipe can contaminate the water supply.
Phase 4: Thermal Management and Solder Flow
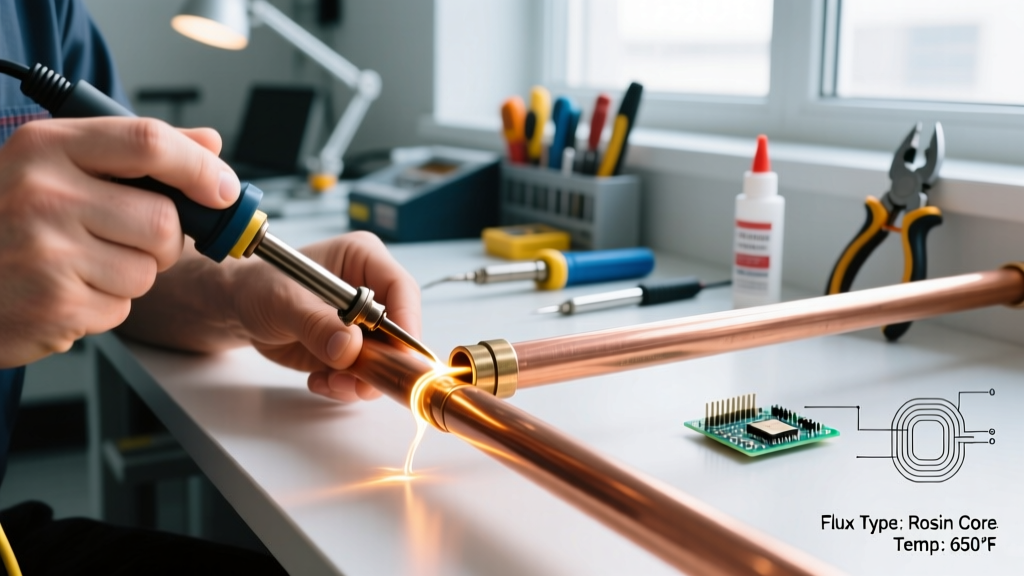
Ignite your MAP-Pro torch and adjust it to a sharp, inner blue cone. Apply the flame to the fitting, not the pipe. The fitting has more mass and requires more heat. Keep the flame moving in a circular pattern around the fitting to distribute heat evenly. After 4 to 6 seconds, touch the solder wire to the opposite side of the joint (away from the flame). If the joint is at the correct temperature (approx. 450°F to 500°F), the solder will instantly melt and be sucked into the joint via capillary action. Continue feeding solder until a continuous silver bead appears around the entire circumference of the joint. For a 1/2-inch joint, this typically requires about 1/2 inch of solder wire.
Phase 5: Cooling and Inspection
Remove the heat immediately once the joint is full. Wipe the joint with a damp rag to remove residual flux and cool the copper. This prevents the flux from crystallizing and eating into the pipe. Inspect the joint: a perfect solder joint will show a smooth, continuous silver ring at the edge of the fitting with no pitting or gaps.
Pro-Tip for Wet Lines: If you are soldering pipe joints on an existing line that won't drain completely, residual water will turn to steam and blow the molten solder out of the joint. Stuff a piece of white bread into the pipe upstream of the joint to absorb the water and block the steam. Once the system is pressurized, the bread will dissolve and flush out through the nearest aerator.
Advanced Troubleshooting: Edge Cases and Failure Modes
Even experienced plumbers encounter issues when soldering pipe joints in challenging environments. Use this diagnostic matrix to identify and correct common failures.
| Failure Mode | Visual Symptom | Root Cause | Corrective Action |
|---|---|---|---|
| Cold Joint / Solder Balls Up | Solder forms beads on the surface and refuses to enter the joint. | Insufficient heat or severe oxidation on the copper surface. | Disassemble the joint, clean thoroughly with emery cloth, re-flux, and apply heat longer. |
| Overheated Joint | Flux burns black and turns to a hard crust; solder flows too rapidly and drips. | Torch held in one spot too long; excessive thermal input. | Keep the torch moving. If flux burns, the joint must be taken apart and cleaned; burnt flux acts as a barrier to solder. |
| Steam Blowout | Solder is blown out of the joint with a hissing sound during application. | Trapped water in the pipe turning to steam and expanding. | Use the bread trick, or use a vacuum pump to pull a slight negative pressure on the line before heating. |
| Capillary Starvation | Solder only penetrates halfway into the fitting. | Flux burned off before solder was applied, or gap is too tight/loose. | Ensure proper tube cutter sizing. Re-heat and apply more flux if caught immediately, otherwise disassemble. |
Code Compliance and Safety Standards
When soldering pipe joints for potable water, adherence to local and national codes is mandatory. The Environmental Protection Agency (EPA) enforces the Reduction of Lead in Drinking Water Act, which mandates that all solder and flux used in potable water systems must not contain more than 0.2% lead. Always verify that your solder packaging explicitly states 'Lead-Free' and carries an NSF/ANSI 61 certification mark.
Furthermore, the Uniform Plumbing Code (UPC) dictates specific clearance requirements for soldered joints near combustible materials. When working within 18 inches of wood framing or drywall, you must use a flame-retardant shield or a wet rag to protect the surrounding structure. For comprehensive guidelines on copper tube joining methods, refer to the technical bulletins published by the Copper Development Association, which provide exhaustive data on joint tolerances and pressure ratings for various copper alloys.
Final Pressure Testing
Never assume a joint is leak-free based on visual inspection alone. Once the system has cooled and the solder has fully crystallized, pressurize the line to 1.5 times the normal operating pressure (typically 80-100 PSI for residential systems) and hold it for at least 15 minutes. Check all newly soldered pipe joints with a dry paper towel; even a micro-leak will leave a visible damp spot on the paper.