
The Anatomy of a Failed Sweat Joint
There are few things more frustrating for a DIY plumber or seasoned tradesperson than hearing the faint hiss of a leak behind drywall or watching a slow drip form at a freshly sweated fitting. When you encounter bad soldering copper pipe failures, the issue rarely stems from defective materials. Instead, it is almost always a breakdown in metallurgical preparation, thermal management, or capillary action.
Soldering (or 'sweating') copper relies on capillary action to draw molten alloy into the microscopic gap between the pipe and the fitting—typically a clearance of just 0.002 to 0.005 inches. If oxidation, moisture, or improper heat disrupts this process, the joint will fail under standard municipal water pressures (40–80 PSI). According to the Copper Development Association, proper joint preparation is responsible for over 90% of long-term plumbing reliability.
Below, we break down the most common mistakes that lead to bad solder joints and provide exact, actionable solutions to fix them.
Diagnostic Troubleshooting Matrix
Before grabbing a torch, identify the specific failure mode of your bad solder joint. Use this matrix to diagnose the root cause:
| Symptom | Visual Cue | Root Cause | Immediate Fix |
|---|---|---|---|
| Pinhole Leak | Water bead at fitting edge | Trapped steam / residual water | Drain line, use water-stop gel, re-sweat |
| Cold Joint | Dull, grainy, or frosty appearance | Insufficient heat applied to fitting | Reheat to 450°F+, apply fresh flux and solder |
| Burnt Flux | Black, crusty, flaky residue | Overheating / torch held too long | Disassemble, sand to bare copper, re-flux |
| Solder Drip / Bulbous Joint | Thick solder buildup at base | Too much solder / overheated pipe | Wipe with damp rag while hot, check draw |
| Green Corrosion | Chalky green/white crust weeks later | Acid flux left on joint (not cleaned) | Wire brush, neutralize, apply pipe dope |
Mistake 1: Inadequate Cleaning and the Oxidation Barrier
Copper naturally forms a microscopic layer of copper oxide when exposed to air. Solder will not adhere to oxidized copper. Many DIYers make the mistake of simply wiping the pipe with a rag or using a wire brush that has been contaminated with grease or debris.
The Solution: Mechanical Abrasion and Chemical Fluxing
- Abrasion: Use 120-grit aluminum oxide emery cloth or a dedicated copper fitting brush (e.g., RIDGID 15121). Sand the outside of the pipe and the inside of the fitting until the copper shines like a new penny. Do not touch the cleaned copper with your bare fingers—the oils from your skin will act as a resist.
- Flux Selection: Apply a thin, even layer of flux immediately after cleaning. For standard potable water lines, use a water-soluble paste flux like Oatey No. 5 (approx. $7.50 per 8oz tub). For joints that are slightly loose or harder to access, upgrade to a tinning flux like Oatey Safe Flo (approx. $11.00). Tinning flux contains microscopic powdered solder that helps bridge marginal gaps and guarantees capillary draw.
Mistake 2: Ignoring Residual Water (The Steam Blowout)
This is the number one cause of bad soldering copper pipe joints in repair scenarios. Water turns to steam at 212°F (100°C). When steam forms inside a sealed or partially sealed pipe, it expands in volume by roughly 1,600 times. This expanding steam will literally blow molten solder (which melts around 430°F for 95/5 alloys) right out of the fitting capillary space, leaving microscopic channels that leak immediately.
The Solution: Total Line Evacuation
Pro Tip: Gravity is not enough. Even a few drops of water trapped in a low elbow joint will generate enough steam pressure to ruin a sweat joint.
If you cannot fully drain the system, use a specialized water-stop gel like Hercules Water-Gel (approx. $14.00). Inject the gel into the pipe upstream of the joint; it creates a temporary, heat-resistant dam that vaporizes safely after the joint cools. In a pinch, tightly packed white bread can be used as a temporary dam, which will dissolve and flush out through an aerator once the water is turned back on.
Mistake 3: Thermal Mismanagement and Torch Selection
Applying heat directly to the solder wire or heating the pipe instead of the fitting are classic errors. Furthermore, using the wrong torch fuel for the pipe diameter guarantees failure.
Torch and Fuel Dynamics
- Propane (e.g., Bernzomatic TS3000, ~$45): Burns at roughly 3,600°F. Adequate for 1/2-inch copper lines in warm environments. However, on 3/4-inch or 1-inch lines, the thermal mass of the copper and the heat-sink effect of residual water will outpace the BTU output of propane, resulting in a cold joint.
- MAP-Pro (e.g., Bernzomatic TS8000, ~$65): Burns at 3,730°F and transfers heat significantly faster. This is mandatory for 3/4-inch lines, cold environments, or joints near thick copper manifolds.
The Correct Heating Technique
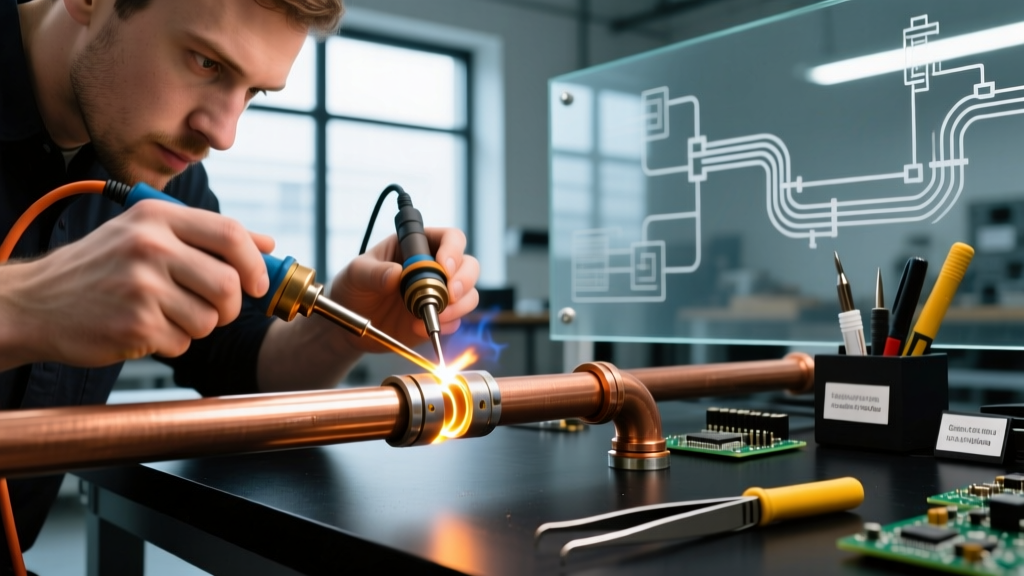
Hold the inner blue cone of the flame against the fitting, not the pipe. The fitting has more mass and needs more heat. Keep the flame moving in a circular motion to distribute heat evenly. After 4–6 seconds, touch the solder wire to the opposite side of the joint from the flame. If the fitting is hot enough, capillary action will instantly suck the solder into the joint. If it just melts and drips, the joint is not hot enough.
Mistake 4: Using the Wrong Solder Alloy
Using the wrong alloy compromises joint integrity and can violate health codes. The EPA strictly mandates lead-free solder for all potable drinking water lines.
- 95/5 Tin-Antimony (Lead-Free): The standard for residential water lines. Melts at roughly 450°F. It is brittle compared to leaded solder but perfectly safe and code-compliant.
- Silver-Bearing Solder (e.g., Harris Stay-Brite 8, ~$35 for 1/2 lb): Contains 8% silver. Melts at a higher temperature (approx. 535°F) and offers vastly superior tensile strength and vibration resistance. Use this for refrigeration lines, compressed air, or joints subject to physical stress.
- 50/50 Tin-Lead: NEVER use this on potable water lines. It is strictly for drain, waste, and vent (DWV) lines or electrical grounding.
Step-by-Step Protocol: How to Repair a Bad Solder Joint
If a joint is actively leaking or shows signs of a cold joint, you cannot simply 'melt more solder over it.' The old flux is burnt, and the capillary channels are blocked. You must start over.
- Cut Out the Failure: Use a mini tube cutter (like the RIDGID 101) to cut the pipe on both sides of the bad fitting. Do not use a hacksaw, as it leaves burrs that disrupt water flow and cause turbulence.
- Ream and Clean: Use a deburring tool to remove the internal ridge left by the cutter. Clean the pipe ends with emery cloth.
- Install a Repair Coupling: Because you removed a section of pipe, you will need a slip coupling or a standard coupling with a short piece of new copper pipe to bridge the gap.
- Flux and Assemble: Apply Oatey Safe Flo tinning flux to both the pipe ends and the inside of the new fittings. Push the fittings together with a slight twist to spread the flux evenly.
- Sweat the Joint: Using a MAP-Pro torch, heat the fitting. Apply 95/5 lead-free solder until a continuous silver ring appears at the edge of the fitting. Wipe the joint with a damp rag immediately to remove excess flux and prevent future corrosion.
Final Thoughts on Soldering Integrity
Mastering the art of sweating copper requires patience and respect for the physics of heat and fluid dynamics. By eliminating moisture, aggressively removing oxidation, and matching your torch BTUs to the pipe diameter, you will permanently eliminate bad soldering copper pipe failures from your plumbing projects. Always verify your local plumbing codes and adhere to UPC standards for alloy selection and joint preparation.