
The Art of the Bead: Why Stained Glass Demands Specialized Tools
Soldering stained glass is fundamentally different from joining electronic components or plumbing copper pipes. In electronics, you are dealing with micro-thermal masses and delicate pads. In stained glass, you are managing massive thermal sinks—large sheets of glass and continuous runs of copper foil or lead came that rapidly draw heat away from your iron. To achieve that coveted, smooth, rounded 'bead' without burning your flux or melting the adhesive backing off your foil, you need a precise understanding of your equipment. In this guide, we break down the most critical stained glass soldering tips through a rigorous, tool-by-tool assessment, updated for the 2026 crafting landscape.
1. The Heat Source: Iron Assessment
The most common mistake beginners make is using a standard 40W or 60W electronics soldering iron for glass work. Glass and copper foil act as massive heat sinks. If your iron cannot recover its temperature within seconds of touching the foil, you will suffer from 'cold joints'—lumpy, uneven solder that refuses to flow.
Hakko FX-601 vs. Grobet 100W
As of 2026, two irons dominate the professional and serious hobbyist space:
- Hakko FX-601 ($70 - $85): A ceramic heater powerhouse. While rated at 67W, its rapid thermal recovery mimics much higher wattage irons. It features a dial-in temperature control, allowing you to set the exact heat needed for different solder alloys. Its lightweight pencil grip reduces hand fatigue during long, continuous seams.
- Grobet 100W Iron (Model 8120, ~$85 - $95): The traditional workhorse of the stained glass studio. It runs hot and heavy. It lacks the precise electronic temperature control of the Hakko, relying instead on raw wattage to push through heat sinks. It is excellent for heavy lead came work but can easily burn flux on delicate copper foil if the user isn't constantly moving.
Expert Verdict: For copper foil work, the Hakko FX-601 is superior due to its precise temperature management, which prevents flux burnout. For heavy architectural lead came, the Grobet 100W provides the brute force necessary to melt thick solder beads.
2. Soldering Tips: The Geometry of Heat Transfer
Your iron is only as good as the tip attached to it. For stained glass, you must abandon the fine conical points used in PCB work. You need broad surface area to transfer heat evenly into the copper foil.
The Mandatory 1/4-Inch Chisel Tip
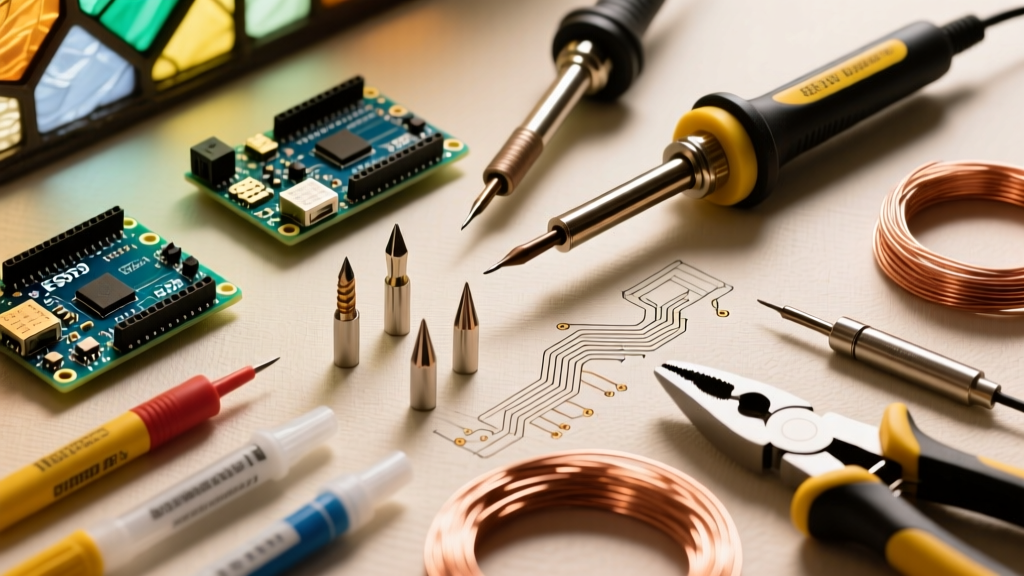
The undisputed champion of foil work is the 1/4-inch (6mm) or 3/8-inch (9.5mm) chisel tip. For the Hakko FX-601, the 900M-T-D24 or 900M-T-D32 chisel tips are ideal. For the Grobet, the 8123 series provides the necessary mass.
- Surface Area: The flat, broad face of the chisel tip rests completely against the copper foil, heating a 1-inch section at a time. This melts the solder evenly across the width of the foil.
- Adhesive Protection: Copper foil relies on a heat-sensitive acrylic adhesive. A pinpoint conical tip concentrates heat, melting the adhesive and causing the foil to peel away from the glass. A broad chisel tip distributes heat gently.
- Bead Shaping: The sharp 90-degree edges of the chisel tip act as a 'dam', holding the molten solder pool in place while you guide it down the seam, allowing gravity to pull it into a perfect half-round bead.
3. Solder Alloys: Composition and Flow Characteristics
Choosing the right solder is critical. The ratio of tin to lead (or alternative metals) dictates the melting point, the 'plastic range' (the time the solder is slushy before hardening), and the final structural integrity. Always consult OSHA Lead Safety Guidelines when handling leaded solders, ensuring proper ventilation and hand-washing protocols.
| Alloy Type | Composition | Melting Point | Best Use Case | Flow Characteristics |
|---|---|---|---|---|
| 60/40 | 60% Tin / 40% Lead | 361°F (183°C) | Copper Foil (Tiffany Method) | Fast melting, short plastic range. Creates a high, rounded bead. |
| 50/50 | 50% Tin / 50% Lead | 414°F (212°C) | Lead Came & Structural Joints | Longer plastic range, slushy. Fills gaps in lead matrix easily. |
| Lead-Free | 97% Tin / 3% Copper (or Sn/Ag/Cu) | 430°F+ (221°C+) | Jewelry, Lamps, Child-Safe Items | Sluggish flow, requires higher iron temps, prone to tip degradation. |
Pro Tip: When using lead-free solder, you must increase your iron's temperature dial by at least 100°F to compensate for the alloy's higher melting point and poor thermal conductivity. However, this accelerates tip oxidation. You will need to replace your chisel tips 3x more frequently when working exclusively with lead-free alloys.
4. Fluxes: The Chemical Catalysts
Solder will not bond to oxidized copper. Flux removes oxidation and reduces the surface tension of the molten metal, allowing it to 'wet' the foil. Resources like the Delphi Glass Learning Center consistently emphasize that flux management is the secret to a mirror-smooth finish.
Gel vs. Liquid Flux
- Liquid Flux (e.g., Novacan Super Flux): A water-white, zinc-chloride based liquid. It is aggressive, cleans heavily oxidized foil instantly, and leaves minimal residue. However, it runs easily, potentially seeping under the foil and weakening the adhesive if over-applied.
- Gel Flux (e.g., Gryphon Super Braid): A thick, petroleum-jelly-like consistency. It stays exactly where you put it, making it ideal for vertical seams or domed 3D projects (like lampshades). It requires slightly more heat to activate but provides a longer working window before burning off.
Critical Warning: Never use plumbing paste flux (like Tinning Flux) on stained glass. It contains petroleum bases and chlorides that are nearly impossible to wash off glass, leaving a permanent, cloudy film that ruins the transparency of your piece.
5. Auxiliary Tools: Workspace & Maintenance
A professional soldering station requires more than just an iron. The environment you create dictates your success rate.
Brass Wool vs. Damp Sponges
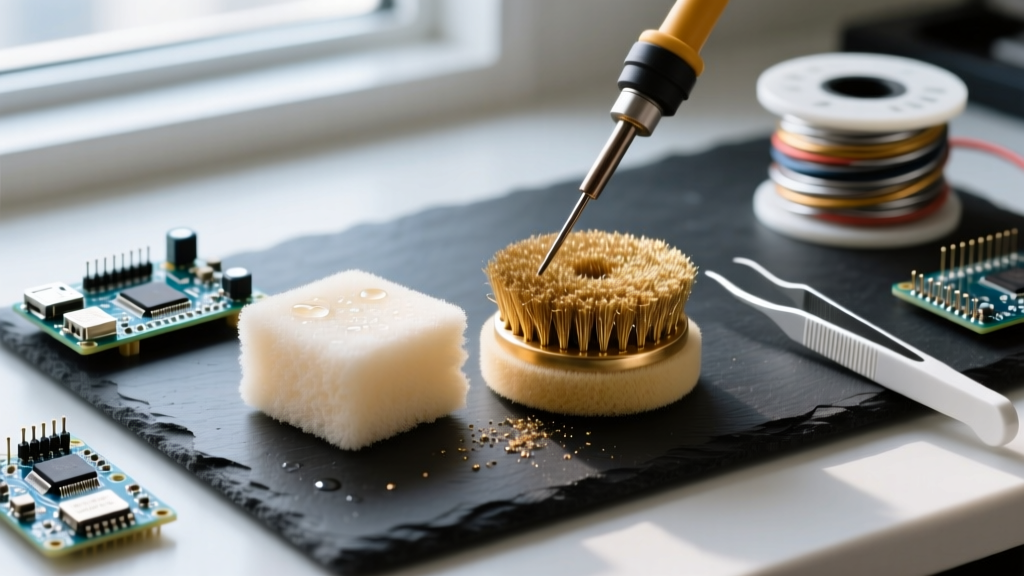
For decades, damp cellulose sponges were the standard for wiping soldering tips. In 2026, experts strongly advise against them for glass work. Plunging a 700°F chisel tip into a wet sponge causes rapid thermal shock, micro-fracturing the iron plating and drastically shortening its lifespan. Furthermore, the sudden temperature drop requires the iron to spend valuable seconds recovering heat before you can resume soldering.
The Solution: Use a dry brass wire sponge (like the Hakko 599B). It scrapes off oxidized solder and burnt flux without dropping the tip's core temperature, ensuring immediate thermal readiness for the next seam.
Fume Extraction
Flux fumes, particularly from zinc-chloride and oleic acid blends, are respiratory irritants. A desktop fume extractor, such as the Hakko FA-400 or a dedicated inline duct fan venting outside, is non-negotiable for indoor studios. Position the extractor intake exactly 4 to 6 inches from the soldering point to capture the plume before it reaches your breathing zone.
6. Troubleshooting Matrix: Diagnosing Bead Failures
Even with the best tools, environmental variables can cause defects. Use this matrix, informed by master glaziers at Everything Stained Glass, to diagnose and correct your technique.
| Symptom | Root Cause | Corrective Action |
|---|---|---|
| Lumpy, Uneven Bead | Iron temperature too low; moving too slowly, causing heat to dissipate into the glass. | Increase iron temp by 20°F. Maintain a steady, continuous pulling speed (approx. 1 inch per second). |
| Black, Crusty Residue | Flux burnout. Iron is too hot, or you are dwelling in one spot for too long. | Lower temperature. Apply flux in smaller sections (6-8 inches at a time) rather than the whole seam. |
| Solder Seeping Through Foil | Pinholes in the foil wrap, or excessive pressure melting the adhesive. | Burnish (rub down) foil tighter before soldering. Reduce downward pressure on the iron; let the heat do the work. |
| Solder Refuses to Stick | Heavy oxidation on older copper foil, or completely burnt-off flux. | Scrub foil with fine steel wool, re-apply fresh liquid flux, and pre-tin the seam with a light coat before building the bead. |
Final Thoughts on Tool Mastery
Mastering stained glass soldering is an exercise in thermal management. By upgrading to a high-recovery iron like the Hakko FX-601, utilizing a broad 1/4-inch chisel tip, selecting the correct 60/40 alloy, and strictly managing your flux application, you eliminate the variables that cause frustration. Treat your tools with respect—clean your tips with brass wool, store your solder in a dry environment to prevent oxidation, and always prioritize respiratory safety. With these tool-by-tool adjustments, your solder lines will transform from jagged, stressful seams into smooth, structural works of art.