
The Critical Role of the Solder Wick Soldering Remover in Modern Rework
As surface-mount density increases and lead-free alloys like SAC305 and SAC405 dominate electronics manufacturing in 2026, the thermal demands on rework technicians have never been higher. Whether you are salvaging a multi-layer PCB, correcting a bridged QFN pad, or replacing a failed 0402 capacitor, selecting the correct solder wick soldering remover is the difference between a flawless repair and a scrapped board. Unlike desoldering pumps (solder suckers), which rely on kinetic force and are best suited for through-hole components, desoldering wick utilizes capillary action and thermal conductivity to silently lift molten solder from fine-pitch surface mount pads without risking mechanical shock or pad delamination.
In this tool-by-tool assessment, we evaluate the industry's leading solder wick brands, analyzing their copper weave geometry, flux chemistry, and real-world performance on high-thermal-mass ground planes and micro-SMD joints.
The Anatomy of High-Performance Desoldering Braid
A premium solder wick soldering remover is not merely a spool of copper wire. It is a precisely engineered composite of two critical elements:
- Oxygen-Free High Conductivity (OFHC) Copper Weave: The copper is braided to create thousands of microscopic capillary channels. The geometry of this weave dictates how quickly the solder is drawn away from the joint. A tighter weave excels at fine-pitch SMD rework, while a looser, thicker braid is required for absorbing large volumes of solder from plated through-holes (PTH) or heavy ground planes.
- Flux Core Coating: Bare copper oxidizes rapidly at the 350°C–380°C temperatures required for lead-free rework, instantly killing capillary action. High-end wicks are pre-coated with flux—typically Rosin Mildly Activated (RMA) or No-Clean—which lowers the surface tension of the molten solder and prevents the copper matrix from oxidizing during the heating process.
Comparative Assessment Matrix: Top Brands Evaluated
The following table breaks down the top-performing solder wick soldering remover products currently on the market, categorized by their optimal use cases and chemical profiles.
| Brand & Model | Flux Chemistry | Optimal Use Case | Price Range (2026) | Weave Quality |
|---|---|---|---|---|
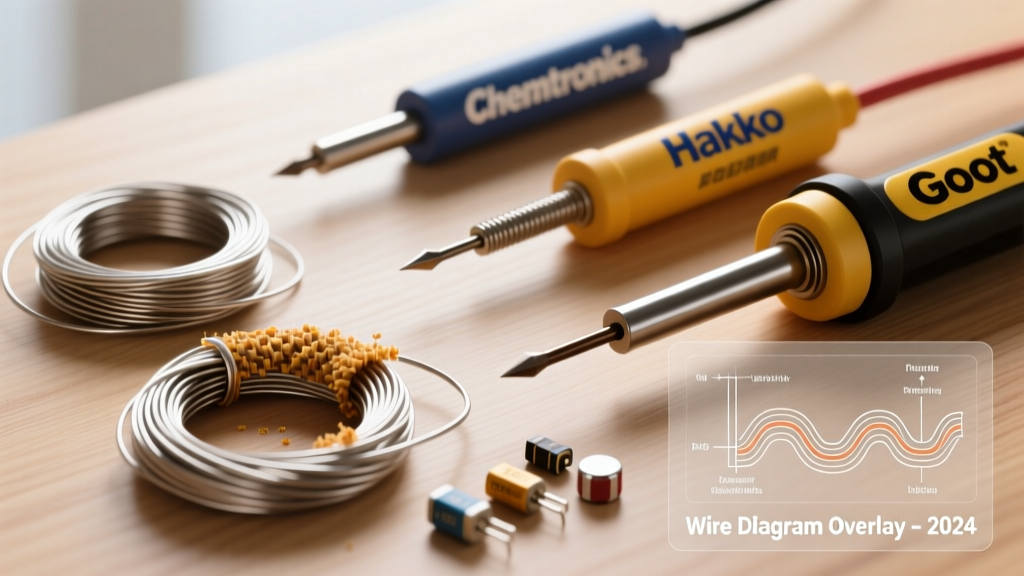
| Chemtronics Soder-Wick (Blue Label) | Rosin Mildly Activated (RMA) | General purpose, oxidized pads, heavy ground planes | $6.50 - $9.00 / spool | Exceptional, high capillary draw |
| Chemtronics Soder-Wick (Yellow Label) | No-Clean | High-impedance analog, BGA rework, tight clearances | $7.00 - $9.50 / spool | Excellent, slightly lower draw speed |
| Hakko CP-1530 Desoldering Wire | Proprietary Rosin-based | Lead-free through-hole, high thermal mass joints | $7.50 - $10.00 / spool | Dense, high thermal retention |
| Goot Wick CP-301M | Mild Rosin | Micro-SMD (0402/0201), ultra-fine pitch ICs | $8.00 - $11.00 / spool | Ultra-thin, precise edge control |
Deep Dive: Tool-by-Tool Performance Analysis
1. Chemtronics Soder-Wick: The Industry Benchmark
When referencing Chemtronics Soder-Wick, technicians usually refer to the iconic blue label (part number series 80-XX-X). This wick utilizes an RMA flux that is highly aggressive compared to standard no-clean alternatives. The advantage: it cuts through mildly oxidized pads and aged solder joints with ease, making it the ultimate choice for repair work on older consumer electronics or automotive boards. The trade-off: RMA flux leaves an active residue that must be cleaned with isopropyl alcohol (IPA) or a dedicated flux remover to prevent electrochemical migration (dendritic growth) in humid environments.
For modern, high-density boards where cleaning under a tightly placed BGA is impossible, Chemtronics offers the Yellow Label (No-Clean) variant. The No-Clean flux leaves a benign, high-resistivity residue that is safe to leave on the board, though it requires slightly more dwell time to achieve the same capillary draw as the RMA version.
2. Hakko CP-1530: Mastering Lead-Free Thermal Mass
Lead-free solder alloys require higher melting points (typically 217°C for SAC305) and exhibit a pasty, non-eutectic phase transition that makes desoldering notoriously difficult. Hakko's CP series is engineered specifically for this thermal challenge. The CP-1530 features a uniquely dense copper braid that acts as a superior thermal bridge. When paired with a high-wattage soldering station (e.g., Hakko FX-951 or JBC CD-2BE), the wick rapidly transfers heat into heavy ground planes without the technician needing to apply excessive downward pressure, which risks scratching the solder mask or lifting the pad.
3. Goot Wick CP-301M: Precision for Micro-SMD
Standard #2 width wicks (0.060 inches) are far too wide for modern 0402 or 0201 passive components; they will inevitably bridge adjacent pads and create secondary shorts. The Japanese-engineered Goot Wick CP-301M offers an ultra-fine 0.5mm width with a flattened braid profile. This geometry allows the technician to target a single 0.3mm pad without the wick's thermal mass draining heat from the adjacent component. It is an indispensable solder wick soldering remover for smartphone logic board repair and wearable device teardowns.
Failure Modes and Edge Cases in Desoldering
Even the best desoldering braid will fail if misapplied. Understanding the physical failure modes is critical for maintaining IPC compliance.
IPC Dwell Time Warning: According to IPC workmanship standards, the maximum recommended dwell time for a single solder joint is typically 3 to 5 seconds. Exceeding this threshold drastically increases the risk of pad delamination, where the copper pad separates from the FR4 fiberglass substrate due to the degradation of the epoxy bond at high temperatures.
Common Failure Modes:
- Wick Oxidation (The 'Black Wick' Syndrome): If your solder wick has been exposed to ambient humidity for months, or if you touch the copper with bare fingers (transferring skin oils), the flux coating degrades. When heated, the copper turns black or dark magenta and refuses to absorb solder. Solution: Store wick in sealed anti-static bags with desiccant packs, and discard any spool that shows discoloration before heating.
- Thermal Starvation: Using a low-wattage iron (e.g., 40W) with a thick #4 wick on a ground plane. The wick acts as a massive heat sink, freezing the solder into a cold, grainy lump. Solution: Match the wick width to the joint size, and use a chisel tip on a high-thermal-recovery station to feed heat into the braid.
- Flux Boil-Off Splatter: Applying the iron directly to the flux-coated wick before it contacts the solder joint can cause the flux to boil violently, splattering microscopic solder beads across the PCB. Solution: Always place the wick directly onto the solder joint, then apply the iron tip on top of the wick to heat both simultaneously.
Step-by-Step Professional Rework Protocol
To maximize the efficiency of your solder wick soldering remover and protect the PCB, follow this standardized procedure:
- Select the Correct Width: Use #1 (0.025") for 0603/SOIC pins, #2 (0.060") for standard SMD and DIP pins, and #3 or #4 for large connectors and PTH vias.
- Prep the Station: Set your soldering station to 350°C–380°C for lead-free alloys, or 320°C–340°C for legacy tin/lead solder. Use a wide chisel or bevel tip to maximize surface contact area.
- Positioning: Unspool 1-2 inches of wick. Place the flat side of the braid directly over the target solder joint.
- Simultaneous Heating: Press the heated iron tip down onto the wick at a 45-degree angle. Allow 1-2 seconds for the solder to melt and wick upward into the copper braid (you will see the silver solder flow into the copper, turning it silver/grey).
- Simultaneous Removal: Lift the iron and the wick away from the board at the exact same time. Leaving the wick on the board as the iron pulls away will cause the cooling solder to fuse the wick to the pad, resulting in immediate pad lifting when you try to pull it off.
- Clean and Inspect: Snip the used (silver) portion of the wick. Clean the board with IPA and a lint-free swab if using RMA flux, then inspect under a microscope for any remaining micro-bridges.
Frequently Asked Questions (FAQ)
Can I add extra liquid flux to my solder wick?
Yes, but with caveats. If you are desoldering a heavily oxidized joint and the pre-coated flux is insufficient, adding a small drop of high-quality tacky flux (like Amtech or Chip Quik) to the joint before applying the wick can dramatically improve capillary draw. However, avoid liquid alcohol-based fluxes, as they can boil and cause splattering.
Why does my wick leave a tiny solder ball behind?
This occurs when the iron is removed too quickly before the thermal mass of the joint has fully liquefied, or when using a wick that is too narrow for the volume of solder present. The solder cools and surface tension snaps it back onto the pad. Switch to a wider braid or increase your station temperature by 10°C.
Does solder wick expire?
While copper doesn't technically 'expire', the flux coating degrades over 12 to 24 months due to oxidation and moisture absorption. If the copper looks dull, dark, or greenish at the edges of the spool, the capillary action will be severely compromised. Always buy in smaller quantities that you can use within a year, and store them in a dry environment.