
The Metallurgy of Soldering Tip Degradation
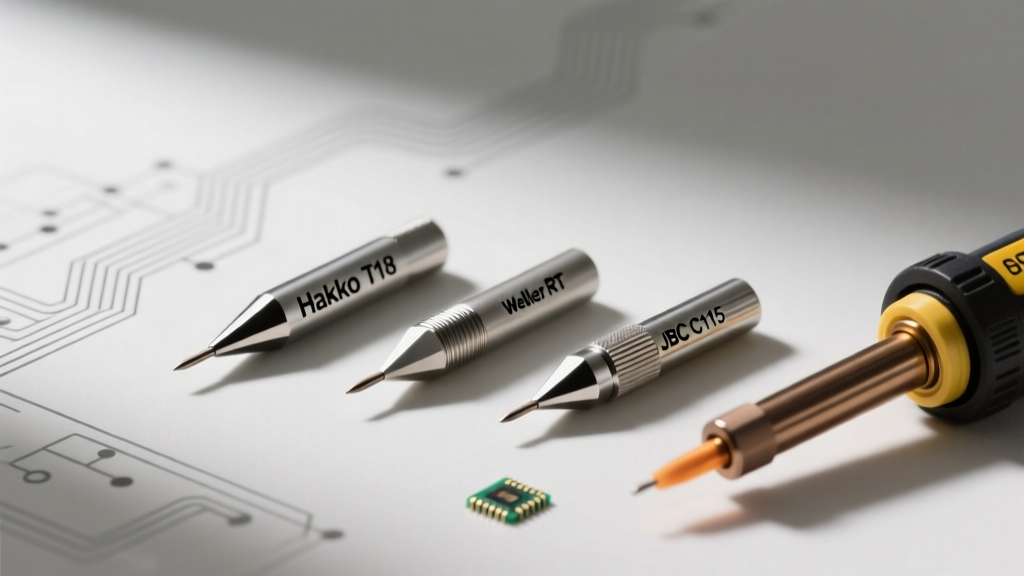
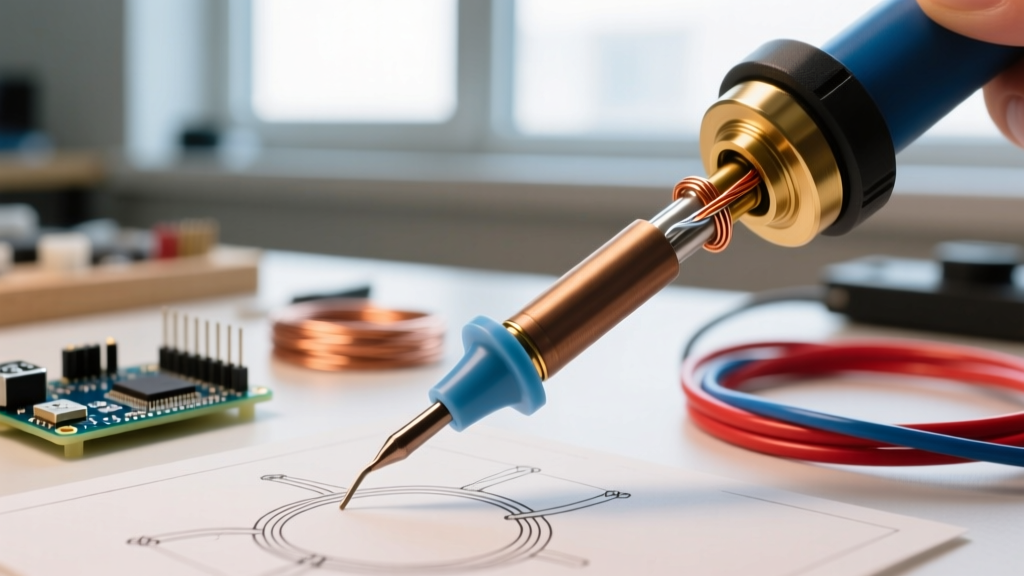
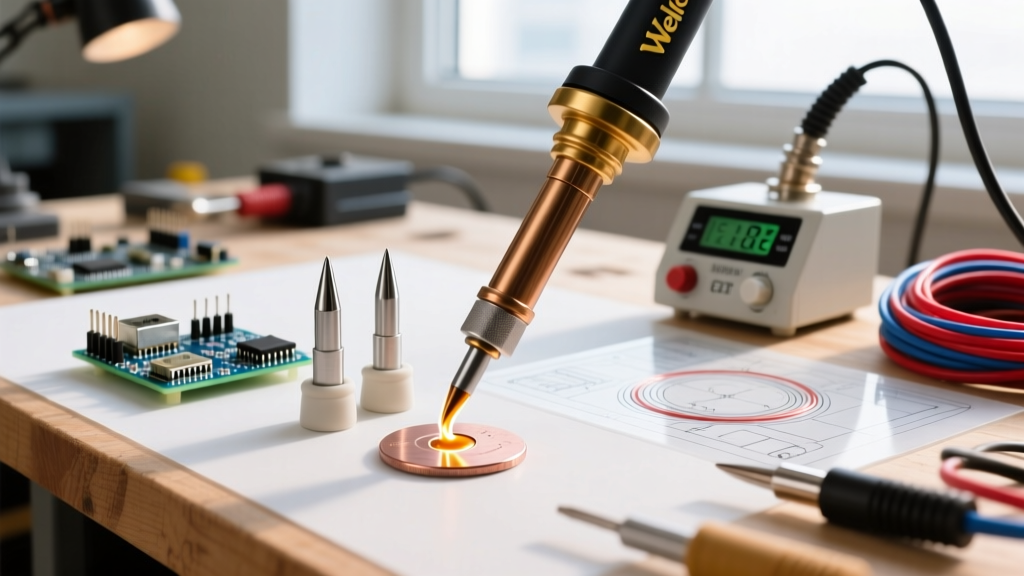
Modern soldering iron tips are engineering marvels designed to withstand the harsh thermal demands of lead-free soldering. A standard tip, such as the Hakko T18 series or Weller ET series, features a highly conductive copper core coated with an iron plating layer typically 0.1mm to 0.2mm thick. This iron plating prevents the copper from dissolving into molten solder alloys like SAC305 (which melts at 217°C). However, when exposed to ambient oxygen at operational temperatures of 350°C (662°F), this iron layer rapidly oxidizes, forming iron oxide (Fe2O3). This oxidation layer acts as a severe thermal insulator, resulting in poor heat transfer, extended dwell times, and ultimately, damaged PCB pads.
While routine cleaning manages light oxidation, severe degradation requires chemical intervention. This is where a soldering iron tip activator becomes essential. Unlike simple tip tinner, an activator contains mild reducing agents (often ammonium chloride-based) suspended in a rosin and solder powder matrix, specifically formulated to strip heavy oxidation without pitting the underlying iron plating.
Activator vs. Tinner vs. Abrasives: Choosing the Right Tool
Before diving into the calibration and setup tutorial, it is critical to understand where a tip activator fits into your maintenance workflow. Using the wrong tool can instantly destroy a $15 replacement tip.
| Maintenance Tool | Primary Function | Best Use Case | Risk Level to Iron Plating |
|---|---|---|---|
| Brass Wire Sponge | Mechanical removal of bulk solder and light carbon | Routine cleaning between every single solder joint | Low (if used without excessive downward pressure) |
| Cellulose Wet Sponge | Thermal shock to crack off hardened flux residue | Legacy setups; strictly avoided in modern RoHS workflows | High (causes micro-cracking in iron plating) |
| Tip Tinner (e.g., Hakko 599B) | Re-tinning and light oxidation removal | End-of-shift tip protection and storage | Very Low |
| Tip Activator (e.g., Hakko FS-100, Weller WDC-2) | Chemical reduction of heavy, baked-on iron oxide | Restoring 'dead' or blackened tips that won't wet | Medium (if temperature or dwell time is exceeded) |
Pre-Setup: Calibrating Your Soldering Station
The most common failure mode when using a soldering iron tip activator is not the activator itself, but an uncalibrated soldering station. If your station's digital display reads 350°C, but the actual tip temperature is drifting at 390°C due to sensor degradation or a failing heating element, the activator's rosin flux will instantly carbonize. This leaves a hard, black, glassy shell on the tip that is nearly impossible to remove.
Required Calibration Tools
- Tip Thermometer: A dedicated K-type thermocouple tip thermometer (such as the Hakko 191, priced around $145, or a budget digital K-type meter for $25).
- Thermal Paste: High-temperature thermal compound to ensure accurate sensor contact.
- Calibration Screwdriver: Non-conductive ceramic trimmer tool for adjusting station potentiometers.
The Calibration Protocol
- Apply a pea-sized drop of thermal paste to the thermometer's sensor pad.
- Press the soldering tip firmly and squarely onto the sensor. Allow 15 seconds for the reading to stabilize.
- Compare the physical reading to your station's display. For tip activation, the target baseline is exactly 320°C to 350°C (608°F to 662°F).
- If the variance exceeds ±5°C, open the station's calibration port and adjust the potentiometer until the physical tip temperature matches the desired 340°C setpoint.
Step-by-Step Tip Activation Tutorial
Once your station is verified and calibrated, you can proceed with the chemical activation process. This tutorial assumes you are using a standard commercial activator paste like the Weller WDC-2 ($24) or Hakko FS-100 ($38).
Safety Warning: Tip activators release mildly corrosive fumes, including ammonia and rosin smoke, when heated. Always perform this procedure under an active fume extractor or in a heavily ventilated area. As noted in comprehensive safety guides like the Adafruit Guide to Excellent Soldering, proper ventilation is non-negotiable for long-term respiratory health.
Step 1: Initial Mechanical Cleaning
Before introducing the tip to the chemical activator, remove any bulk solder and loose carbon debris. Plunge the hot tip into a brass wire sponge and twist it gently three times. Do not use a wet sponge, as the sudden temperature drop can cause thermal shock, leading to microscopic fractures in the iron plating that will eventually cause the tip to pit and fail.
Step 2: The Activation Plunge
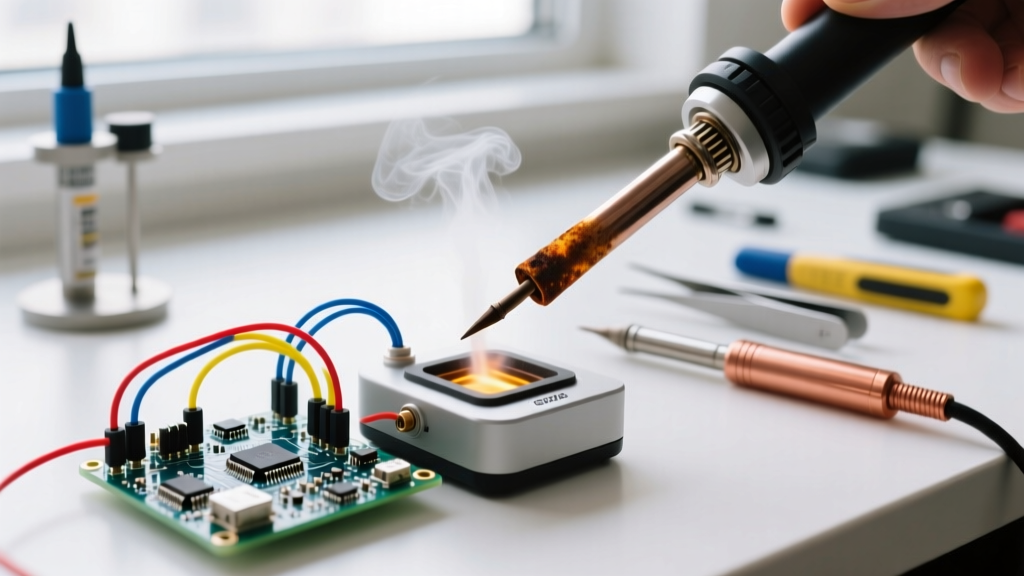
With the tip temperature stabilized at 340°C, press the oxidized tip directly into the activator paste. Apply moderate downward pressure and twist the iron in a circular motion. Crucial Timing: Keep the tip in the activator for exactly 3 to 5 seconds. You will see the paste bubble and melt, coating the tip in a shiny silver alloy while the reducing agents strip the black iron oxide.
Step 3: Wipe and Inspect
Withdraw the iron and immediately wipe it across a dry, lint-free cloth or a clean section of the brass sponge to remove the spent flux residue. Inspect the tip under a magnifying lamp. A successfully activated tip will have a uniform, mirror-like silver finish. If black spots remain, repeat Step 2 for an additional 3 seconds. Never exceed a total cumulative activation time of 10 seconds per session.
Step 4: Immediate Re-Tinning
An activated tip is chemically bare and highly susceptible to flash-oxidation. Within 2 seconds of wiping the tip clean, apply fresh, high-quality rosin-core solder (such as Kester 44 or MG Chemicals 4900) directly to the working surface. The solder should melt instantly and flow evenly across the entire iron plating, creating a protective barrier against ambient oxygen.
Troubleshooting Common Activation Failures
Even with perfect calibration, edge cases can occur. Refer to this troubleshooting matrix to diagnose issues based on the visual and physical feedback from your soldering iron.
| Symptom | Root Cause | Corrective Action |
|---|---|---|
| Hard, black, glassy crust forms instantly | Station temperature is too high (>380°C), carbonizing the rosin flux. | Recalibrate station downwards. Scrape crust gently with a wooden stick while hot; never use metal tools. |
| Tip turns silver but solder still beads up and rolls off | Iron plating is physically pitted or dissolved; activation cannot fix physical damage. | Discard the tip. Review your soldering technique to avoid using excessive downward pressure on PCB pads. |
| Activator paste turns into a dry, crumbly brick over time | Moisture loss or repeated exposure to extreme ambient heat. | Store activator in an airtight container at room temperature. Add 2-3 drops of liquid rosin flux to rehydrate. |
| White, powdery residue remains after wiping | Ammonium chloride byproduct not fully cleared. | Wipe with a cloth dampened with 99% isopropyl alcohol (IPA) before re-tinning. |
The Economics of Tip Activation in 2026
From a financial perspective, mastering your soldering iron tip activator setup yields massive dividends, especially for high-volume prototyping or production environments. In 2026, a high-quality chisel tip for a premium station costs between $9 and $15. A $38 jar of Hakko FS-100 tip activator contains roughly 60 grams of paste. Assuming each activation consumes 0.2 grams of material, a single jar yields approximately 300 activations.
If an activator successfully revives a dying tip just once, extending its life by a month, the ROI is immediate. Over the lifespan of one jar, you are potentially saving hundreds of dollars in replacement tips and preventing the downtime associated with halting a production run to swap hardware. Furthermore, maintaining optimal heat transfer ensures compliance with industry standards. As outlined in the IPC standards for soldered electrical assemblies, proper wetting and temperature control are mandatory for creating reliable, void-free metallurgical bonds.
Final Maintenance Best Practices
To minimize the need for heavy chemical activation, adopt these daily habits recommended by electronics manufacturing experts and detailed in resources like the SparkFun soldering tutorials:
- Always tin before powering down: Never leave a bare, silver tip exposed to the air while it cools. The residual heat will bake oxygen into the iron plating within seconds.
- Use the lowest effective temperature: If you are soldering standard through-hole components with Sn60/Pb40 solder, 315°C is more than sufficient. Running your station at 400°C 'just in case' accelerates oxidation by a factor of four.
- Rotate your tips: If you do heavy daily soldering, keep two identical tips on hand. Rotate them weekly to allow the iron plating to 'rest' and stabilize, significantly extending the overall lifespan of both.
By rigorously calibrating your station and strictly adhering to the 3-to-5-second activation protocol, your soldering iron tip activator will transform from a mysterious chemical paste into a highly predictable, cost-saving tool in your electronics workbench arsenal.