
Introduction to the Weller 8200 Soldering Iron
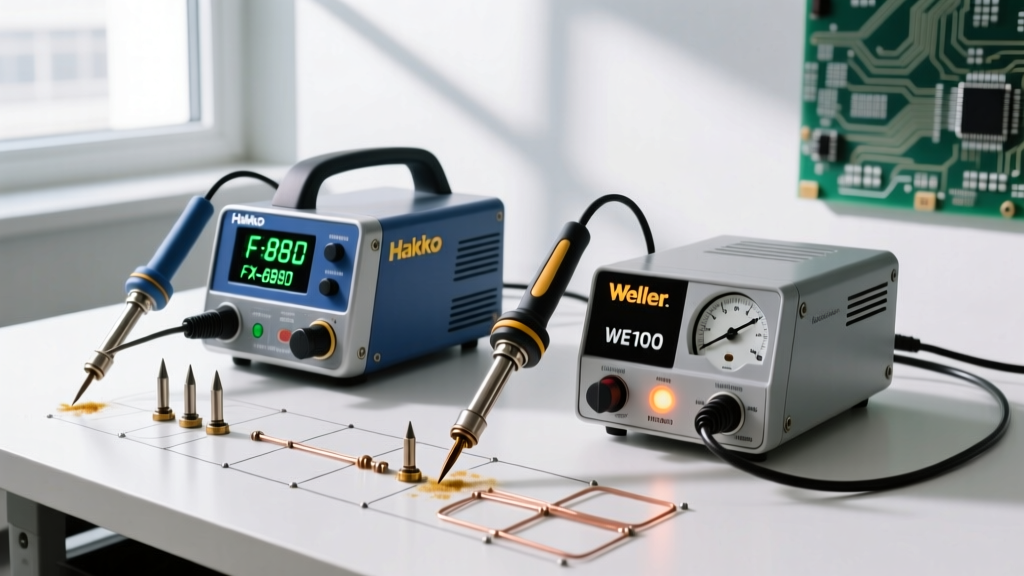
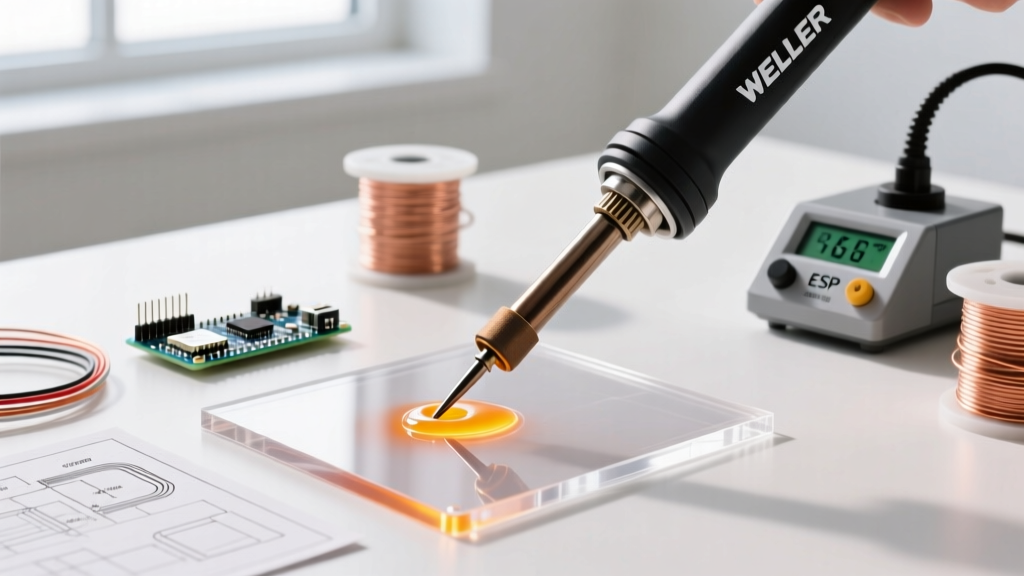
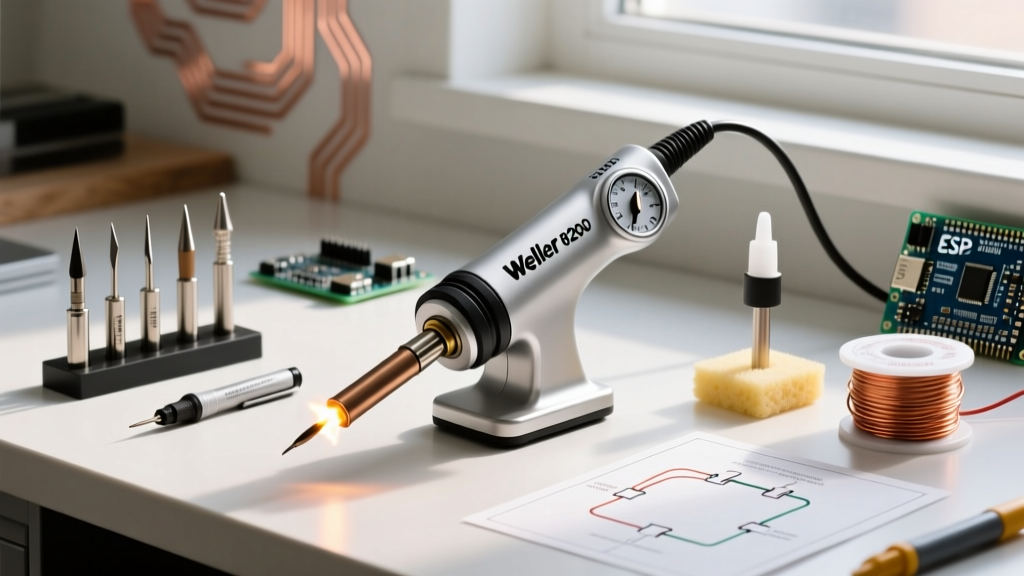
When beginners enter the world of electronics and DIY wiring, they are often overwhelmed by the sheer variety of heating tools on the market. While standard pencil-style stations dominate the printed circuit board (PCB) space, the Weller 8200 soldering iron occupies a completely different, heavy-duty echelon. Technically classified as a pistol-grip soldering gun rather than a traditional iron, the Weller 8200 PK (often retailing between $65 and $80 in 2026) is a legendary 100/140-watt transformer-based tool designed for massive thermal loads.
If you are attempting to solder 10 AWG automotive wire, XT90 RC battery connectors, or thick copper foil for stained glass, a standard 60W ceramic heater will simply fail. The copper acts as a massive heatsink, pulling heat away faster than a pencil iron can generate it, resulting in catastrophic cold joints. This is exactly where the Weller 8200 soldering iron excels. This beginner's guide will walk you through the physics, proper setup, tip selection, and critical safety protocols required to master this beast of a tool.
The Physics: Transformer Heating vs. Resistive Heating
To use the Weller 8200 effectively, you must understand how it generates heat. Unlike a standard soldering station that passes a controlled DC or low-vage AC current through a ceramic heating element to warm a metal barrel, the Weller 8200 utilizes an internal step-down transformer.
- Primary Winding: Connects directly to your 120V AC mains when you pull the trigger.
- Secondary Winding: Consists of a single, massive turn of heavy copper that connects directly to the soldering tip.
- The Result: The voltage drops to a fraction of a volt (around 0.15V), but the amperage spikes to hundreds of amps. The tip itself acts as the resistive heating element, glowing red-hot in roughly 3 to 5 seconds.
Expert Insight: Because the tip is part of the secondary electrical circuit, the Weller 8200 is not safe for static-sensitive CMOS components or bare PCBs. The stray AC voltage and massive magnetic field can instantly destroy sensitive microcontrollers. Reserve this tool strictly for passive, heavy-gauge wiring and large mechanical lugs.
Ideal Applications (and What to Avoid)
Where the Weller 8200 Shines
- Automotive and Marine Wiring: Soldering 14 AWG to 4 AWG stranded copper wires to heavy ring terminals.
- RC Hobbies: Attaching XT60, XT90, and AS150 anti-spark connectors to 10 AWG silicone wire.
- Stained Glass Art: Melting large beads of 60/40 solder along copper foil tape.
- Heavy-Duty Audio: Wiring large speaker terminals and thick gauge crossover coils.
Where to Keep It Away
- Surface-mount devices (SMD) and through-hole PCBs.
- Heat-shrink tubing (the magnetic field and extreme radiant heat will scorch it instantly).
- Small 22-28 AWG signal wires (the tool will vaporize the copper strands).
Tip Selection and Maintenance Matrix
The Weller 8200 uses the CT-series tip lineup. Unlike standard iron-plated copper tips, CT tips are made from a specialized copper alloy that conducts heat brilliantly but is susceptible to solder leaching (where the molten tin dissolves the tip material over time). Choosing the right profile is critical for thermal transfer.
| Tip Model | Profile Shape | Best Application | Thermal Mass |
|---|---|---|---|
| CT-5 | 1/4" Chisel | 14-16 AWG wire, XT60 connectors, general chassis soldering | Medium |
| CT-6 | 3/8" Heavy Chisel | 8-10 AWG wire, XT90 connectors, large ring lugs | High |
| CT-7 | 1/2" Flat Blade | Stained glass foil, heavy ground straps, 4 AWG+ | Maximum |
Pro-Tip for Longevity: Never file or sand a CT-series tip to remove oxidation. This exposes raw copper, which will dissolve into your solder pool within minutes. Always use a damp cellulose sponge or brass wire wool, and keep the tip heavily tinned when not in active use.
Step-by-Step Heavy-Duty Soldering Guide
Soldering massive thermal masses requires a strict adherence to flux chemistry and timing. According to NASA Workmanship Standard 8739.3 for soldered electrical connections, proper wetting and flux activation are paramount to prevent insulation damage and cold joints. Follow this exact workflow for heavy-gauge wire:
1. Preparation and Fluxing
Strip exactly 3/8" of insulation from your 10 AWG wire. Twist the strands tightly. Apply a generous amount of high-rosin paste flux (such as Kester 186 or Chip Quik tacky flux) directly to the bare copper. Do not rely solely on the flux core inside your solder wire; massive joints require external flux to break through heavy oxidation.
2. Pre-Tinning the Components
Pull the Weller 8200 trigger to the first position (100W). Wait 4 seconds for the tip to reach operating temperature. Touch the CT-6 tip to the fluxed wire and feed 0.062" (1.5mm) diameter 63/37 rosin-core solder into the joint. Do not melt the solder on the tip and carry it over—this leaves the flux burned off and useless. Melt the solder directly onto the wire via the tip's heat. The wire should 'drink' the solder via capillary action.
3. The Final Join
Pre-tin the connector lug in the same manner. Insert the tinned wire into the lug. Squeeze the trigger to the second position (140W) for maximum thermal recovery. Apply the tip to the bottom of the lug for 3 to 5 seconds until you see the solder flash and flow seamlessly into a smooth, concave fillet.
4. The Cool Down
Hold the wire completely still for 15 seconds. Moving a heavy joint before the solder crystallizes will cause a fractured, high-resistance cold joint.
Crucial Edge Cases and Failure Modes
Beginners often run into specific failure modes when transitioning from pencil irons to transformer guns. Be aware of these edge cases:
- Transformer Burnout (Duty Cycle Violation): The internal transformer is not rated for continuous duty. Holding the trigger down for more than 45-60 seconds at a time will overheat the primary winding and melt the internal insulation. Use short, deliberate bursts of heat.
- Magnetic Interference: The single-turn secondary coil generates a localized, high-intensity magnetic field every time you pull the trigger. This will instantly magnetize your tweezers, screwdrivers, and can permanently damage mechanical hard drives or unshielded Hall-effect sensors nearby.
- Insulation Melt-Back: The radiant heat from a 140W CT-6 tip is immense. If you linger too long, the PVC or silicone insulation on your wire will shrink and melt back, exposing bare copper near the joint. Use proper heat-sinking techniques or hemostats clamped to the wire to absorb stray thermal energy.
Safety and Workspace Requirements
The Weller 8200 operates at extreme temperatures and produces heavy flux fumes. Your workspace must be configured accordingly:
- Fume Extraction: Boiling Kester 186 rosin flux generates dense, irritating smoke. A dedicated HEPA/Carbon benchtop extractor (like the Hakko FA-400) is mandatory to prevent respiratory sensitization.
- Thermal Matting: The gun-style design means that when you set it down, the hot tip is often angled downward. Always use a silicone soldering mat rated for 500°C+ to prevent scorching your workbench.
- Eye Protection: When flux boils rapidly on a massive 10 AWG joint, microscopic droplets of molten solder and acidic flux can spit. ANSI-rated safety glasses are non-negotiable.
Frequently Asked Questions
Can I use the Weller 8200 on my Arduino or Raspberry Pi?
No. The stray AC voltage at the tip and the massive thermal output will destroy GPIO pins and lift PCB pads instantly. Use a temperature-controlled pencil station (like the Weller WE1010) for logic boards.
Why is my soldering tip pitting and turning black?
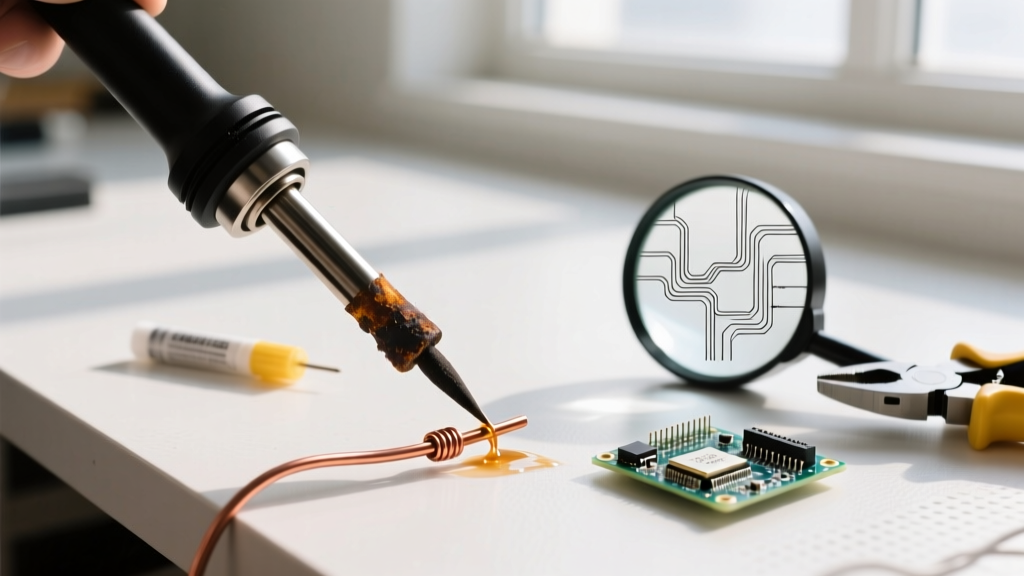
If you are using acid-core plumbing solder or highly corrosive fluxes without cleaning the tip immediately after use, the acid will eat through the tip's alloy. Always wipe the tip on a damp cellulose sponge and apply a thick coat of fresh rosin-core solder before powering off the gun.
How do I know when to replace the CT tip?
Replace the tip when the working surface becomes deeply pitted, concave, or when solder refuses to wet to the end of the chisel, preferring instead to ball up and roll off. Under heavy hobbyist use, a CT-6 tip typically lasts 6 to 12 months.
Final Thoughts
The Weller 8200 soldering iron is not a precision instrument; it is a brute-force thermal delivery system. When applied to the correct heavy-duty applications—like solar array wiring, automotive harnesses, and large gauge RC connectors—it is an irreplaceable, time-saving workhorse. By respecting its duty cycle, utilizing aggressive external fluxes, and selecting the proper CT-series tip profile, beginners can achieve flawless, high-strength mechanical and electrical joints that will withstand years of vibration and current load.