
The Modular Advantage: Why Repair Beats Replace
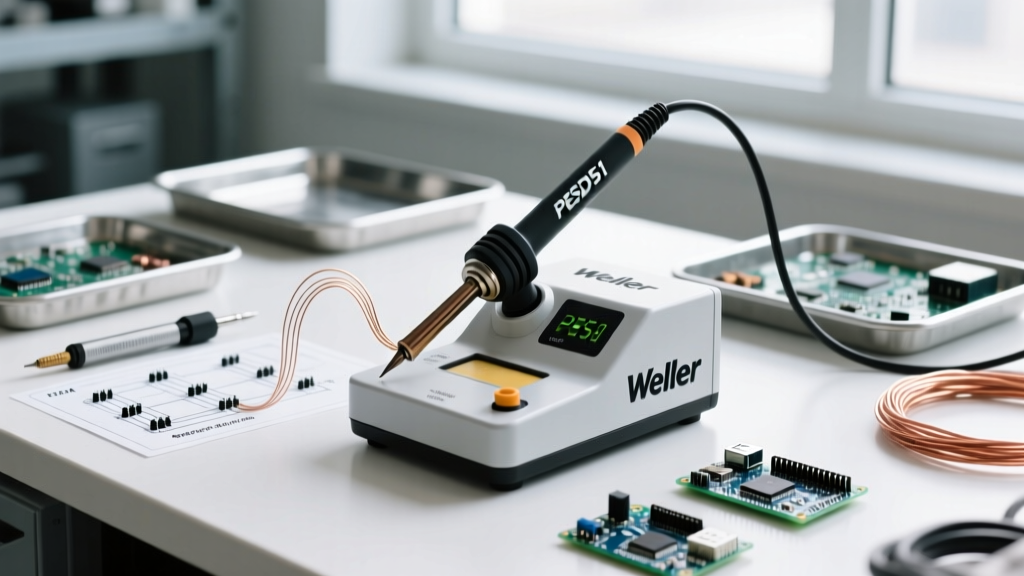
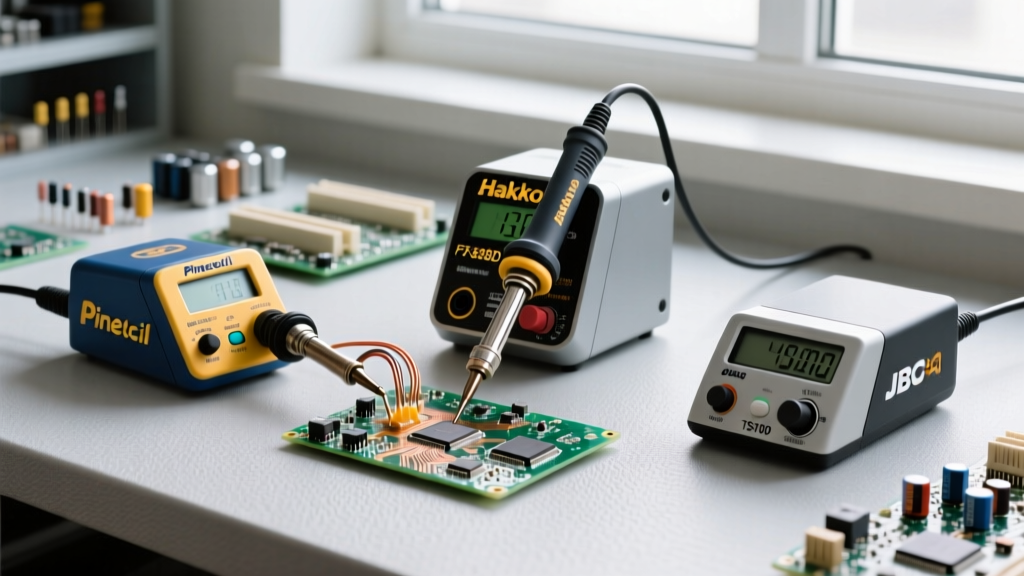
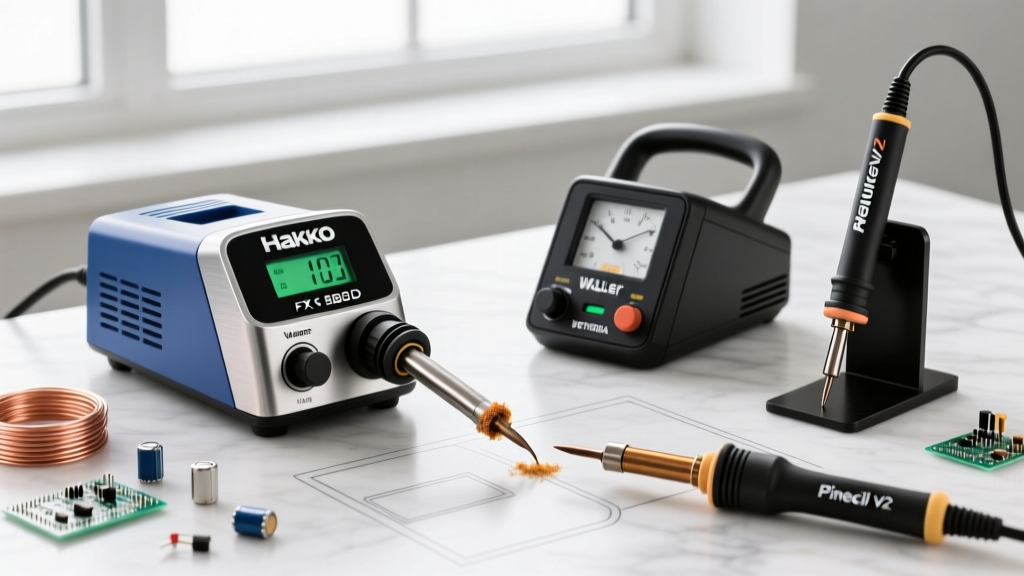
In the fast-paced world of electronics repair and DIY fabrication, it is a common mistake to treat a soldering station as a disposable tool. When thermal recovery lags or temperatures fluctuate, many hobbyists immediately shop for a brand-new unit. However, professional-grade stations like the Hakko FX-888D, Weller WES51, and JBC CD-2BQE are engineered for modularity. By understanding how to diagnose, select, and replace specific soldering iron parts, you can restore a decade-old station to factory specifications for a fraction of the cost of a new setup.
This technique guide dives deep into the anatomy of modern soldering irons, exploring the metallurgy of tips, the electrical diagnostics of heating elements, and the ergonomic upgrades available for handle assemblies in 2026.
Diagnostic Checklist: Identifying Failing Soldering Iron Parts
Before ordering replacement components, you must accurately diagnose the failure point. A soldering iron is essentially a closed-loop thermal system consisting of a heater, a sensor, a tip, and a control board. Here is how to isolate the failing part:
- Slow Thermal Recovery: The iron drops temperature when touching a large ground plane and takes more than 5-8 seconds to rebound. This usually indicates a degraded heating element or a tip with severe internal oxidation preventing heat transfer.
- Erratic Temperature Display: The digital readout jumps wildly (e.g., from 350°C to 410°C). This points to a failing thermocouple or sensor wire inside the ceramic heating element or handle cord.
- Physical Pitting or Cratering: The tip surface looks chewed up or concave. This is a consumable tip failure caused by flux corrosion and copper dissolution.
- Stiff or Melting Cord: The PVC jacket has hardened or burned. This is a handle/cord assembly failure that poses a severe burn and short-circuit hazard.
1. The Consumables: Tips and Sleeves
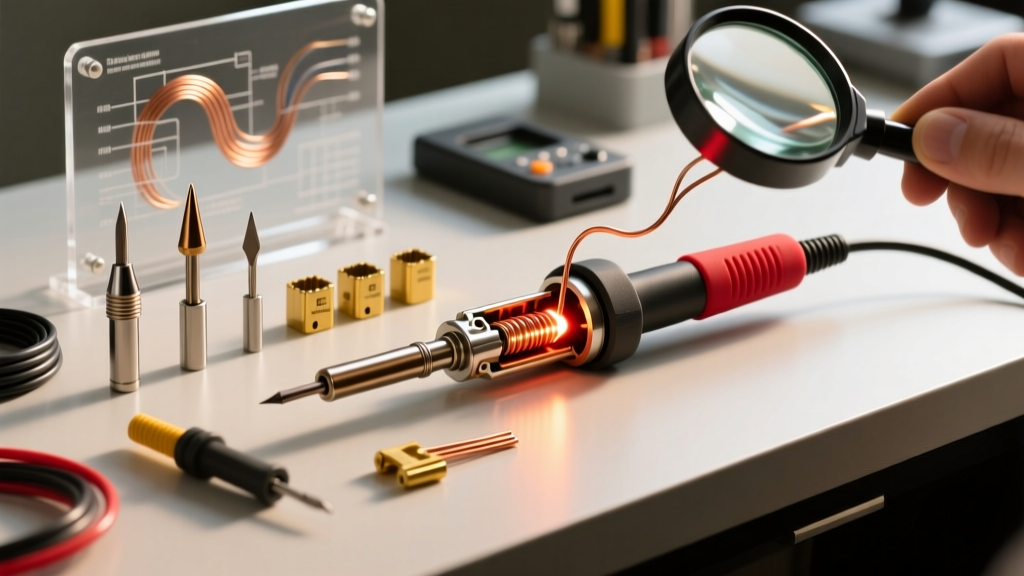
Modern soldering tips are not solid copper; they are complex metallurgical sandwiches. A high-quality tip (like the Hakko T18 series or Weller ETA series) features a solid copper core for rapid heat conduction, electroplated with a 0.003 to 0.005-inch layer of iron to resist solder erosion, and finally coated with chromium to prevent solder from wetting the sides.
The Failure Mode: Aggressive no-clean or rosin-activated (RA) fluxes can corrode the iron plating over time. Once the flux eats through to the copper core, the molten tin in your solder rapidly dissolves the exposed copper, forming Cu6Sn5 intermetallic compounds. This creates a physical crater in the tip, ruining its surface tension and heat transfer capabilities. Genuine OEM tips typically cost between $8 and $12 each and last 40-60 hours of active soldering time if maintained properly.
2. The Core: Heating Elements and Sensors
The heating element is the engine of your station. There are two primary technologies used in benchtop stations:
- Ceramic Heaters (e.g., Hakko B2032): These use a printed resistive trace on an alumina ceramic cylinder. They heat up rapidly and offer excellent electrical isolation. A genuine Hakko B2032 replacement element costs around $38 to $45.
- Nichrome Wire Heaters (e.g., Weller CA200): These wrap a resistive nichrome wire around a ceramic or mica core. They are incredibly durable and slightly cheaper (around $28), but heat up marginally slower than ceramic variants.
Multimeter Diagnostics: Testing a Ceramic Element
Before replacing a suspected dead ceramic heater, verify it with a digital multimeter (DMM). Using the Hakko B2032 4-pin connector as our benchmark:
- Pins 2 and 3 (Heater Circuit): Set your DMM to measure resistance (Ohms). A healthy ceramic heater will read between 2.0 and 3.0 ohms at room temperature. If it reads 'OL' (Open Loop), the internal ceramic is cracked, and the trace is broken. The part is dead.
- Pins 1 and 4 (Thermocouple/Sensor): A healthy sensor will read very low resistance, typically 1.0 to 2.0 ohms. If this circuit is open, the station's microcontroller cannot read the temperature, resulting in a blinking error code on the display.
Step-by-Step: Replacing a Ceramic Heating Element
Replacing the core heating element requires care to avoid crushing the fragile ceramic. Here is the standard procedure for popular stations like the Hakko FX-888D or FX-601:
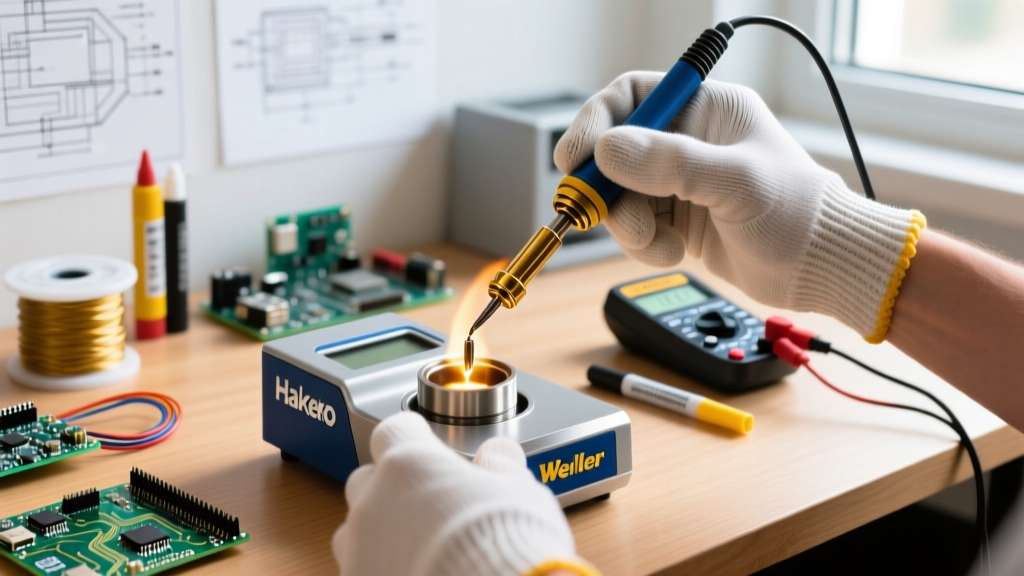
- Power Down and Cool: Unplug the station and allow the iron to reach room temperature. Never attempt to disassemble a hot handle.
- Remove the Tip and Sleeve: Using the provided tool or a small wrench, loosen the metal sleeve nut at the front of the handle. Slide the metal sleeve and the tip off the heating element.
- Extract the Element: Gently pull the ceramic heating element straight out of the handle grip. Do not twist or bend it, as the ceramic is highly brittle.
- Clean the Barrel: Use compressed air to blow out any carbonized flux dust or debris from inside the handle barrel. Debris can cause uneven pressure on the new element, leading to premature cracking.
- Insert the New Element: Carefully slide the new OEM ceramic element into the barrel, ensuring the pins align perfectly with the internal connector.
- Reassemble: Slide the sleeve back over the element and hand-tighten the nut. Do not overtighten, as crushing the element against the metal sleeve is the leading cause of DIY replacement failures.
Comparison Matrix: OEM vs. Third-Party Replacement Parts
The market is flooded with third-party replacement parts. While some offer acceptable performance, others can damage your station's control board. Here is how they compare in 2026:
| Part Category | OEM (Genuine) | Premium Clones (e.g., KSGER/Quick) | Budget Marketplace Clones |
|---|---|---|---|
| Tips (T18/ETA style) | Thick iron plating, precise fit. ($8-$12) | Good plating, slight variance in bore size. ($3-$5) | Thin plating, rapid copper dissolution. ($0.50-$1) |
| Ceramic Elements | Accurate thermocouple calibration, pure alumina. ($35-$45) | Decent heat, but sensor drift causes temp offsets. ($12-$18) | High failure rate, risk of shorting control board. ($4-$8) |
| Handle Cords | High-flex silicone, burn-resistant. ($20-$25) | Standard PVC, stiffens after 6 months. ($8-$12) | Brittle PVC, poor strain relief. ($3-$5) |
Upgrading the Handle and Cord Assembly
One of the most overlooked soldering iron parts is the cord assembly. Most entry-level stations ship with PVC-jacketed cords. While cheap to manufacture, PVC hardens and cracks when exposed to repeated thermal cycling and aggressive flux fumes. Furthermore, PVC melts instantly if touched by a stray iron tip.
The Upgrade Path: Upgrade to a silicone-jacketed cord (such as the Hakko B3251 assembly, approx. $22). Silicone remains highly flexible at room temperature, resists burning up to 300°C, and significantly reduces hand fatigue during long SMD rework sessions. Swapping the cord usually involves opening the station chassis and disconnecting a multi-pin Molex connector from the main PCB—a 10-minute job that transforms the ergonomics of your workstation.
Expert Maintenance Protocols for Longevity
Replacing parts is necessary, but preventative maintenance extends the intervals between replacements. According to the IPC soldering standards and industry best practices, proper tip care is non-negotiable for reliable joint formation.
Expert Warning: Never use sandpaper, emery cloth, or metal files to clean an oxidized soldering tip. Abrasives will instantly strip the microscopic iron plating, destroying the tip and exposing the copper core to immediate dissolution. Always use a damp cellulose sponge or brass wire wool.
For comprehensive daily maintenance, always leave a thick blob of rosin-core solder on the tip before powering down the station. This sacrificial layer oxidizes in the air instead of the iron plating. When you power up the next day, simply wipe the oxidized solder off on your brass sponge, and re-tin with fresh solder. As detailed in Hakko's official tip care guidelines, this single habit can triple the lifespan of your consumable tips.
Final Thoughts on Tool Sustainability
Mastering the selection and replacement of soldering iron parts is a hallmark of a mature technician. By investing in OEM heating elements, understanding the metallurgy of tip degradation, and upgrading to silicone cord assemblies, you ensure that your soldering station remains a reliable, high-performance asset for years to come. For further reading on proper soldering techniques and tool handling, the Adafruit Guide to Excellent Soldering remains an invaluable, community-vetted resource for both beginners and seasoned engineers.