
The Metallurgical Roadblock: Why Aluminum Resists Solder
In the DIY electronics and fabrication community, attempting the process of soldering aluminum with soldering iron setups is often dismissed as impossible. While 2026 has seen a wider consumer availability of ultrasonic soldering handpieces that shatter oxide layers via high-frequency cavitation, the traditional high-wattage thermal iron remains the standard for most hobbyists and field technicians. However, when standard techniques are applied to aluminum, the result is almost universally a cold, de-wetted joint that crumbles under mechanical stress.
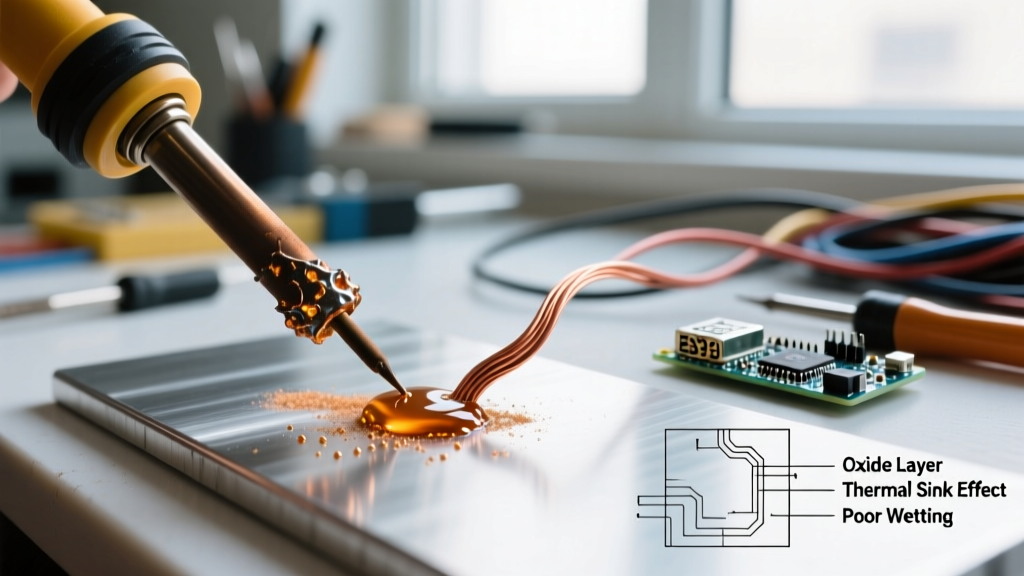
The failure is not due to a lack of heat, but a metallurgical barrier. Aluminum instantly forms a passivation layer of aluminum oxide (Al2O3) when exposed to atmospheric oxygen. While the base aluminum metal melts at roughly 660°C (1220°F), the aluminum oxide shell melts at an astonishing 2072°C (3762°F). Standard rosin-core solder and mild organic fluxes cannot penetrate this ceramic-like shield. Furthermore, aluminum possesses a thermal conductivity of approximately 205 W/m·K, meaning it aggressively pulls heat away from the iron's tip, resulting in localized thermal sink failures.
The Golden Rule of Aluminum Soldering: You are not soldering to the aluminum; you are attempting to chemically and mechanically bypass the aluminum oxide layer before it can reform. If oxygen touches the bare metal before the solder wets it, the joint will fail.
Diagnostic Matrix: Identifying Your Aluminum Soldering Failure
Before replacing your equipment, diagnose the specific failure mode of your current aluminum joints. Use this troubleshooting matrix to identify where your process is breaking down.
| Visual Symptom | Physical Behavior | Root Cause | Corrective Action |
|---|---|---|---|
| Solder beads up and rolls off | De-wetting; zero adhesion | Intact aluminum oxide layer; flux failed to etch the surface. | Switch to a dedicated zinc-chloride or fluoroaluminate flux; employ mechanical scratching. |
| Flux turns black and chars | Solder refuses to melt or flow | Thermal sink; iron wattage too low; tip surface area too small. | Upgrade to a 65W-100W iron; use a massive chisel or bevel tip to maximize thermal transfer. |
| Joint is dull, grainy, and brittle | Cracks when flexed slightly | Galvanic incompatibility or intermetallic fracture from standard Sn/Pb solder. | Use a Tin-Zinc (Sn-Zn) alloy like Indalloy 158 to match the aluminum lattice structure. |
| Tip pitting and black crust | Iron fails to transfer heat efficiently | Corrosive aluminum flux eating through the iron plating on the tip. | Neutralize flux immediately; implement strict post-solder tip tinning protocols. |
Step-by-Step Troubleshooting Protocol for Weak Joints
If you are experiencing the de-wetting or thermal sink issues outlined above, follow this strict protocol. This methodology is adapted from industrial Superior Flux technical guidelines for manual aluminum joining.
Phase 1: Overcoming Thermal Sink
Discard any soldering iron rated below 60 watts. A standard 40W pencil iron cannot replenish heat fast enough to overcome aluminum's thermal conductivity.
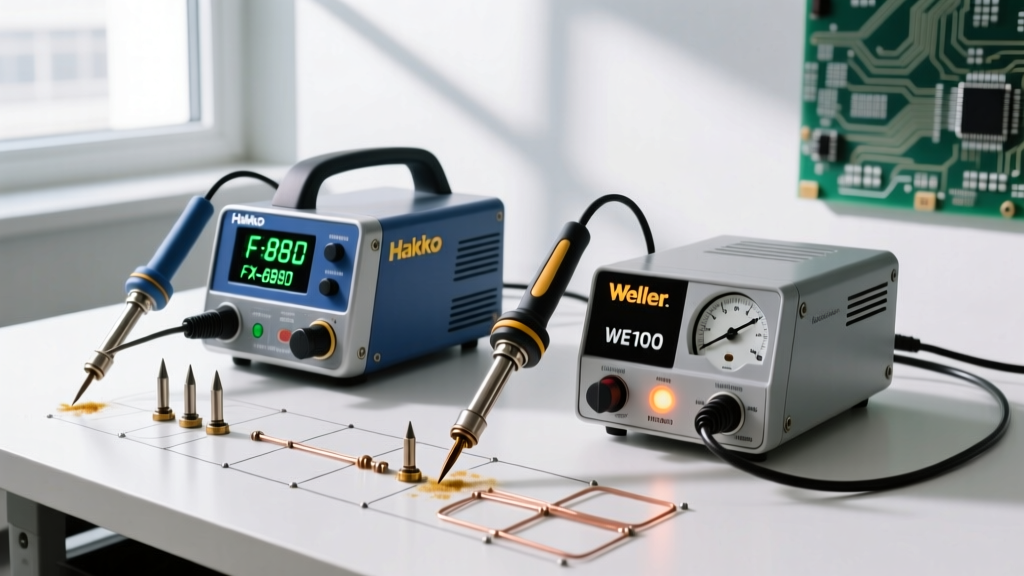
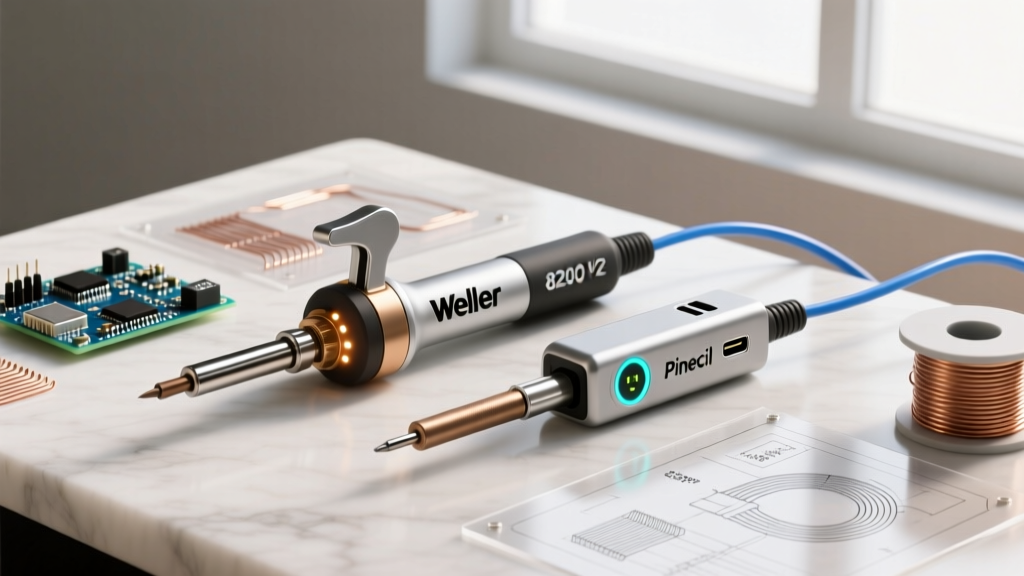
- Recommended Equipment: The Hakko FX-601 ($75-$90) is a 67W adjustable iron that excels here. Set the dial to 380°C (716°F). For thicker gauge aluminum (14 AWG wire or 2mm sheet), the Weller W100PG (100W) is mandatory.
- Tip Geometry: Never use a fine conical tip. The surface area is too small. Use a wide bevel (e.g., Hakko T18-C4) or a heavy chisel tip to maximize the contact patch and push BTUs into the workpiece rapidly.
Phase 2: Flux Chemistry and Application
Standard RMA (Rosin Mildly Activated) flux is useless against Al2O3. You must use a highly active, corrosive flux designed specifically for aluminum. Products like Superior Flux #30261 or Worthington Aluminum Soldering Flux contain zinc chloride and ammonium fluoride salts that chemically dissolve the oxide layer at soldering temperatures.
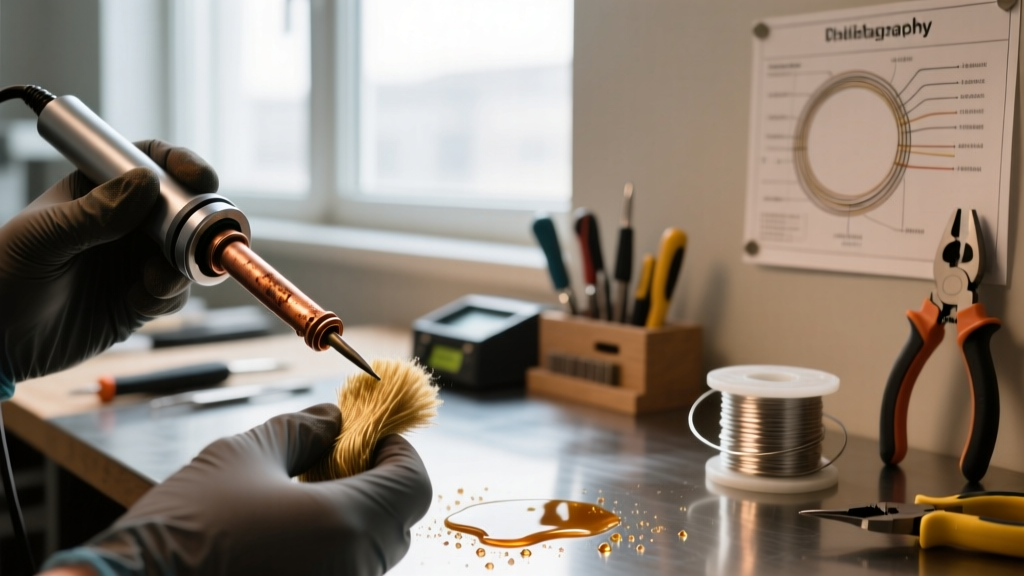
Application: Do not apply flux with your bare fingers. Use a wooden applicator or acid brush to coat the aluminum joint area generously. The flux must completely encapsulate the area to act as an oxygen barrier.
Phase 3: Mechanical Disruption (Scratch Soldering)
Even with aggressive flux, a manual mechanical assist is often required for stubborn alloys like 6061-T6.
- Apply the aluminum flux to the joint.
- Apply heat with your high-wattage iron until the flux begins to bubble and liquefy.
- Introduce your Tin-Zinc solder wire (such as Indium Corporation's Indalloy 158, which melts at 199°C) to the tip, allowing a small puddle to form over the flux pool.
- Using a stainless steel dental pick or titanium scribe, scratch the surface of the aluminum through the molten solder and flux pool.
- The mechanical action breaks the oxide layer, while the liquid flux and solder immediately cap the bare metal, preventing oxygen from reforming the oxide.
Iron and Tip Maintenance: Surviving Corrosive Aluminum Fluxes
The most overlooked aspect of soldering aluminum with soldering iron setups is the catastrophic damage aluminum fluxes inflict on soldering tips. Zinc chloride and fluoroaluminate salts are aggressively hygroscopic and corrosive. If left on the tip, they will eat through the microscopic iron plating and pit the copper core within hours, ruining a $12 replacement tip.
To maintain your equipment, you must execute a strict neutralization and re-tinning protocol immediately after the joint is made:
- Step 1: Cool and Wipe. Drop the iron temperature to 250°C. Wipe the tip vigorously on a damp, high-quality cellulose sponge (not brass wool, which can trap corrosive salts in the wire matrix).
- Step 2: Chemical Neutralization. For heavy flux buildup, dip the cool tip in a mild baking soda and distilled water solution to neutralize the acidic zinc chloride salts, then dry immediately.
- Step 3: Sacrificial Tinning. Immediately apply a thick coat of standard 63/37 Sn/Pb or SAC305 solder mixed with a high-quality rosin flux (like Kester 245). This sacrificial layer protects the iron plating from ambient oxidation and residual corrosive vapors.
- Step 4: Workpiece Neutralization. Do not forget the workpiece. Residual aluminum flux will cause severe galvanic corrosion and 'white rust' on your project. Scrub the joint with isopropyl alcohol and a stiff brush, followed by a baking soda rinse.
Alloy Selection: The Galvanic Compatibility Factor
According to the IPC J-STD-001 requirements for soldered assemblies, dissimilar metals require careful consideration of intermetallic compound (IMC) formation. Standard Tin-Lead (Sn/Pb) or Tin-Silver-Copper (SAC) alloys do not bond well to aluminum at the atomic level and are prone to galvanic corrosion when exposed to atmospheric moisture.
For permanent aluminum soldering, you must use a Tin-Zinc (Sn-Zn) alloy. The zinc in the solder acts as a transitional buffer, alloying with the aluminum substrate while the tin provides a standard surface for subsequent soldering or electrical conductivity. Indalloy 158 (51% Sn, 49% Zn) is the industry benchmark for this application.
Frequently Asked Questions: Edge Cases in Aluminum Soldering
Can I use standard plumbing TIG or brazing flux for aluminum soldering?
No. TIG and brazing fluxes are designed for temperatures exceeding 450°C. A standard soldering iron cannot reach these temperatures, meaning the flux will remain inert and fail to etch the oxide layer. You must use low-temperature chemical fluxes formulated specifically for the 200°C–300°C range.
Why did my aluminum-to-copper solder joint turn green and fail after a month?
This is galvanic corrosion. Aluminum and copper are far apart on the galvanic series. Even with a proper Tin-Zinc solder joint, ambient moisture will create a micro-battery, corroding the aluminum. To prevent this, you must hermetically seal the completed joint with a high-dielectric RTV silicone or a polyurethane conformal coating immediately after cleaning and neutralizing the flux.
Is ultrasonic soldering necessary for 2026 DIY projects?
While ultrasonic soldering irons (which use 20kHz+ vibrations to cavitate the solder and shatter the oxide layer without chemical flux) have become more accessible, they remain expensive ($300+ for reliable units). For 90% of DIY wire splicing and tab soldering, the high-wattage thermal iron combined with aggressive chemical flux and mechanical scratching remains the most cost-effective and reliable troubleshooting path.