
The Science of Soldering Iron Temperature
When building or repairing electronics, the temp of soldering iron is the single most critical variable determining joint reliability. A common misconception among beginners is that higher heat equals faster soldering. In reality, excessive heat destroys flux, oxidizes tips, and lifts PCB pads, while insufficient heat creates brittle, high-resistance cold joints. According to SparkFun's soldering guidelines, the goal is to transfer enough thermal energy to melt the alloy and form a proper intermetallic compound (IMC) layer within 2 to 4 seconds, without exceeding the thermal limits of the components.
In 2026, the shift toward lead-free assemblies in commercial electronics means hobbyists and professionals alike must master higher temperature profiles. The ideal temperature is not a single number; it is a dynamic balance between the solder alloy's melting point, the thermal mass of the joint, and the wattage of your station.
Solder Alloy vs. Optimal Iron Temperature Matrix
| Alloy Type | Composition | Melting Point | Ideal Iron Temp | Best Use Case |
|---|---|---|---|---|
| Sn63/Pb37 (Eutectic) | 63% Tin, 37% Lead | 183°C (361°F) | 290°C - 320°C | General DIY, vintage repair, delicate SMD |
| Sn60/Pb40 | 60% Tin, 40% Lead | 188°C (370°F) | 300°C - 330°C | Through-hole components, wiring |
| SAC305 (Lead-Free) | 96.5% Sn, 3% Ag, 0.5% Cu | 217°C (423°F) | 350°C - 380°C | RoHS-compliant commercial PCBs |
| Sn96.5/Sn3.5 | 96.5% Tin, 3.5% Silver | 221°C (430°F) | 360°C - 390°C | High-reliability aerospace/automotive |
How to Choose a Temperature-Controlled Station
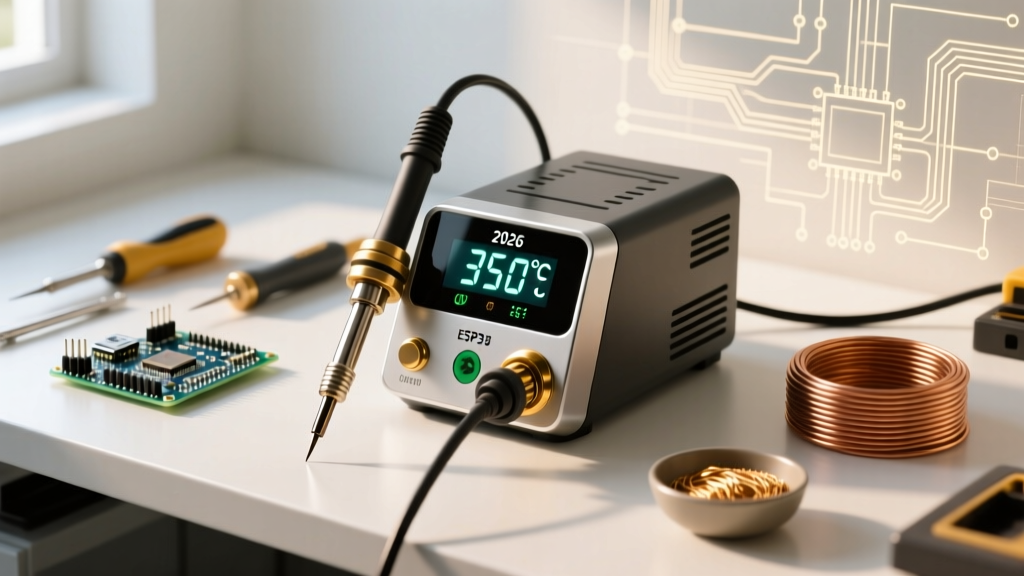
When shopping for a station, you are not just buying a heater; you are buying a closed-loop thermal feedback system. Here is what to look for in 2026:
- Sensor Proximity: The best stations embed the thermocouple or RTD sensor directly inside the tip or as close to the apex as possible. This reduces thermal lag and prevents the controller from overshooting the target temp.
- Wattage vs. Thermal Recovery: A 70W station will maintain a set temp of 350°C on a heavy ground plane far better than a 40W station, which will suffer from thermal droop. Wattage dictates recovery speed, not maximum temperature.
- Digital Calibration: Over time, heating elements degrade. Stations that allow digital offset calibration ensure your displayed temp matches the actual tip surface temp.
Top Temperature-Controlled Soldering Stations Reviewed
We have tested the most popular temperature-controlled stations on the market to see how they handle strict thermal requirements.
1. Hakko FX-888D: The Reliable Workhorse
Price: $109 - $115 | Wattage: 70W | Temp Range: 200°C - 480°C
The Hakko FX-888D remains a benchmark in the industry. It utilizes the T18 tip series, which features a ceramic heater with an integrated sensor. While the interface is a bit dated (a two-button digital display), its PID temperature control is incredibly stable. Expert Tip: You can calibrate the FX-888D by entering the settings menu (holding the Up arrow while powering on) and adjusting the offset to match a tip thermometer. Its primary drawback is the lack of a sleep/standby mode, meaning you must manually turn it down to preserve tip life.
2. Weller WE1010NA: Premium Digital Precision
Price: $135 - $145 | Wattage: 70W | Temp Range: 200°C - 450°C
Weller's WE1010NA uses the ET tip series and features a highly responsive heating element. The standout feature is its rapid thermal recovery. When soldering large capacitors to multi-layer boards, the WE1010NA detects the temperature drop and pushes current to the heater instantly, maintaining the set temp of soldering iron parameters without manual adjustment. It also includes programmable standby modes and a password lock, making it ideal for shared lab environments or classrooms adhering to IPC J-STD-001 standards for student safety.
3. Pine64 Pinecil V2: The Smart Portable Powerhouse
Price: $29 (Iron only) | Wattage: 65W (via 20V PD) | Temp Range: 50°C - 450°C
The Pinecil V2 has disrupted the market by packing a RISC-V BL706 microcontroller into a form factor the size of a standard pen. Powered via USB-C Power Delivery (PD 3.1) or DC5525, it offers PID tuning, custom temperature curves, and even a built-in continuity tester via its tip. Because it runs the open-source IronOS firmware, you can set exact sleep timeouts and motion-sensing wake features. It uses TS100-compatible tips, which have excellent thermal mass. For field repairs and drone technicians, the ability to run this off a 65W laptop charger while maintaining strict temp control is unmatched.
Failure Modes: What Happens When Your Temp is Wrong?
Understanding the chemical and physical consequences of incorrect temperatures will fundamentally change how you approach your workbench.
According to the Adafruit Guide to Excellent Soldering, leaving an iron on a joint for more than a few seconds boils away the rosin flux, leaving behind a dry, grainy, and electrically resistive connection.
Consequences of Excessive Heat (Above 400°C for Leaded)
- Flux Carbonization: The rosin core burns off instantly, turning into a black, acidic residue that promotes corrosion and prevents wetting.
- Tip Oxidation: The iron plating on the tip reacts with oxygen, forming a black crust that repels molten solder. This drastically reduces thermal transfer.
- Pad Delamination: The epoxy resin in the FR4 PCB substrate reaches its glass transition temperature (Tg), causing the copper pad to lift off the board entirely.
- Silicon Die Damage: Semiconductors and electrolytic capacitors can suffer internal thermal shock, leading to latent failures that manifest weeks after assembly.
Consequences of Insufficient Heat (Below 280°C for Leaded)
- Cold Joints: The solder melts from the iron's direct contact but fails to alloy with the copper pad. The resulting joint looks dull, lumpy, and has high electrical resistance.
- Prolonged Dwell Time: Because the iron is too cool, the user holds it on the joint for 10+ seconds. This slow heat soak travels up the component lead, potentially melting the internal plastic housing of the component before the pad ever reaches soldering temperature.
- Insufficient IMC Layer: A proper solder joint requires a microscopic intermetallic compound layer between the copper and the tin. Low heat prevents this metallurgical bond from forming.
Expert Calibration & Maintenance Protocol
Never trust the digital display blindly. The sensor measures the temperature inside the heater core, not the very tip of the iron. As tips age, microscopic pitting and oxidation create a thermal barrier.
To ensure your temp of soldering iron is accurate:
- Invest in a tip thermometer (such as the Hakko FG-100B, approx. $150). Place the sensor on the flat of the tip and adjust your station's digital offset until the display matches the physical measurement.
- Always use a brass wire sponge rather than a wet cellulose sponge. A wet sponge drops the tip temperature by up to 50°C every time you wipe it, forcing the heater to work overtime and shortening the life of the ceramic element.
- Apply a generous coat of fresh solder to the tip before powering down. This 'tinning' layer sacrifices itself to oxidation, protecting the iron plating underneath.
Frequently Asked Questions
Can I use the same temperature for SMD and through-hole components?
Generally, yes, provided you are using the correct tip geometry. For 0603 SMD components, use a micro-pencil tip at 320°C. The small thermal mass of the SMD pad requires less total energy, but the temperature setting remains similar to ensure the flux activates properly. For large through-hole ground pins, switch to a bevel or chisel tip at the same temperature to maximize surface contact area.
Why does my solder ball up and refuse to stick to the pad?
This is almost always a symptom of an oxidized tip or a contaminated pad, rather than the wrong temperature. If your tip is black and solder rolls off it, the temperature is likely set too high, or the tip was left on without a protective tinning coat. Clean the tip with brass wool, lower the temp to 300°C, and melt a large amount of flux-core solder directly onto the tip to re-tin it.