
The Hidden Cost of Neglected Schneider Tips
When working with high-reliability electronics, HVAC controls, or heavy-gauge electrical terminations, your soldering iron tip is the critical interface between thermal energy and metallurgical bonding. Schneider soldering iron tips are engineered for high thermal mass and rapid heat recovery, making them a staple in professional environments. However, even premium tips are susceptible to oxidation, flux carbonization, and intermetallic degradation. In 2026, with the average genuine Schneider replacement tip costing between $22 and $48 depending on the profile (e.g., heavy-duty bevel vs. micro-conical), prematurely discarding tips due to preventable non-wetting issues is a massive drain on operational budgets.
This comprehensive troubleshooting and maintenance guide dives deep into the metallurgy of Schneider tips, providing actionable protocols to restore dead tips, diagnose hidden thermal faults, and extend tip lifespan by up to 300%.
Anatomy of a Schneider Soldering Tip: Why They Fail
To effectively troubleshoot, you must understand the physical construction of the tool. A standard Schneider soldering tip is not a solid piece of metal. It consists of three distinct layers:
- The Core: High-purity electrolytic copper (C11000), chosen for its exceptional thermal conductivity (approx. 388 W/m·K). Copper rapidly pulls heat from the internal ceramic heating element to the joint.
- The Plating Layer: A microscopic iron (Fe) plating, typically 50 to 120 microns thick. This layer is crucial because molten solder aggressively dissolves raw copper. The iron acts as a sacrificial barrier.
- The Outer Coating: A thin layer of nickel and chromium applied to the non-working areas of the tip to prevent solder from creeping up the shaft (wicking) and to resist corrosion from acidic flux vapors.
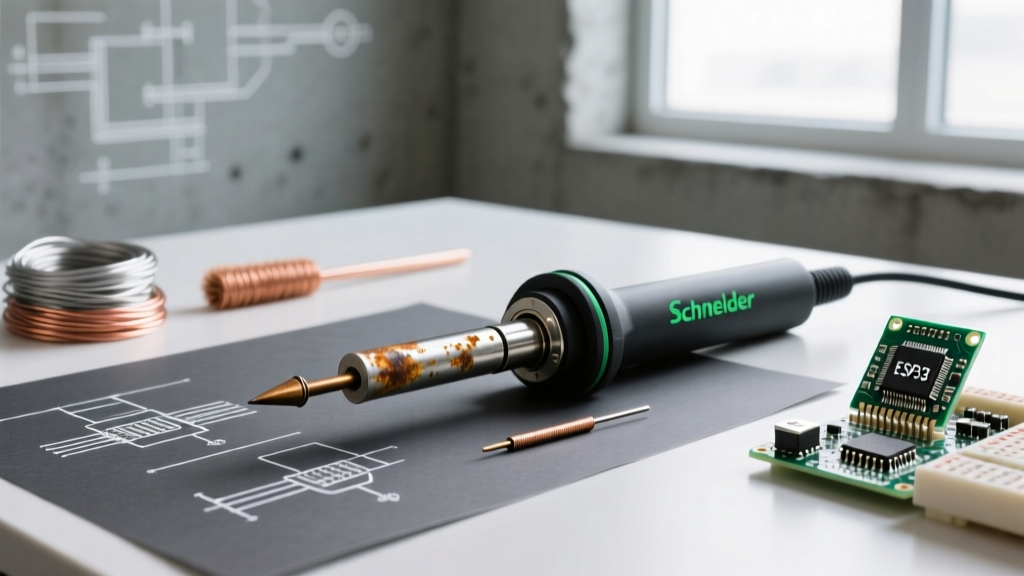
Failure almost always occurs when the iron plating is compromised. Once the molten solder breaches the iron layer and contacts the copper core, a rapid galvanic reaction occurs, hollowing out the tip from the inside—a phenomenon known as micropitting or copper leaching.
Diagnostic Matrix: Identifying Tip Failure Modes
Before attempting to clean a Schneider tip, accurately diagnose the visual symptoms. Use the following matrix to determine if the tip can be salvaged or if it must be retired to the scrap bin.
| Visual Symptom | Metallurgical Root Cause | Corrective Action | Prevention Strategy |
|---|---|---|---|
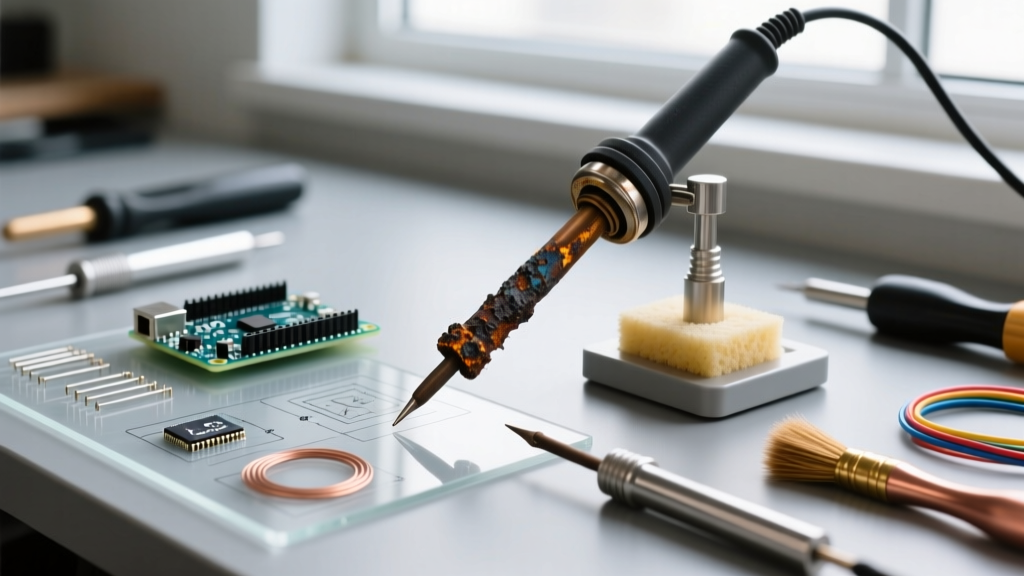
| Black, crusty scale that repels solder | Severe iron oxidation (Fe2O3) combined with carbonized rosin flux. | Chemical reduction using a commercial tip tinner; mechanical brass wool agitation. | Never leave the iron idle at >350°C for more than 5 minutes. |
| Solder balls up and rolls off the working face | Non-wetting due to microscopic surface contamination or depleted tinning layer. | Re-tin immediately with highly active flux-cored 63/37 Sn/Pb eutectic solder. | Always apply a thick blob of solder to the tip before powering down. |
| Visible craters, rough texture, or pitting | Breach of iron plating; copper core leaching (often accelerated by SAC305 lead-free alloys). | Discard immediately. A pitted tip cannot transfer heat evenly and will cause cold joints. | Reduce idle temperature by 30°C; use lead-free specific tips if applicable. |
| Solder creeps up the non-working shaft | Degradation of the nickel/chromium anti-wicking barrier due to abrasive cleaning. | Clean shaft with isopropyl alcohol (IPA) and a fiberglass scratch pen (gently). | Never use sandpaper, files, or steel wool on any part of the tip. |
The 4-Step Restoration Protocol for Blackened Tips
If your Schneider tip has turned black and refuses to accept solder, do not reach for a file or sandpaper. Abrasives will instantly destroy the iron plating. Instead, follow this exact restoration protocol, which aligns with the NASA Workmanship Standards for soldering tool maintenance.
Step 1: Thermal Equilibration
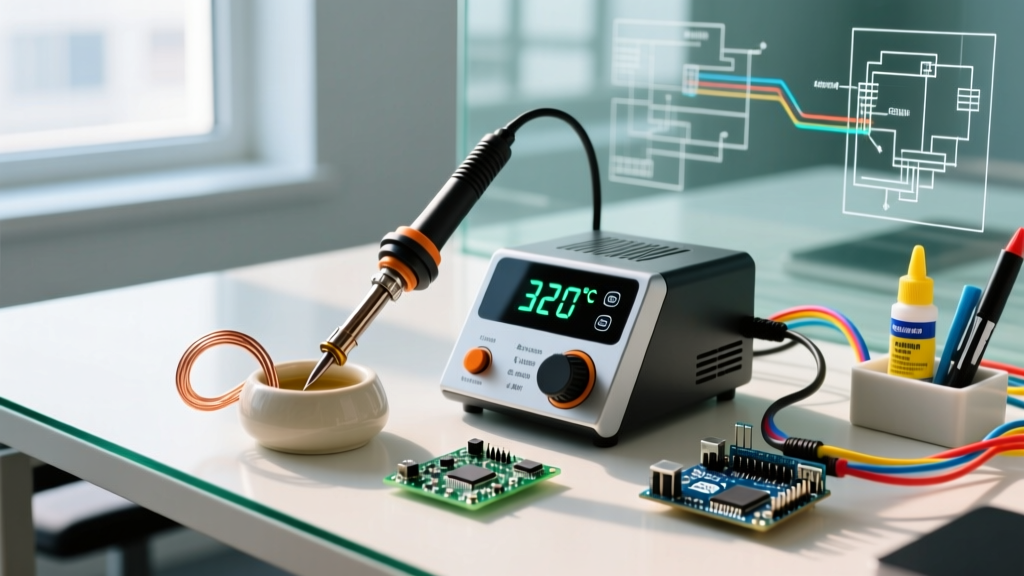
Reduce your soldering station's temperature to 250°C (482°F). High heat accelerates oxidation; attempting to clean a heavily oxidized tip at 400°C will only bake the carbon deeper into the microscopic pores of the iron plating. Allow the tip to stabilize at this lower temperature for three minutes.
Step 2: Mechanical Agitation (The Brass Wool Method)
Plunge the tip into a coil of brass wire wool (not steel, which is harder than the iron plating and will scratch it). Rotate the tip in a figure-eight motion for 10 seconds. The brass is soft enough to preserve the iron layer but hard enough to dislodge bulk carbonized flux and loose oxide scale.
Step 3: Chemical Reduction
If the tip remains black, apply a commercial tip tinner (e.g., MG Chemicals 4901 or Amtech Tip Tinner). These compounds contain a mixture of phosphoric acid and stannous oxide. Dip the hot tip into the tinner for 2-3 seconds. You will see a violent bubbling reaction as the acid strips the iron oxide, leaving behind a raw, highly reactive iron surface. Wipe the tip immediately on a damp cellulose sponge.
Step 4: Eutectic Re-tinning
The freshly exposed iron will re-oxidize in seconds if left bare. Immediately feed high-quality, flux-cored 63/37 Sn/Pb eutectic solder onto the working face. The rosin flux will clean any residual acid, and the eutectic solder will form a stable intermetallic compound (IMC) layer with the iron. Coat the entire working surface heavily.
Expert Warning: Never use a wet sponge to cool down a hot Schneider tip. The rapid thermal shock can cause micro-fractures in the iron plating, leading to premature pitting. Always use a dry brass wool coil for routine wiping.
Advanced Edge Cases: Lead-Free Erosion and Thermal Fatigue
In modern 2026 manufacturing and repair environments, the shift toward lead-free solders like SAC305 (Sn96.5/Ag3.0/Cu0.5) has drastically altered tip maintenance requirements. Lead-free alloys are inherently more aggressive. The tin in SAC305 dissolves iron plating up to four times faster than traditional Sn63/Pb37 solder.
Combating Lead-Free Erosion
If you are exclusively using lead-free solder, standard Schneider tips may show pitting within 40 hours of active use. To mitigate this:
- Use the Lowest Possible Temperature: SAC305 melts at 217°C. Set your station to 330°C-350°C. Running at 380°C+ exponentially increases the dissolution rate of the iron plating.
- Opt for 'LF' Designated Tips: Schneider manufactures specific lead-free optimized tips featuring a thicker iron plating layer (up to 150 microns) and specialized nickel underlays to resist tin leaching.
- Keep the Tip Tinned: A bare iron surface exposed to ambient oxygen at 350°C will form a thick oxide layer in under 60 seconds. Always keep a reservoir of solder on the tip when not actively joining a component.
Diagnosing Thermal Fatigue and Sensor Drift
Sometimes, a tip appears perfectly clean and well-tinned, yet it struggles to melt solder on large ground planes. This is rarely a tip issue; it is usually a thermal transfer fault between the heater and the tip. Over time, flux vapors and microscopic oxidation build up on the internal shaft of the tip or the external surface of the ceramic heater.
The Fix: Remove the tip and allow the station to cool completely. Inspect the heater rod. If it appears dull or chalky, gently polish it with a Scotch-Brite pad and isopropyl alcohol. Ensure the tip slides onto the heater with zero wobble. A gap of even 0.5mm between the heater and the tip's internal cavity will act as a thermal insulator, causing the station's PID controller to overshoot and destroy the tip from the inside out.
Preventative Maintenance Schedule for Professional Workflows
To align with the rigorous reliability requirements outlined in IPC J-STD-001 for soldered electrical assemblies, implement the following maintenance cadence in your workshop:
- Daily (End of Shift): Never turn off the station with a clean tip. Melt a large bead of 63/37 solder over the entire working face. This sacrificial blob will oxidize overnight, protecting the vital iron plating underneath. When you power on the next day, simply wipe the sacrificial blob off in brass wool and apply fresh working solder.
- Weekly: Perform a deep chemical clean using a tip tinner to remove microscopic flux carbon buildup that brass wool cannot reach. Re-tin immediately after.
- Monthly: Verify your station's thermal calibration using a digital tip thermometer (e.g., Hakko FG-100B). If the displayed temperature deviates by more than ±5°C from the actual tip temperature, recalibrate the station's offset. Running a tip 20°C hotter than necessary to compensate for a drifted thermocouple will halve its lifespan.
Final Thoughts on Tip Longevity
Troubleshooting Schneider soldering iron tips is less about fixing broken tools and more about understanding the metallurgical limits of iron-plated copper. By abandoning destructive cleaning methods, respecting the thermal limits of lead-free alloys, and implementing a strict sacrificial tinning protocol, you can easily push a premium Schneider tip past 10,000 solder joints. Treat the tip as a consumable chemical reactor, not a permanent hand tool, and your solder joints will consistently meet the highest industry standards.