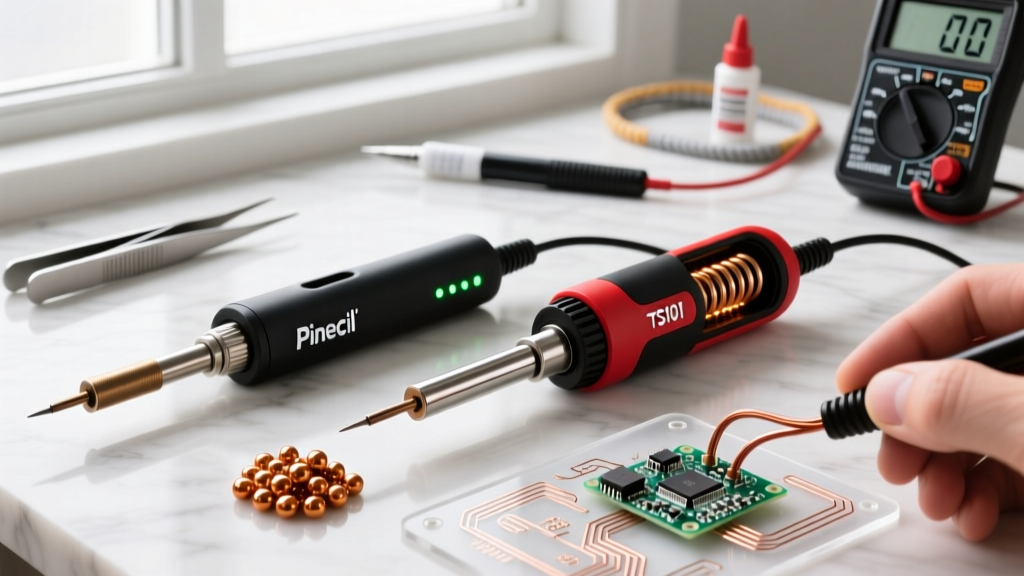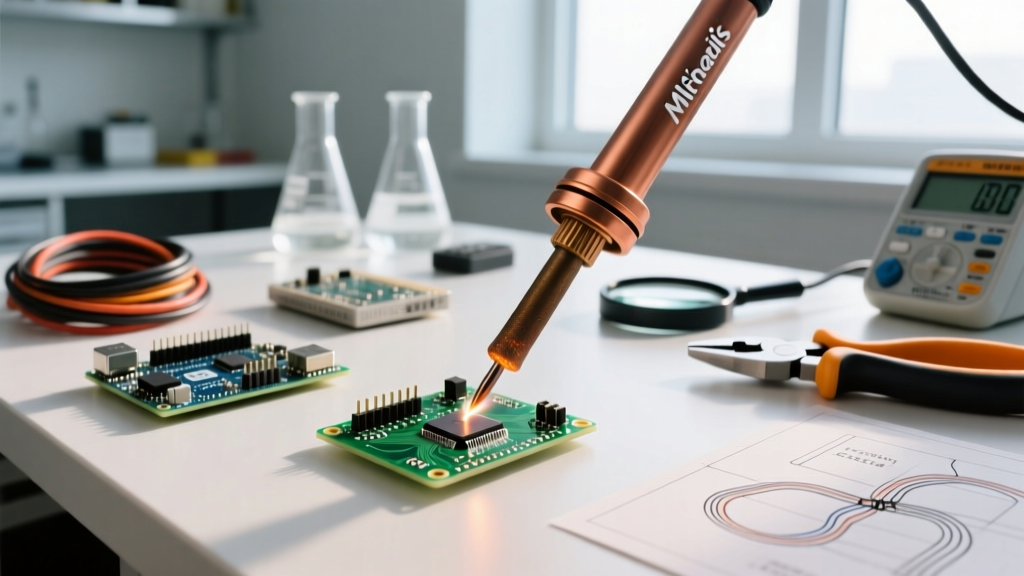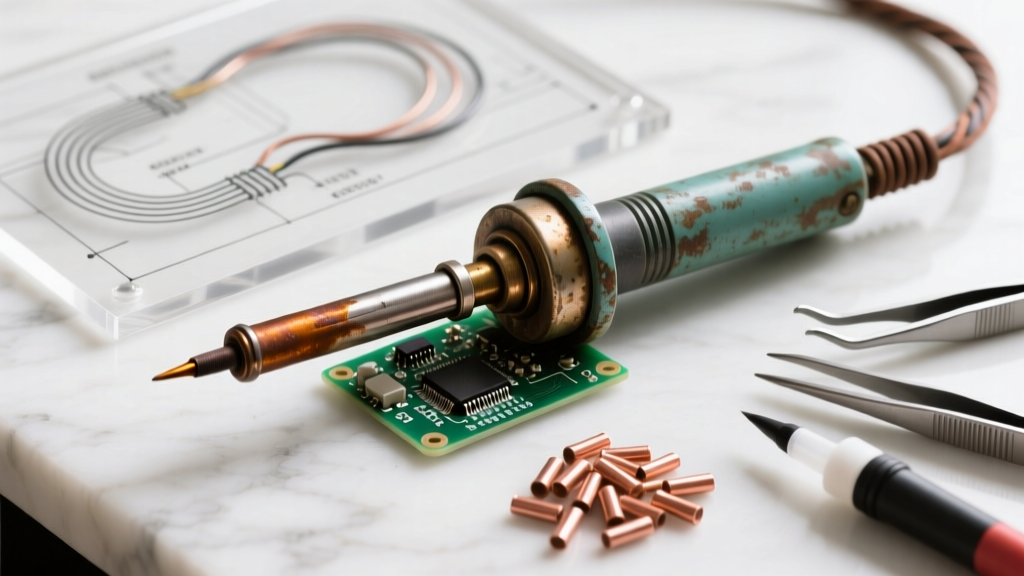

There is a distinct allure to keeping an old soldering iron in active rotation. Whether you are working with a vintage 1990s Weller WTCPN magnetic-curie station, a legacy Hakko 926, or a heavy-duty Ungar system, older soldering equipment was often built with modular, repairable components that outlast modern budget alternatives. However, decades of thermal cycling, flux corrosion, and mechanical stress inevitably lead to performance degradation. In 2026, with the cost of premium soldering stations frequently exceeding $150, knowing how to accurately troubleshoot and restore an old soldering iron is not just a nostalgic exercise—it is a highly practical skill that saves money and reduces e-waste.
Diagnostic Triage: Identifying the Root Failure Mode
Before ordering replacement parts or throwing a vintage station in the bin, you must isolate the failure point. An old soldering iron typically presents with one of three symptoms: failure to heat, endless temperature hunting (blinking LED), or severe thermal lag. Here is the step-by-step diagnostic flow to pinpoint the exact issue.
1. The Multimeter Element Test (Heater vs. Sensor)
The most common point of failure in aging ceramic stations (like the Hakko 936 or FX-888) is the heating element. To test this, unplug the station, detach the handpiece, and set your digital multimeter to the Ohms (Ω) setting. You will need to probe the aviation connector (usually a GX16-4P or GX16-5P plug) on the handpiece cable.
- Pins 1 and 2 (Heater Circuit): A healthy Hakko A1321 or A1322 ceramic element will read between 2.5Ω and 3.5Ω. If your multimeter reads 'OL' (Open Line) or infinity, the heater trace has burned out. The element must be replaced (typically a $12 to $18 part).
- Pins 3 and 4 (Sensor/Thermocouple Circuit): This circuit provides closed-loop feedback to the station's op-amp. A functional sensor reads between 43Ω and 53Ω at room temperature. If this circuit is open, the station will heat up uncontrollably or immediately trigger a fault-code blink.
- Pin 5 (Ground/Shield): Verify continuity between Pin 5 and the metal barrel of the handpiece. A broken ground path is a severe safety hazard that can introduce AC ripple and destroy sensitive CMOS microcontrollers during PCB repair.
2. Analog Station Calibration Drift
If your old soldering iron heats up but melts solder poorly or burns flux instantly, the internal potentiometer may have drifted due to carbon tracking or oxidation. For analog stations like the Weller WES51, you will need a K-type tip thermometer. Insert the probe into the tip's sensor well, set the dial to 700°F (370°C), and use a small flathead screwdriver to adjust the internal calibration trim-pot until the dial matches the physical tip temperature. Always reference IPC soldering standards to ensure your manual calibration aligns with industry-accepted thermal profiles for lead-free alloys.
Restoration Matrix: Is It Worth Fixing?
Not every old soldering iron deserves a second life. Use this decision matrix to determine if a restoration project is economically viable in the current market.
| Iron Category | Example Models | Common Failure Point | Est. Repair Cost | Restoration Verdict |
|---|---|---|---|---|
| Vintage Pro Station | Hakko 926, Weller WTCPN | Mica heater burnout, cord fatigue | $25 - $45 | Highly Recommended. Superior build quality; parts are still manufactured or easily scavenged. |
| Legacy Analog | Hakko 936, Weller WES51 | Potentiometer drift, A1321 element | $15 - $30 | Recommended. Excellent thermal mass; easily calibrated with a multimeter. |
| Early 2000s Budget | RadioShack Pro-Line, Generic 60W | Internal wire melting, tip pitting | $10 - $20 | Avoid. Poor thermal recovery; internal insulation is often a fire hazard after 15+ years. |
| Antique Cold-Heat | ColdHeat Pro, ISM Tools | Fractured resistive tip, battery corrosion | $40+ | Collector Item Only. Proprietary tips are discontinued and fundamentally flawed for modern SMD work. |
Tackling Severe Tip Oxidation and Pitting
When an old soldering iron sits unused in a damp garage, the tip turns a crusty, iridescent blue or black. This is severe oxidation. To understand how to fix it, you must understand tip metallurgy. A quality soldering tip is not solid copper; it is a copper core electroplated with a microscopic layer of iron (usually 0.8mm thick) to resist dissolution by molten solder. Underneath that iron layer is a chromium or nickel barrier. If you use sandpaper, a file, or a Dremel to clean an oxidized tip, you will strip the iron plating, expose the copper core, and destroy the tip permanently. The exposed copper will rapidly dissolve into the solder, forming brittle intermetallic compounds like Cu6Sn5.
The Chemical Rescue Method
Instead of mechanical abrasion, use a chemical reduction approach to restore heavily oxidized tips without damaging the iron plating:
- Apply Tip Tinner: While the iron is cold, coat the oxidized tip in a high-activity tip tinner compound (such as MG Chemicals 4901 or Hakko FS-100). These compounds contain mild phosphoric acid and rosin.
- Heat and Agitate: Turn the station on to 300°C. As the tip heats up, the acid will chemically reduce the iron oxide back into bare iron, while the rosin immediately wets the surface to prevent flash-oxidation.
- Brass Wool Wipe: Once tinned, wipe the tip vigorously in a dry brass wire sponge. Brass is softer than the iron plating but harder than the oxidation scale, removing carbonized flux residue safely.
- Retin with 63/37 Leaded Solder: Immediately apply a thick coat of high-quality 63/37 (eutectic) rosin-core solder to seal the tip. For deep, permanent maintenance insights, always defer to Hakko's official tip maintenance guidelines, which emphasize that a thick blob of solder left on the tip during storage is the single best defense against future oxidation.
Rewiring and Cord Fatigue Repair
The flexible silicone cable connecting the handpiece to the base station is subjected to extreme bending radii and proximity to 350°C heat. Over a decade, the internal copper strands fracture near the strain relief, causing intermittent heating or erratic temperature readings. If your old soldering iron cuts out when you move your wrist, it is time to rewire the handpiece.
Step-by-Step Cord Replacement
- Source the Correct Cable: Do not use standard PVC-jacketed wire; it will melt and emit toxic fumes. Purchase a 4-core or 5-core 24 AWG silicone-insulated cable rated for at least 200°C continuous use. Fiberglass braided sleeving is the gold standard for vintage Weller restorations.
- Desolder the Internal Connections: Open the handpiece housing (often requiring a specialized tri-wing or security Torx bit). Note the wire color routing to the ceramic element pins. Desolder using a desoldering wick to avoid lifting the fragile ceramic pads.
- Install a New Strain Relief: The original rubber grommet is likely dry-rotted. Replace it with a new silicone strain relief boot, and apply a dab of high-temperature RTV silicone adhesive inside the boot to anchor the cable jacket, preventing tension from reaching the solder joints.
- Verify Pinout Before Powering On: Use your multimeter to verify continuity from the plug to the element pins. A crossed heater/sensor wire will instantly blow the station's internal TRIAC or microcontroller upon power-up.
Preventative Maintenance Protocol for Aging Irons
Once you have successfully restored your old soldering iron, implementing a strict maintenance protocol will ensure it survives for another decade. Treat your equipment with the same rigor expected in professional manufacturing environments.
- Never Idle at Maximum Temperature: Leaving an old analog iron set to 400°C (750°F) while not in use accelerates tip pitting and degrades the internal heating element's mica insulation. Always dial back to 250°C when stepping away for more than five minutes.
- Use Distilled Water in Sponges: Tap water contains minerals and chlorine that, when flash-boiled against a 350°C tip, cause micro-fractures in the iron plating. Always use distilled water or switch to a dry brass sponge entirely.
- Inspect the Ceramic Element Sleeve: The thin ceramic tube that insulates the sensor wire inside the handpiece becomes brittle over time. If you hear a faint rattling or see ceramic dust falling from the handpiece barrel, wrap the element in a fresh layer of Kapton tape or replace the ceramic sleeve to prevent short circuits against the metal barrel.
Restoring an old soldering iron is a rewarding exercise in electronics troubleshooting. By relying on multimeter diagnostics, respecting tip metallurgy, and using high-temperature replacement materials, you can keep legacy equipment performing at a level that rivals modern $200 smart-stations. Whether you are repairing a vintage Hakko or rewiring a classic Weller, the principles of thermal management and closed-loop calibration remain timeless.