
The Hidden Cost of Improper Tip Maintenance
When building a DIY electronics lab or scaling a professional prototyping bench in 2026, the focus is almost always on the soldering station itself—chasing rapid thermal recovery, low-voltage ESD safety, and ergonomic handpieces. However, the most critical variable in tip longevity and joint reliability is often the most neglected: your soldering iron cleaner. A poorly configured cleaning setup doesn't just leave oxidized flux residue on your work; it induces severe thermal shock, fractures the microscopic iron plating on your tip, and forces your station's PID controller into destructive overshoot cycles.
This setup and calibration tutorial will walk you through the metallurgical realities of tip degradation, how to physically configure your cleaning station for modern lead-free (SAC305) alloys, and how to calibrate your temperature offsets post-cleaning to ensure absolute thermal accuracy.
The Physics of Tip Degradation: Why Your Cleaner Matters
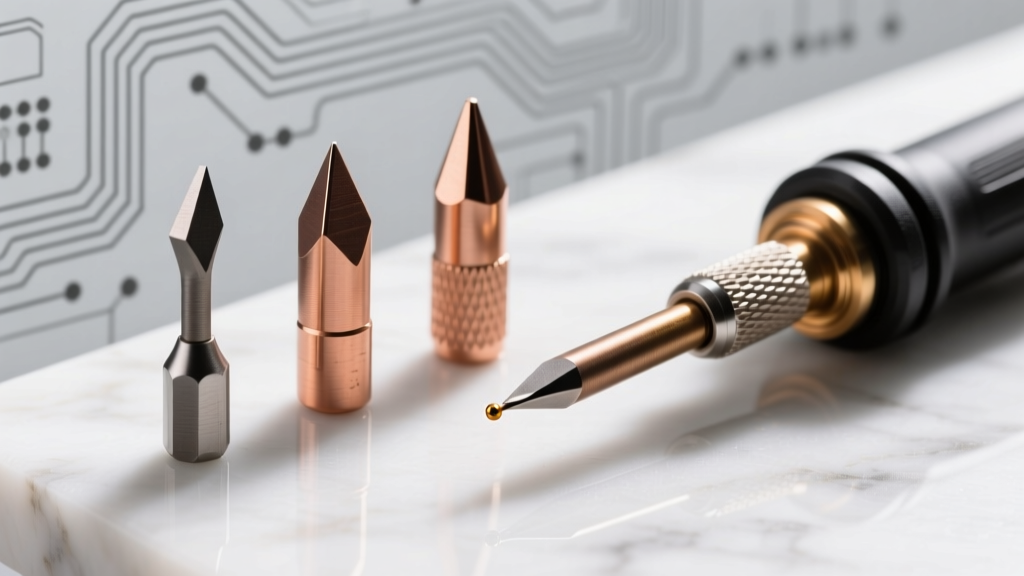
Modern soldering tips are not solid copper. They are a copper core plated with a microscopic layer of iron (typically 100 to 200 microns thick) to resist dissolution by molten tin, followed by a nickel barrier and a final chrome anti-oxidation layer. According to the soldering standards outlined by IPC (the Association Connecting Electronics Industries), maintaining the integrity of this iron plating is mandatory for achieving compliant, high-reliability solder joints.
When you wipe a 380°C tip across a soaking wet cellulose sponge, the surface temperature plummets by 80°C to 120°C in milliseconds. This extreme thermal gradient causes micro-fractures in the iron plating. Once molten tin penetrates these fractures, it reaches the copper core, dissolving it from the inside out and creating deep, irreversible pitting. Furthermore, this massive temperature drop tricks the station's PID controller into maxing out the heater voltage, accelerating the burnout of the internal ceramic heating element.
Brass Wire vs. Cellulose Sponge: The Ultimate Showdown
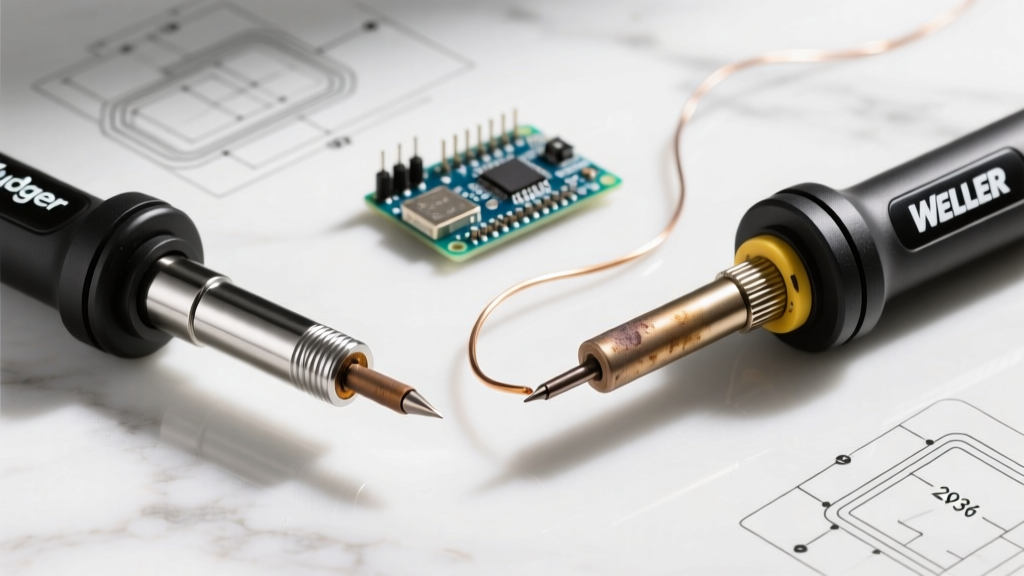
Choosing the right soldering iron cleaner requires understanding the trade-offs between thermal shock, abrasion, and chemical interaction. Below is a technical comparison of the two dominant cleaning mediums used in 2026.
| Feature | Brass Wire Shavings (e.g., Hakko 599B) | Cellulose Sponge (e.g., Weller WDC150) |
|---|---|---|
| Temperature Drop | Minimal (10°C - 15°C) | Severe (60°C - 120°C) |
| Abrasion Level | Low (Softer than iron plating) | Moderate (Depends on hydration) |
| Setup Requirement | Dry; requires occasional flux removal | Requires distilled water hydration |
| Best For | Lead-free (SAC305), high-temp, SMD | Leaded (Sn60/Pb40), heavy through-hole |
| Approx. Cost (2026) | $12 - $18 | $4 - $8 |
Expert Insight: Never use tap water to hydrate a cellulose sponge. Tap water contains dissolved minerals (calcium and magnesium) that will bake onto your tip at 350°C, creating an insulating layer of mineral scale that destroys thermal transfer. Always use distilled or deionized water.
Step-by-Step Setup: Configuring Your Cleaning Station
Proper physical setup of your soldering iron cleaner ensures consistent wiping mechanics and prevents accidental burns or station damage.
1. Base Positioning and Orientation
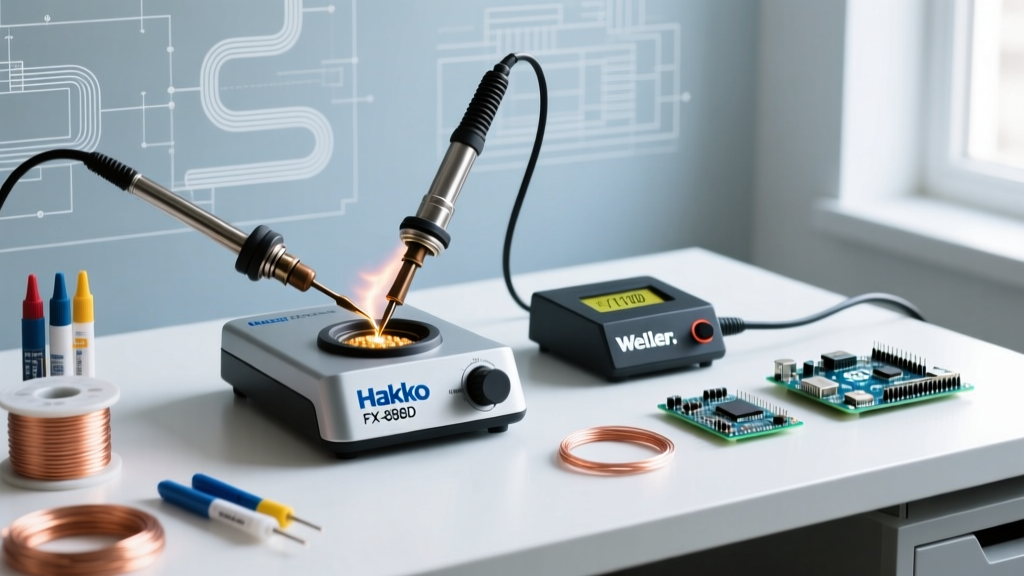
Place your cleaner housing (such as the Hakko 599B brass cleaner) on the opposite side of your dominant hand, but within a 45-degree sweep of your natural rest position. This prevents molten solder flicks from crossing over your main PCB workspace. Ensure the housing has a weighted base or non-slip silicone feet; a lightweight plastic cleaner will tip over when you withdraw the iron.
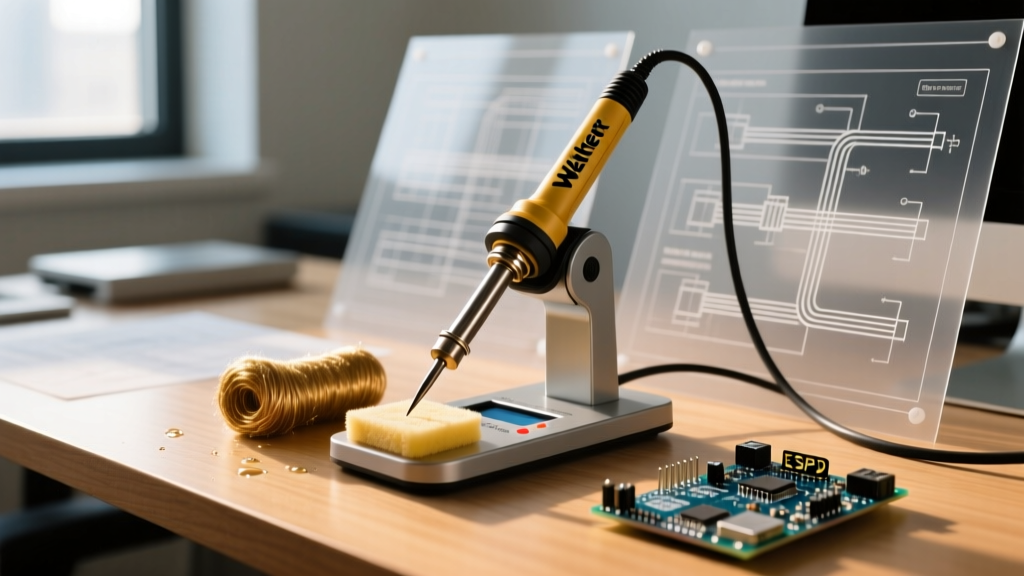
2. Hydrating the Cellulose Sponge (If Applicable)
If your process requires a sponge for heavy flux charring:
- Submerge the dry cellulose sponge in distilled water until fully expanded.
- Squeeze the sponge tightly in your fist to expel 90% of the water.
- Perform the "Drop Test": Hold the sponge horizontally and drop a single bead of molten solder onto it. It should sizzle briefly and solidify without violently spitting steam. If it spits aggressively, the sponge is too wet and will cause thermal shock.
3. Managing the Brass Wool
Brass wool acts as a 3D matrix, wiping the tip from all angles simultaneously. Over time, the shavings become clogged with oxidized flux and excess solder. Do not pick the solder out with tweezers. Instead, take the brass coil outside, unspool it slightly, and tap it firmly against a hard surface to shatter the brittle, oxidized flux and dislodge the frozen solder spheres.
Calibrating Temperature Recovery Post-Cleaning
The true mark of an advanced lab setup is calibrating your station to account for the thermal delta introduced by your chosen soldering iron cleaner. We will use a tip thermometer (like the Hakko FG-100B, retailing around $145 in 2026) to measure and compensate for this drop.
The Calibration Procedure
- Baseline Measurement: Turn your station to 350°C (standard for SAC305 lead-free paste). Allow it to stabilize for 3 minutes. Apply the thermocouple sensor with a dab of thermal paste to the tip's working surface. Record the steady-state temperature (e.g., 349°C).
- The Cleaning Event: Withdraw the iron and perform your standard wipe in your soldering iron cleaner. Count to two seconds.
- Measure the Delta and Overshoot: Immediately re-apply the thermocouple. Watch the digital readout. You will see the temperature drop (e.g., down to 290°C) and then rapidly climb back up.
- Analyze PID Overshoot: If the temperature climbs back up and overshoots your target (e.g., spiking to 375°C before settling at 350°C), your station's integral windup is too aggressive for the thermal mass of your tip and the shock of your cleaner.
Applying the Offset
If you are using a high-end station like the Weller WE1010 or JBC CD-2BQE, access the hidden calibration menu (refer to your specific service manual). If your post-clean overshoot exceeds 10°C, you must dial back the PID aggressiveness or apply a negative temperature offset of 5°C to 8°C to protect sensitive SMD components from the invisible spike that occurs immediately after you clean the tip and touch the PCB.
For deeper insights into thermal profiles and equipment calibration, the engineering resources provided by Hakko USA offer extensive documentation on matching tip geometry and station PID tuning to specific thermal loads.
Advanced Maintenance: Tinning and Edge Cases
Even with a perfectly calibrated soldering iron cleaner, edge cases will arise that require immediate intervention to save the tip.
- Black Oxide Buildup: If you leave the iron in the holder for more than 5 minutes without a fresh coat of solder, the tip will turn black. Do not scrape it with a knife or sandpaper. This removes the iron plating. Instead, use a chemical tip tinner (a mixture of phosphoric acid and solder powder). Dip the hot tip for exactly 2 seconds, then immediately wipe it in your brass cleaner to reveal the shiny tinned surface.
- Flux Carbonization: Rosin-based fluxes (RMA) will carbonize into a hard, black crust. A dry sponge will not remove this. You must use a slightly damp sponge specifically for carbonized flux, followed immediately by a brass wool wipe to re-tin the exposed copper-iron matrix before oxidation occurs.
- Solder Ball Entrapment: In micro-soldering (0201 components), tiny solder balls can get trapped in the brass wire. If your tip starts "sticking" to the PCB pads, your cleaner is dirty. Replace the brass shavings annually, or bi-annually for high-volume daily use.
Frequently Asked Questions (FAQ)
Can I use a damp cloth instead of a specialized sponge?
No. Standard cotton or synthetic cloths contain dyes, sizing chemicals, and synthetic fibers that will melt onto the 350°C tip, creating an insulating layer of carbon and plastic. Only use 100% natural, untreated cellulose sponges designed specifically for electronics soldering.
Does the type of solder alloy change how I should clean my tip?
Yes. Lead-free alloys like SAC305 (Tin/Silver/Copper) require higher temperatures (350°C+) and are highly aggressive at dissolving iron plating. You should exclusively use a dry brass wire soldering iron cleaner with lead-free alloys to minimize thermal shock and reduce the time the tip spends at peak oxidation temperatures. Leaded solder (Sn60/Pb40) operates at lower temperatures (320°C) and is more forgiving of damp cellulose sponges.
How often should I replace the brass shavings in my cleaner?
For a hobbyist soldering a few hours a week, the brass shavings will last years. For a professional rework technician running a station 8 hours a day, the shavings should be swapped out every 4 to 6 months, or when the coil becomes stiff and caked with blackened, carbonized flux residue that no longer falls out when tapped.