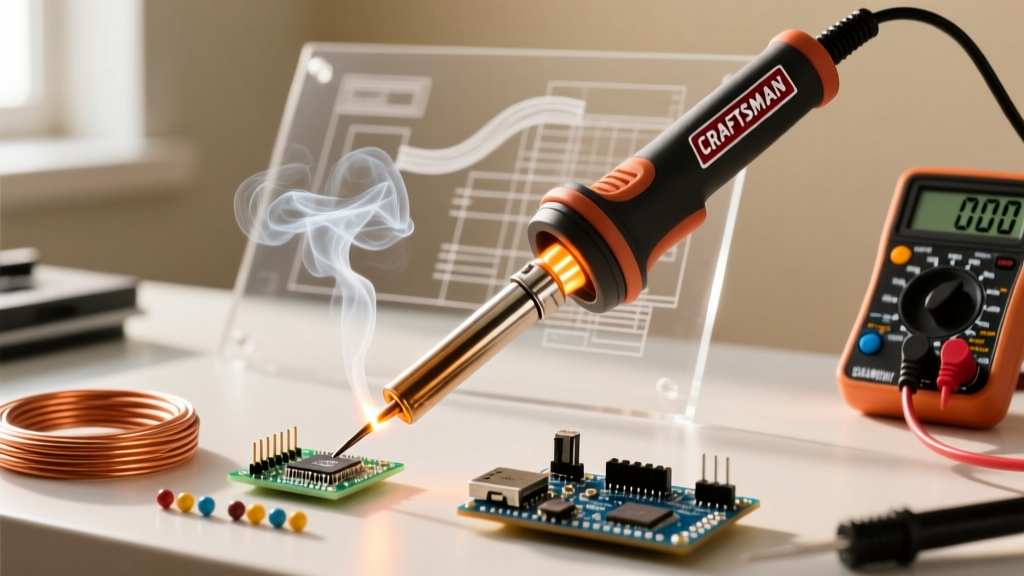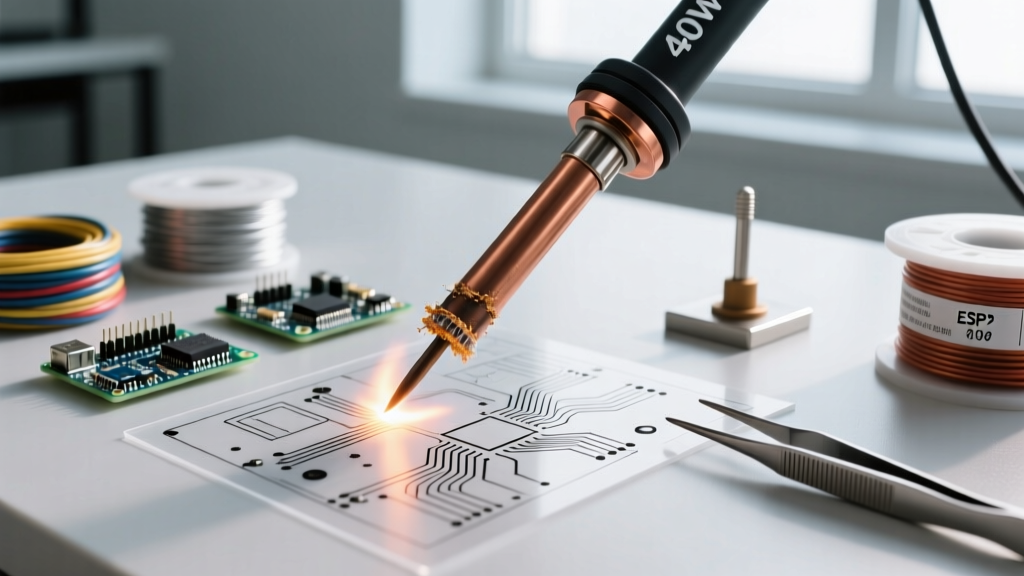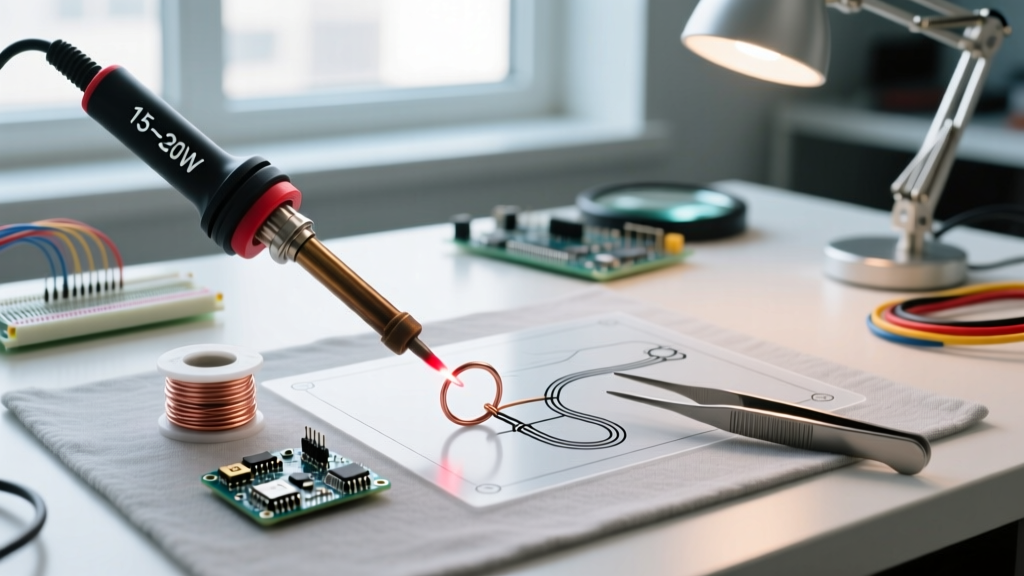

The Hard Truth: Soldering Irons vs. Jewelry Torches
When beginners first research soldering jewelry with a soldering iron, they often encounter a frustrating wall of conflicting information. The root of this confusion lies in the fundamental difference between hard soldering (using a torch and silver/gold solders that melt above 1,100°F) and soft soldering (using tin-based alloys that melt between 360°F and 550°F).
A standard electronics soldering iron cannot melt sterling silver hard solder. If you attempt to repair a broken silver ring shank with a 40-watt craft iron, you will fail. However, soldering irons are exceptional tools for specific jewelry applications: working with base metals, copper foil techniques, pewter casting, and assembling costume jewelry. According to the experts at Ganoksin, understanding the thermal limits of your tools is the first step to mastering jewelry fabrication.
What You CAN Make: Soft Solder Jewelry Applications
While you won't be sizing platinum rings with an iron, soft soldering opens up a massive world of creative jewelry crafting. With the right high-thermal-mass iron, you can reliably create:
- Copper-Foil Pendants: Wrapping glass cabochons or sea glass in copper foil and soldering a smooth, rounded silver-colored bezel.
- Base Metal & Brass Jewelry: Joining brass jump rings, stamping blanks, and attaching copper findings using tin-silver alloys.
- Pewter Repair & Casting: Pewter melts at roughly 440°F, making a temperature-controlled iron the perfect tool for assembling pewter components.
- Wire-Wrapped Joints: Adding structural solder joints to copper and brass wire-wrapped pendants to prevent them from pulling apart.
Choosing the Right Iron for Jewelry Crafting
The biggest mistake beginners make is buying a cheap, low-wattage iron. Jewelry components (like thick copper bezel wire or brass backplates) act as massive heat sinks. A 40W iron will suffer from 'thermal stall,' where the tip temperature plummets the moment it touches the metal, resulting in ugly, crystallized cold joints.
You need an iron with high wattage and excellent thermal recovery. Below is a 2026 comparison matrix of the best irons for jewelry soft-soldering.
| Iron Model | Wattage | Thermal Recovery | Est. Price (2026) | Best Jewelry Application |
|---|---|---|---|---|
| Hakko FX-601 | 67W (Adjustable) | Excellent (Ceramic Heater) | $85 - $95 | Copper foil bezels, brass jump rings |
| Weller SP80 | 80W (Fixed) | Good (Heavy Thermal Mass) | $45 - $55 | Thick pewter casting, heavy copper |
| Generic Craft Iron | 40W (Fixed) | Poor (Stalls on contact) | $15 - $25 | Not recommended for jewelry |
Expert Tip: The Hakko FX-601 is widely considered the gold standard for jewelry artisans who work with soft solder. Its adjustable temperature dial allows you to dial in exactly 750°F (400°C) at the tip, ensuring the solder flows smoothly without burning your flux or melting delicate base metals.
Selecting the Correct Soft Solder & Flux
You cannot use standard electronics rosin-core solder for jewelry. Rosin flux is designed for clean copper and gold-plated PCB pads, not for oxidized brass or copper jewelry metals. Furthermore, standard 60/40 tin/lead solder leaves a dull, grayish bead that requires heavy polishing.
The Ideal Jewelry Soft Solder
Use a Tin-Silver bearing solder, such as Stay-Brite #8 or Worthington Silver-Bearing Solder. These alloys typically contain 96% tin and 4% silver. The silver content lowers the melting point to roughly 430°F (220°C), increases the tensile strength of the joint, and leaves a bright, shiny finish that closely mimics sterling silver.
The Flux Factor
For jewelry, you must use an acid-based or zinc-chloride liquid flux (like Stay-Clean) or a specialized paste flux. Zinc chloride aggressively strips the oxidation off brass and copper at high heat, allowing the tin-silver alloy to wet the surface. Always neutralize zinc-chloride flux with a baking soda and water bath after soldering to prevent long-term corrosion.
Step-by-Step: Soldering a Copper Bezel to a Brass Backplate
Let's walk through a practical, real-world scenario: attaching a copper wire bezel to a stamped brass backplate to create a pendant.
- Surface Preparation: Sand the brass backplate and the bottom edge of the copper bezel wire with 400-grit sandpaper. Clean both pieces with isopropyl alcohol to remove finger oils.
- Apply Flux & Tin the Base: Brush a thin layer of Stay-Clean liquid flux onto the brass backplate. Set your Hakko FX-601 to 750°F. Touch the iron to the brass and feed a small amount of Stay-Brite solder. Spread a thin, even layer of solder across the area where the bezel will sit. This is called 'tinning'.
- Flux the Bezel: Apply flux to the bottom edge of your copper bezel wire.
- Sweat the Joint: Place the fluxed bezel wire onto the tinned brass backplate. Apply the iron to the inside of the bezel wire. The heat will transfer through the copper, melt the tinned solder on the brass, and capillary action will pull the joint together. Do not move the wire until the solder completely solidifies (about 3-5 seconds).
- Quench & Neutralize: Drop the hot pendant into a bowl of water mixed with two tablespoons of baking soda. The fizzing action neutralizes the acid flux and prevents green corrosion from ruining your jewelry later.
Common Beginner Failure Modes & Fixes
Even with the right tools, beginners encounter specific edge cases. Here is how to troubleshoot them:
- The 'Cold Joint' (Crumbly, dull solder): Your iron suffered thermal stall. Fix: Upgrade to a higher wattage iron, or pre-heat the brass backplate with a heat gun before applying the iron.
- Solder Beading Up (Refusing to stick): The metal is oxidized or you are using the wrong flux. Fix: Re-sand the metal, apply fresh zinc-chloride flux, and ensure the iron tip is clean and tinned.
- Pitting and Holes in the Solder: You boiled the flux or overheated the solder, causing the tin to oxidize and separate from the silver. Fix: Lower your iron temperature by 50°F and work faster.
Safety & Ventilation in the Studio
Soft soldering for jewelry involves hazards that differ from torch soldering. The primary concern is flux fumes and heavy metal exposure. According to OSHA guidelines on lead and heavy metal safety, proper ventilation is non-negotiable when heating metal alloys and chemical fluxes.
Always use a desktop fume extractor with an activated carbon filter positioned within six inches of your workpiece. If you are using traditional tin/lead solder (rather than lead-free or silver-bearing), you must wash your hands thoroughly with cold water and soap before eating or touching your face to prevent lead ingestion. Never use tin/lead solder for jewelry items that will come into contact with the mouth, such as lip rings or certain body jewelry.
Frequently Asked Questions
Can I use a butane micro-torch instead of an iron?
Yes, butane torches (like the Blazer Big Shot) are excellent for jewelry soft-soldering and can reach higher temperatures faster. However, they require more practice to avoid melting thin copper bezels or scorching your flux.
Is lead-free solder good for jewelry?
Lead-free solders (like Tin-Copper or Tin-Bismuth) are safer for the environment and skin contact, but they often have a higher melting point and a 'mushy' plastic phase. If you use lead-free, ensure your soldering iron can comfortably sustain 800°F to ensure a smooth flow.
How do I polish soft solder jewelry?
Soft solder is much softer than silver or brass. Do not use aggressive rotary tools or stiff wire wheels. Use a soft muslin buffing wheel with a mild jeweler's rouge or a specialized tumbler with stainless steel shot and burnishing compound to achieve a high shine without removing the solder layer.